Scheduling
The Sign In App - Scheduling integration allows visitors to select a time slot for their visit using a Scheduling booking page, once completed this will create a pre-registration in Sign In App. When the visitor signs in, the booking in Scheduling will be automatically marked as having been attended, if the visitor doesn’t show the booking will be marked as a no-show.
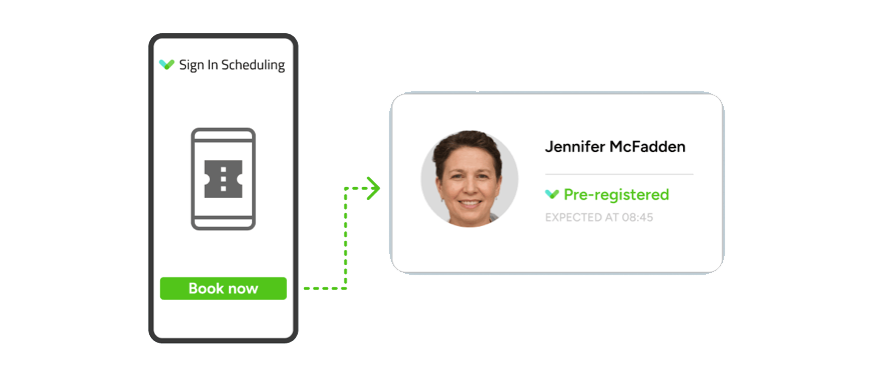
Set up Scheduling
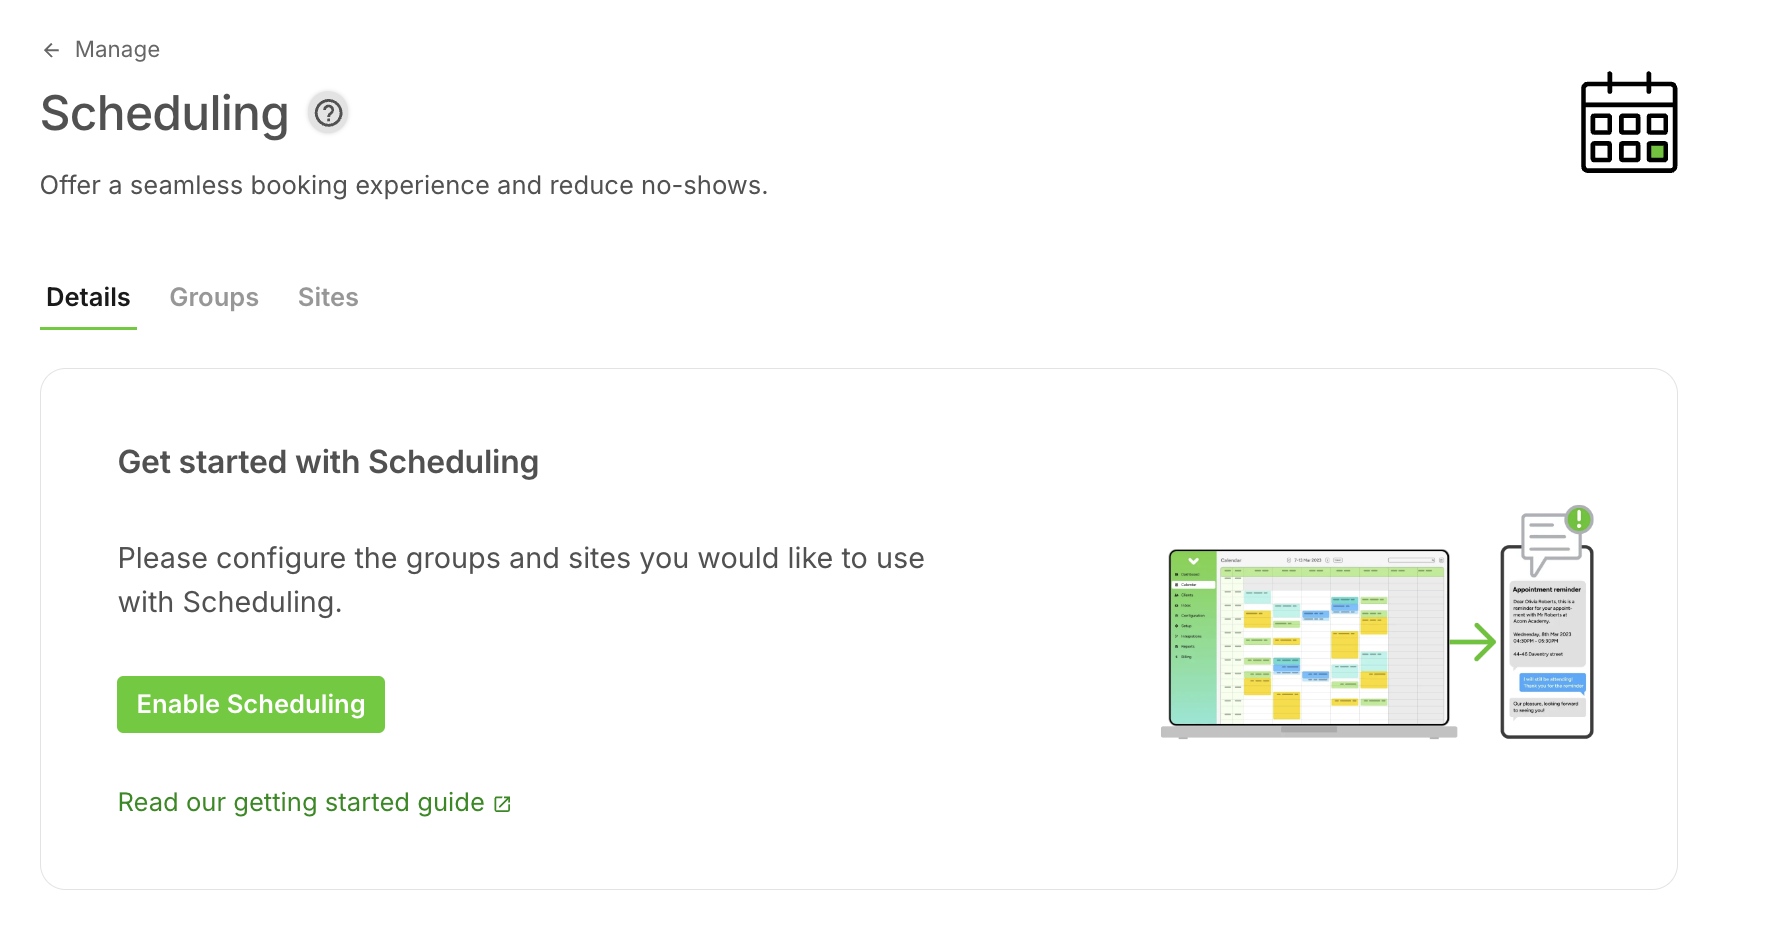
If you have purchased Scheduling as an add-on just log into your Sign In App account and head to Manage and scroll down to Add-onsand click Scheduling. Click Enable Scheduling to create your Scheduling account and integrate with Sign In App.
Tip
If you would like to trial Scheduling please email beta@signinapp.com.
Configure groups
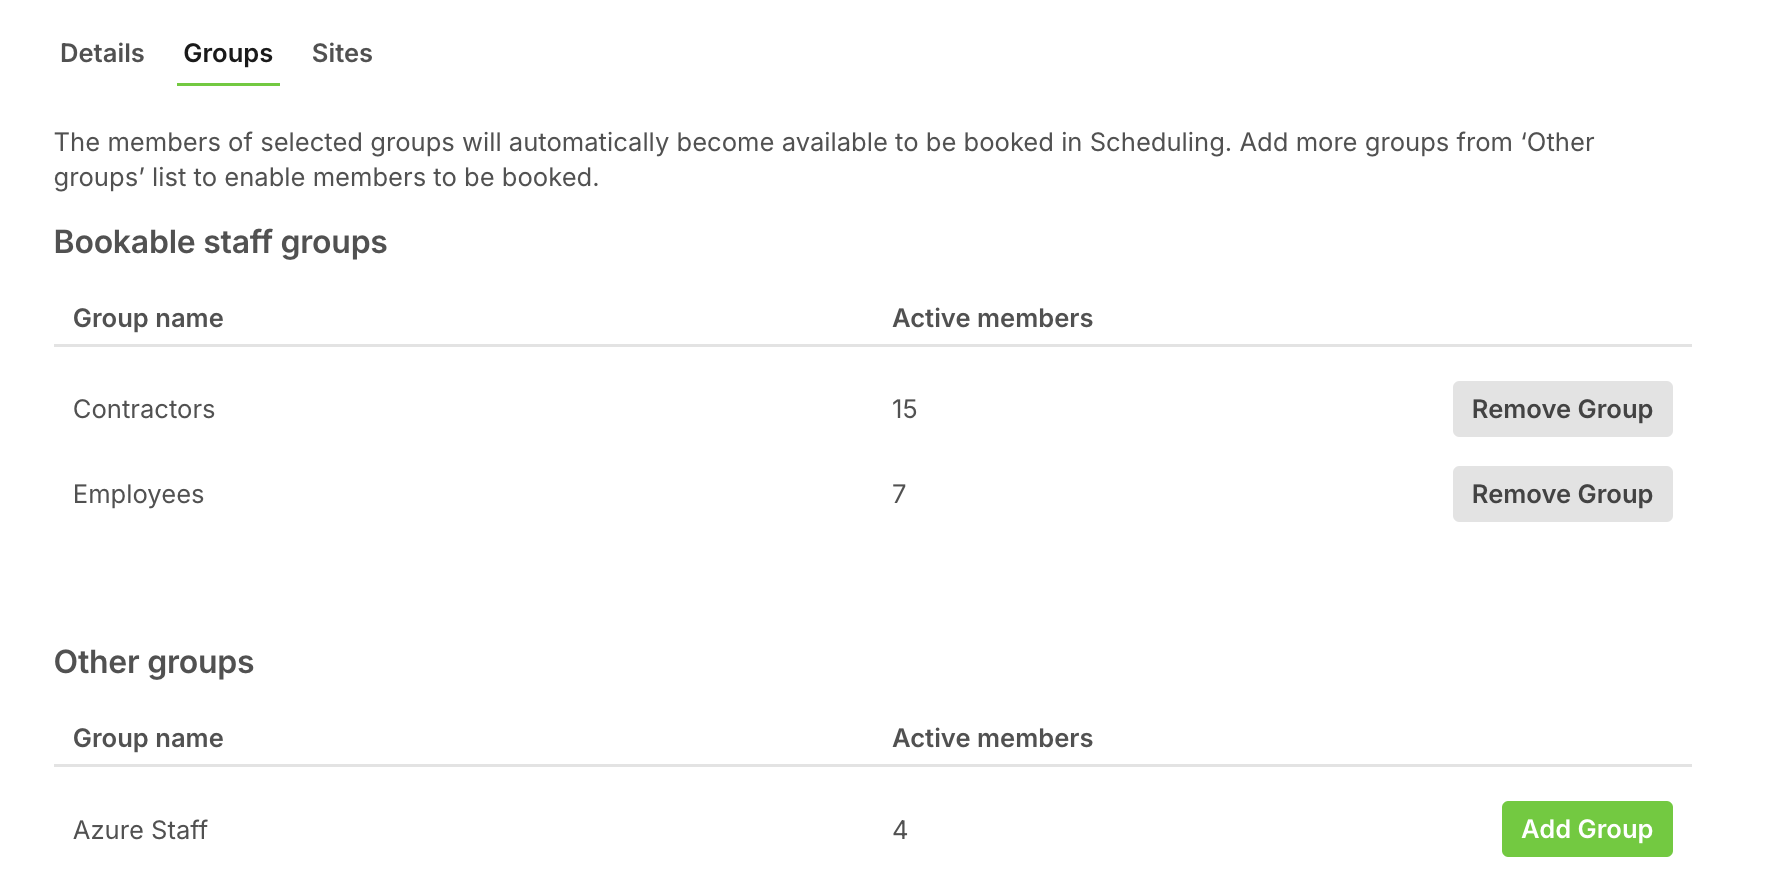
You can use your Repeat visitor groups in Sign In App to create bookable staff in Scheduling. Go to Manage > Add-ons > Schedulingand click Groups to configure which groups in Sign In App should sync with Scheduling. Click Add Group to include additional groups in the sync with Scheduling.
Configure sites
Go to Manage > Add-ons > Schedulingand click Sitesto select which sites can be used with Scheduling. Sites corresponds to locations in Scheduling.

Click Add Site to include additional sites.

Using the SIA/Scheduling integration
Once the integration has been set up you can create a booking in Scheduling and a pre-registration will be created in SIA.
First, on the left side of the screen you should see the Visit your Booking Page button.

When your Scheduling account is created there will be some default booking services, for example, Initial Consultation - click the See Times button to view available times.
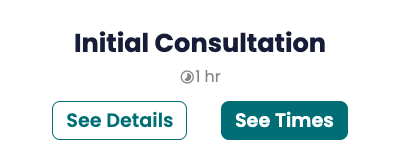
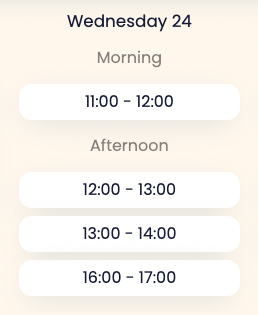
You should then see the time slots available for the service.
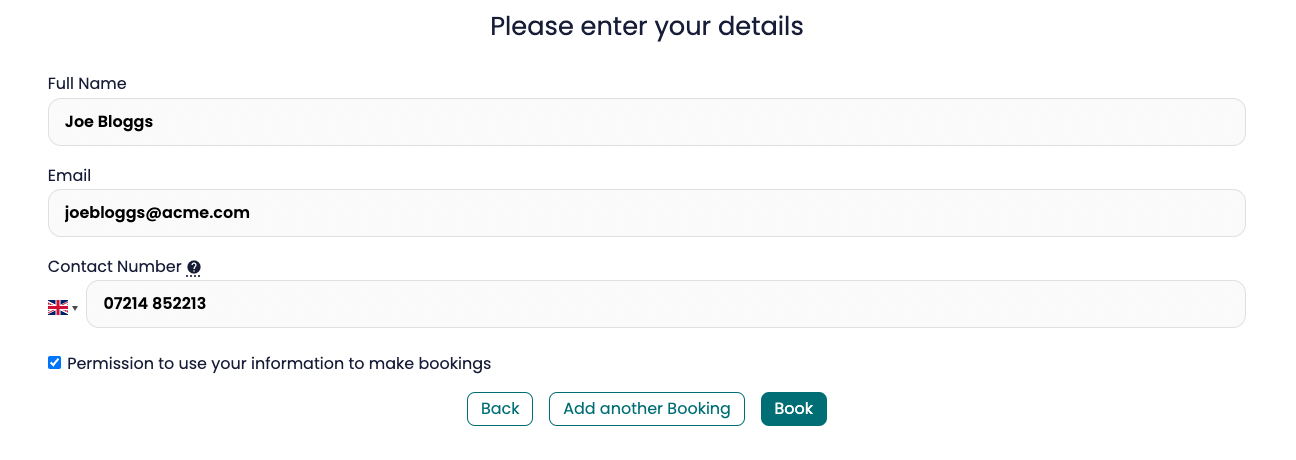
The next step is to enter your details and click Book (these fields are mandatory).
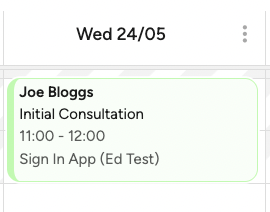
This will create the booking in Scheduling and it will be displayed in the calendar. To view this, click the Calendar button on the left side of the Scheduling portal.
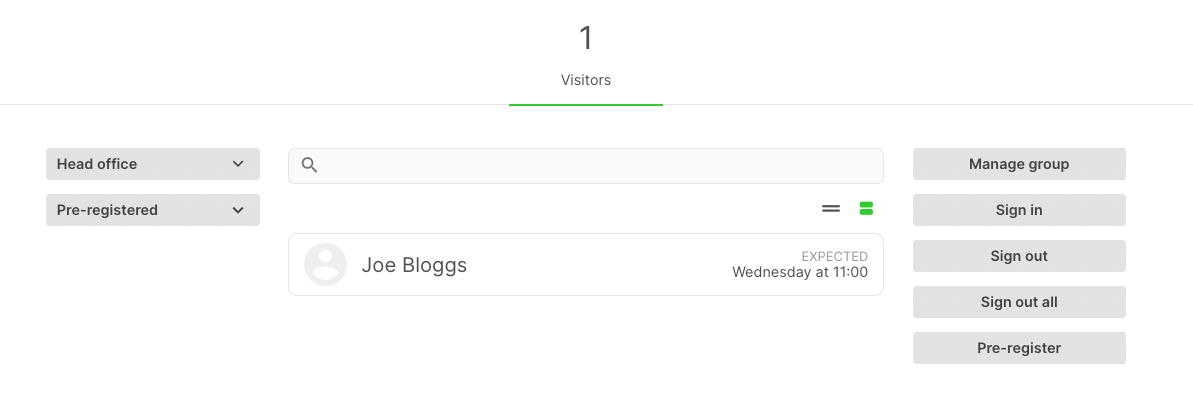
It will also create a pre-registration in Sign In App which can be viewed from the Today view in the Sign In App portal.
When the visitor signs in it will mark the booking in Scheduling as Customer has arrived. If the time of the booking passes and the visitor hasn’t signed in, the booking will be marked as a no show. To view this, click the booking from the Calendar view in the Scheduling portal.
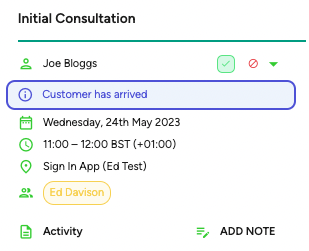
Configuring Scheduling
Adding your availability
Your availability dictates your working/bookable hours. To add your availability, head to Calendar > Working hours and click Edit all on the day you want to add availability for.

You’ll then see a sidebar open to the right. Here, you can click the + Add button to enter your working hours and location, and specify the services for which you’re available. You can also choose whether to apply these working hours only to that specific day, or to multiple days.
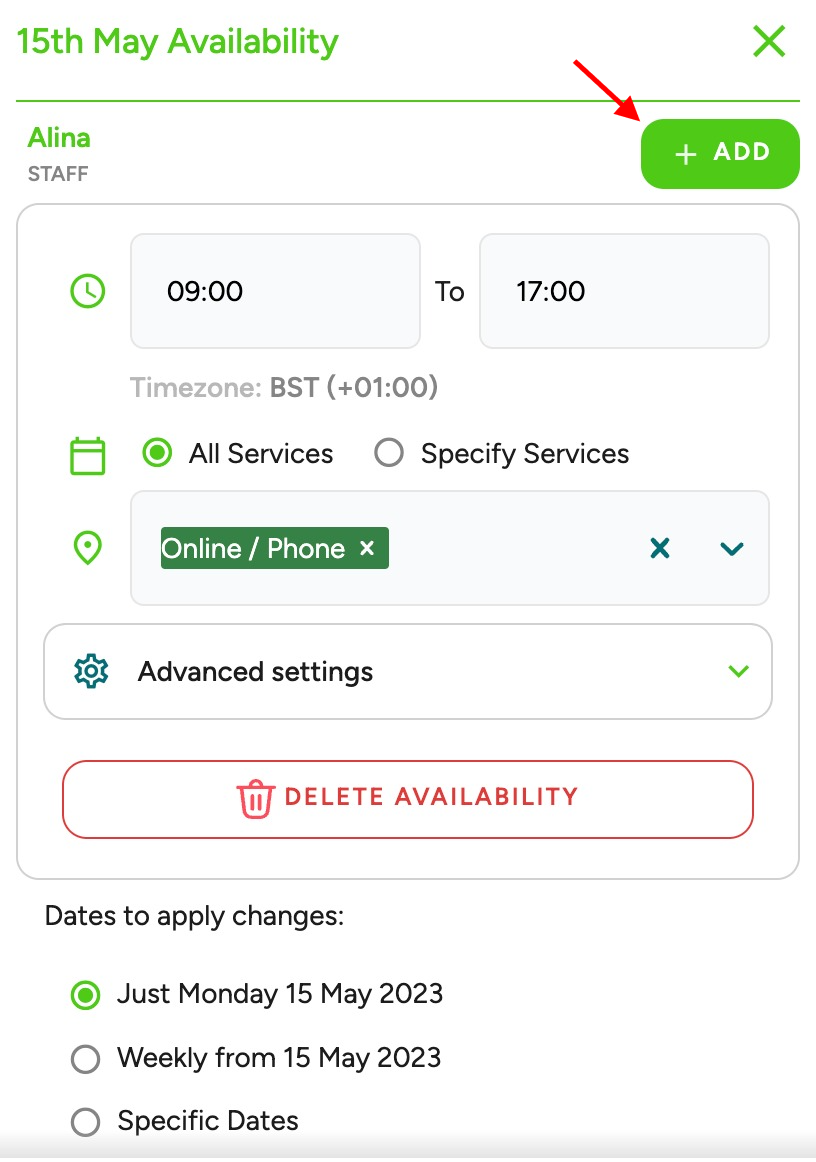
When you’re done, be sure to click the Apply button at the bottom of the sidebar, as these settings will not save automatically. The available hours you've added for each day will then be shown on the availability page.
Click here to read more about managing your availability.
Creating services
When you’re ready to start creating your bookable services, head over to Manage > Services and click + Add.
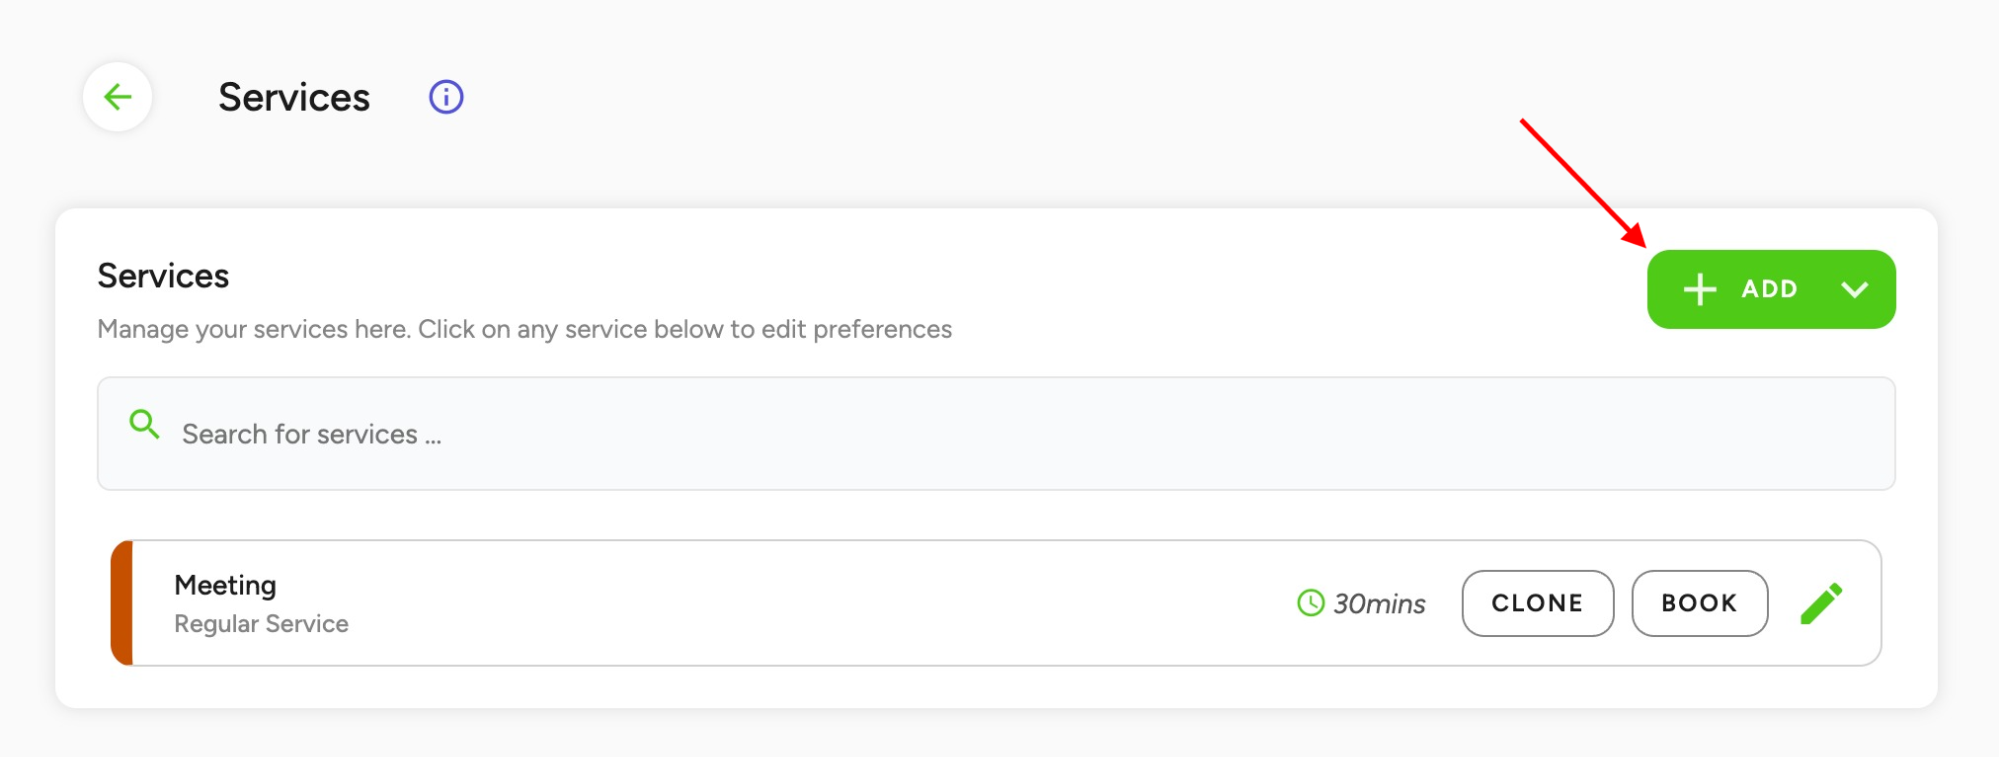
You can create regular services which are based on your working hours, and class services for bookings with multiple visitors/customers, which are based on classes you've already scheduled into your calendar. Feel free to create as many services as you like; there’s no limit!
Each service can be individually customized. You can open the service settings for each service in Manage > Services by clicking on them within the list.
Using the calendar
Each bookable staff user within your Scheduling account will have their own calendar. To open the calendar, head to the Calendar tab within the left-hand menu.
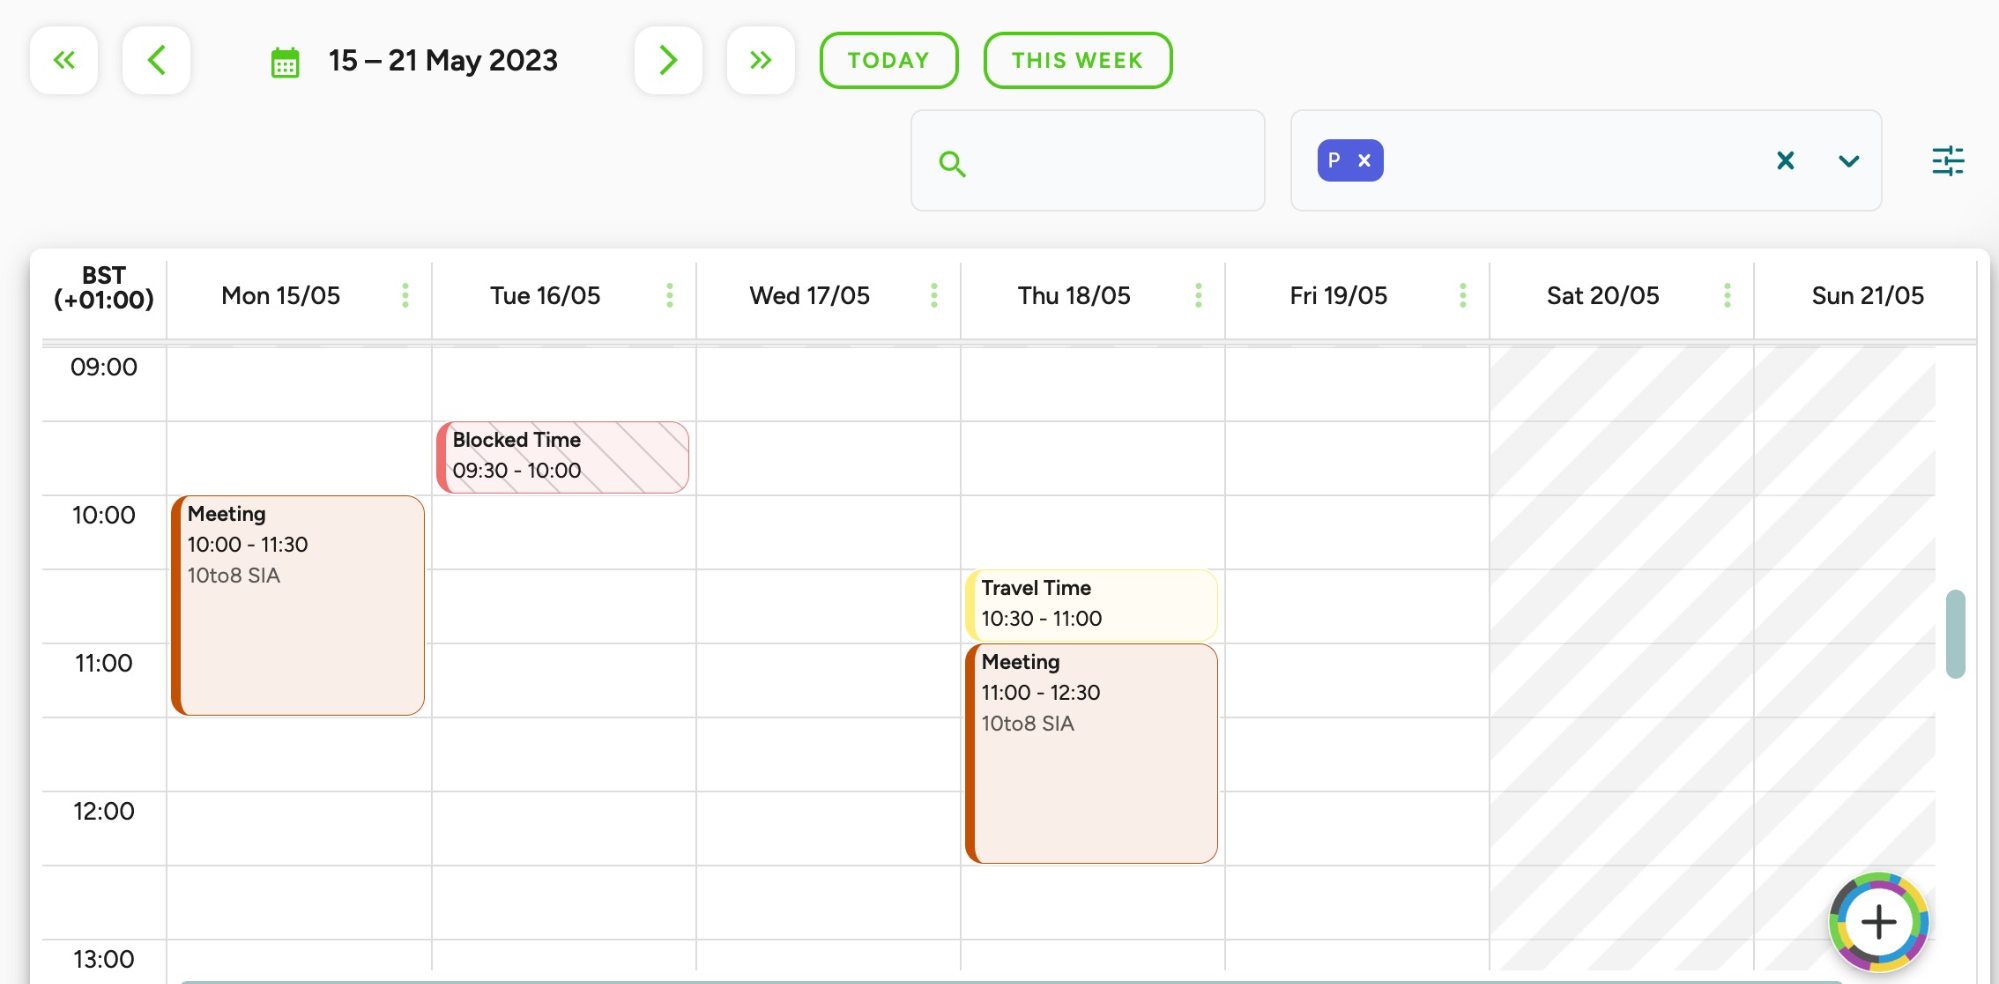
The calendar gives an overview of all bookings scheduled with you and the other staff members within the account.
Setting up Messaging
To configure the messaging settings for your visitors/customers, head to Customer Messaging.
For every booking scheduled with Scheduling, automated emails and SMS can be sent to your visitors/customers containing the date, time and location of their appointment. Emails and SMS can also be sent to notify visitors/customers of changes to their bookings, and of cancelations. To enable these messages, ensure that Email Notifications and SMS Notifications are toggled on.
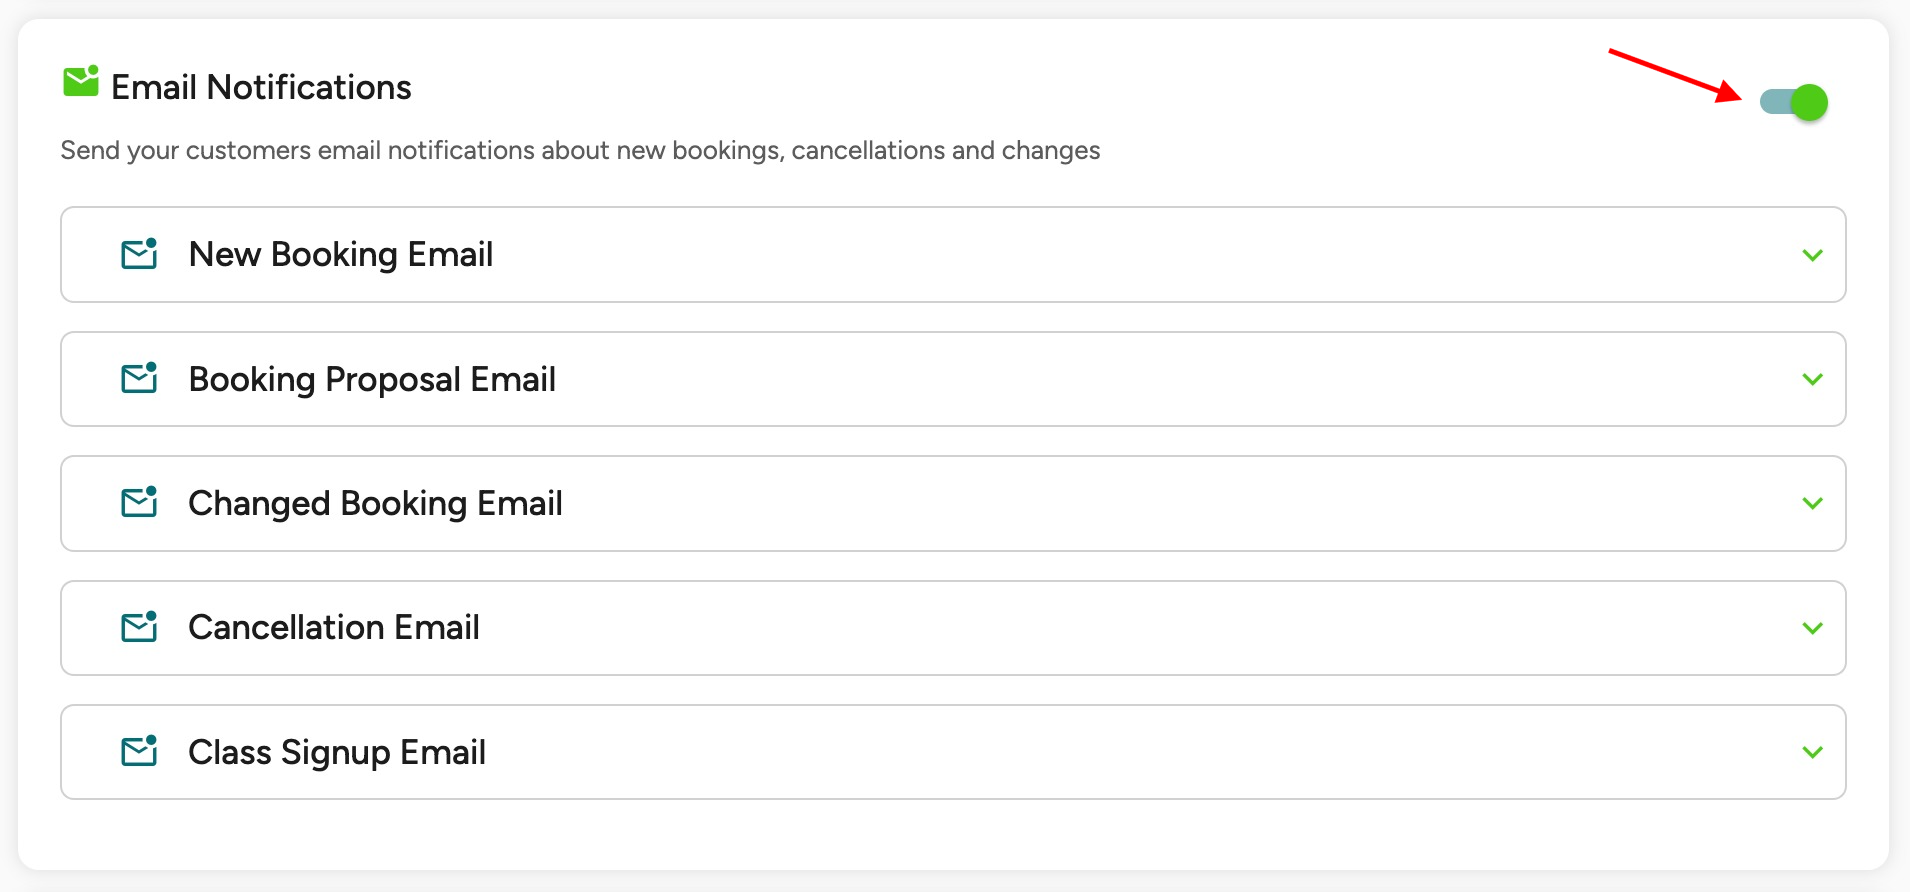
The following email and SMS notifications can be sent to your visitors/customers:
- New booking
- Booking proposal
- Changed booking
- Cancellation
- Class signup
Staff messaging settings can be configured under Staff Messaging. Email and SMS booking notifications can be enabled/disabled, alongside Email, SMS and desktop appointment reminders.
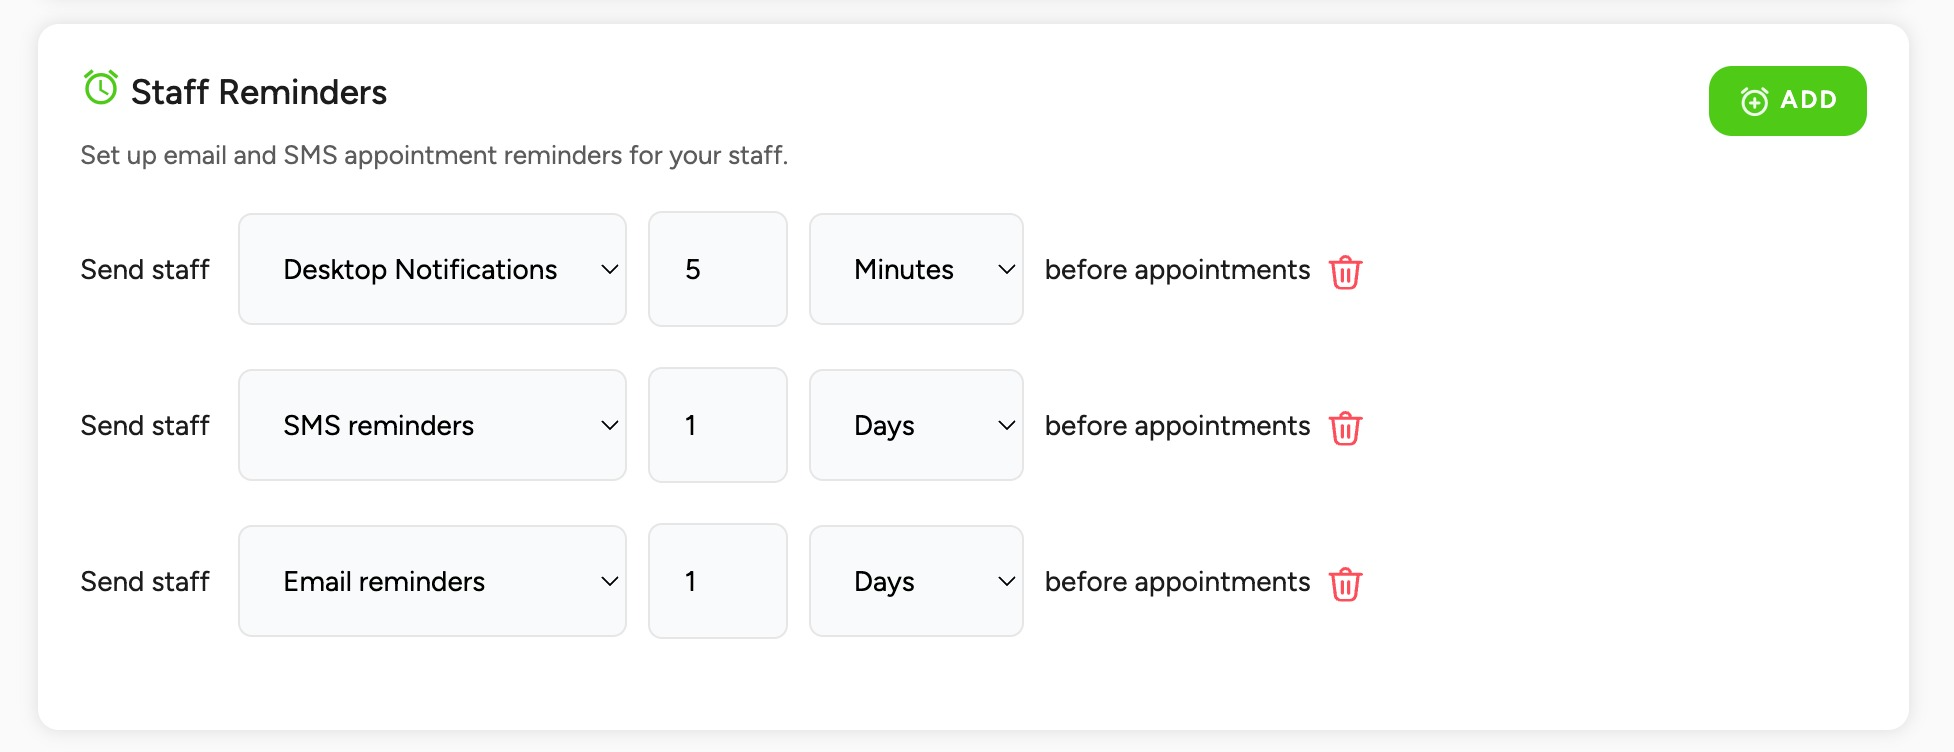
Note: Staff messaging settings configured on this page will be applied across the board. If individual staff members wish to disable their booking notifications, they’ll need to remove their contact information from their profile under Manage > Staff.
Scheduled invites
Scheduled invites allows you to send a visitor a pre-registration that includes a booking link, the visitor can then select a time that works for them and aligns with your availability. This is enabled by default if you use the Sign In App / Scheduling integration.
To get started go to the Sign In App portal and navigate to the Today screen. From there, select your Visitors group and click Pre-register on the right hand side. Then click the Scheduled Visit button.
When you click the Scheduled Visit button the date picker option is removed as the visitor is able to select the date/time as part of the booking process. You will also be prompted to complete two additional fields, Service and Employee. The Service field allows you to select the Scheduling service that this scheduled visit is for. The Employee field allows you to pre-select who the employee the booking is for. The employee selected here will also pre-populate the visiting field with the same person.
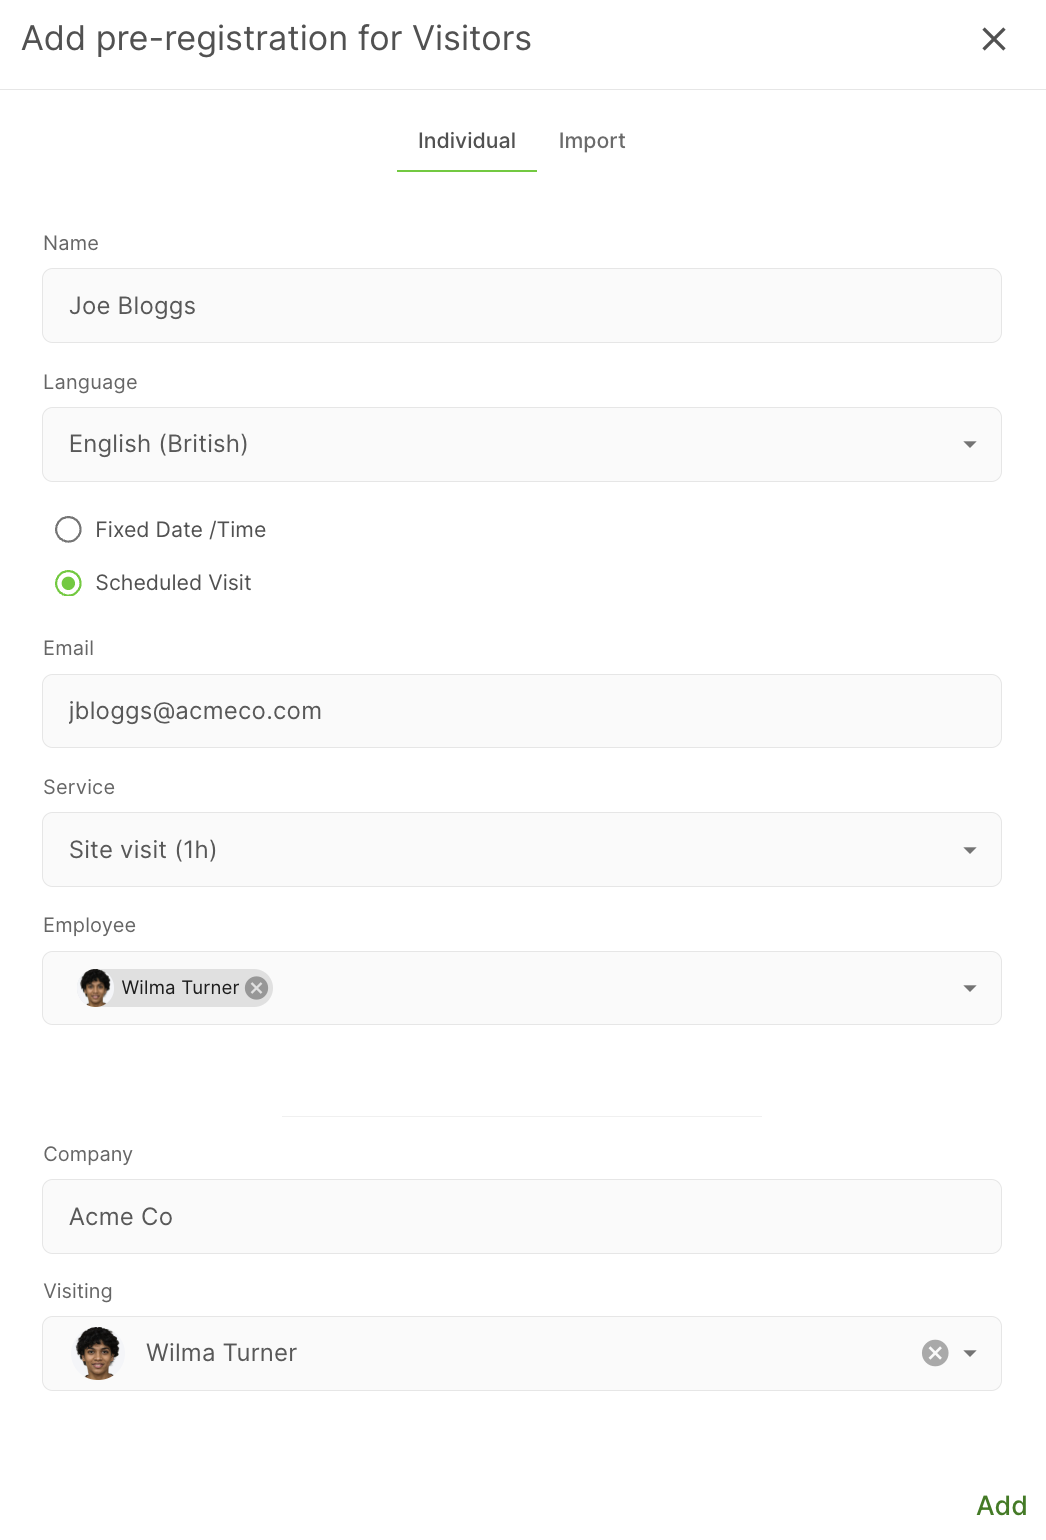
Clicking Add will then send the visitor an email with details of the visit and a Book an Appointment button.
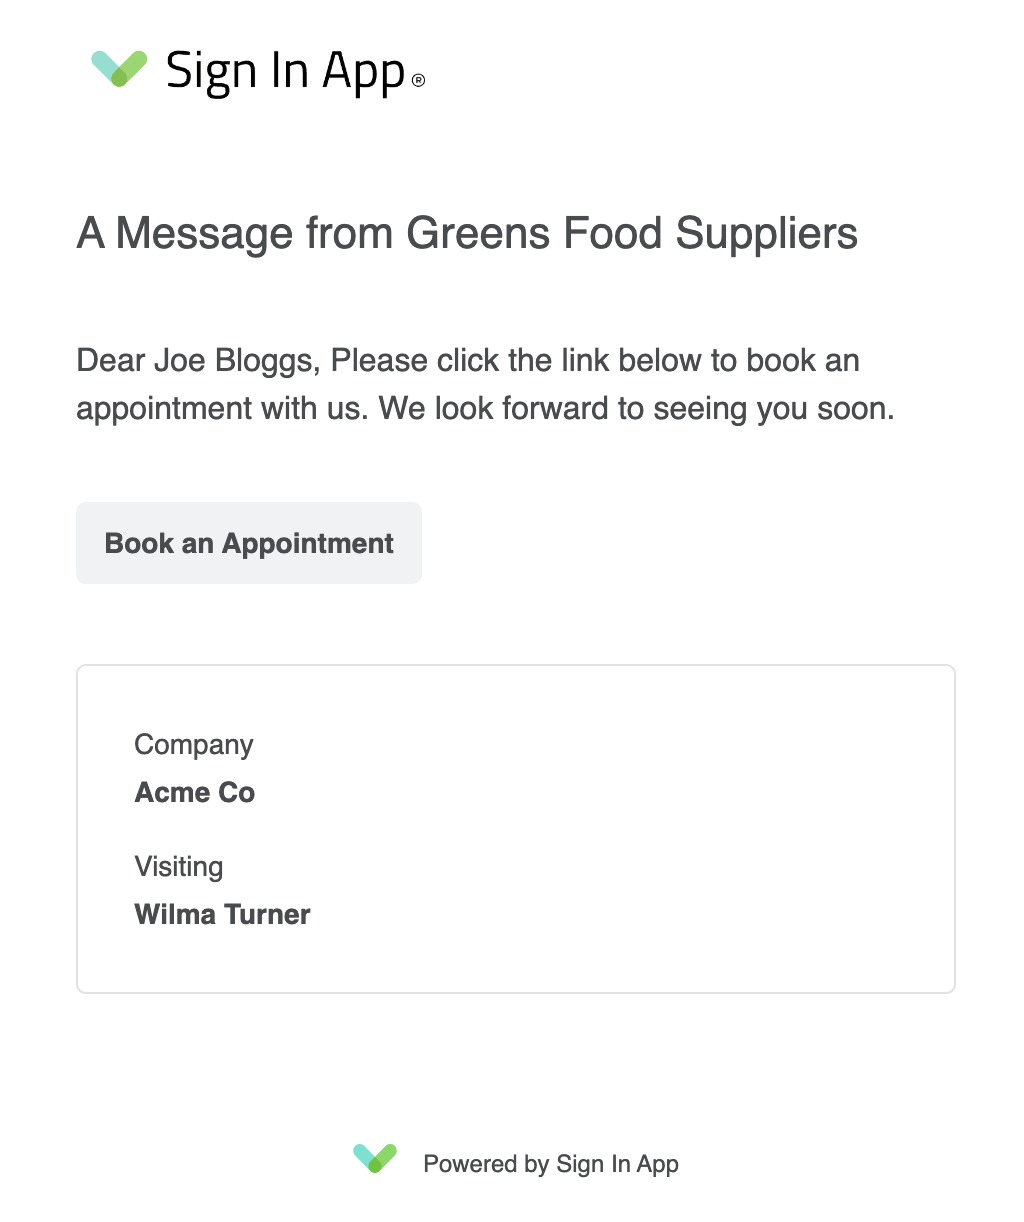
Clicking the Book an Appointment button will open up a window, from here the visitor can pick an available slot for that member of staff. The visitor just needs to select the slot they’d like to the booking for and then grant permission for the booking.
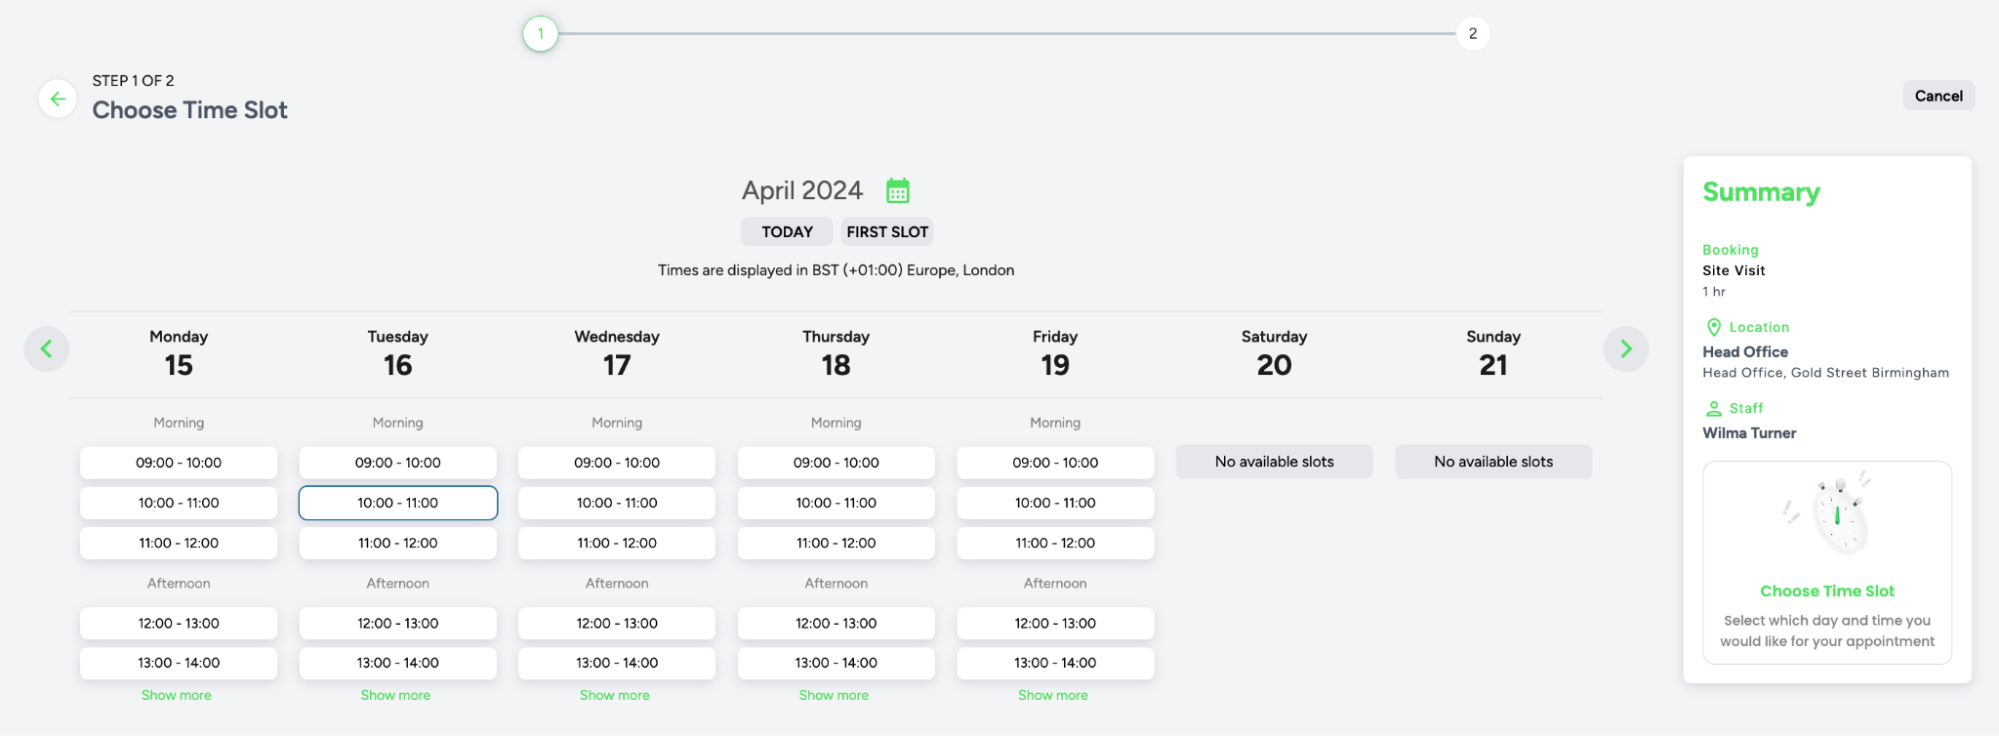
Next, the visitor will receive a pre-registration that confirms their booking and allows them to add the event to their calendar.
Availability
The availability of the employee selected when the scheduled invite is created determines the slots available to be booked. If you don’t see any slots then you need to edit the availability for the employee the scheduled invite is for.
Tip
If your Scheduling account was created through your Sign In App account and you have one site, the default behavior is that every member of staff will have 9am - 5pm availability for your site. If you have more than one site, you will need to manage your employees for each site to ensure they’re available for bookings.
You can access the full Scheduling Support Center here.
The Sign In App / Scheduling integration is in beta at the moment so we’re keen to hear about your experience. Please direct any feedback, questions, bugs or suggestions to beta@signinapp.com.

