Reception mode - Original experience
Reception mode presents a series of screens that walk your visitors through your sign in process. Each stage of the process can be customised or switched off if required. Visitors will be greeted by reception mode again when they sign out.
Tap to start
To start reception mode, tap the large panel that previews your welcome screen in config mode.
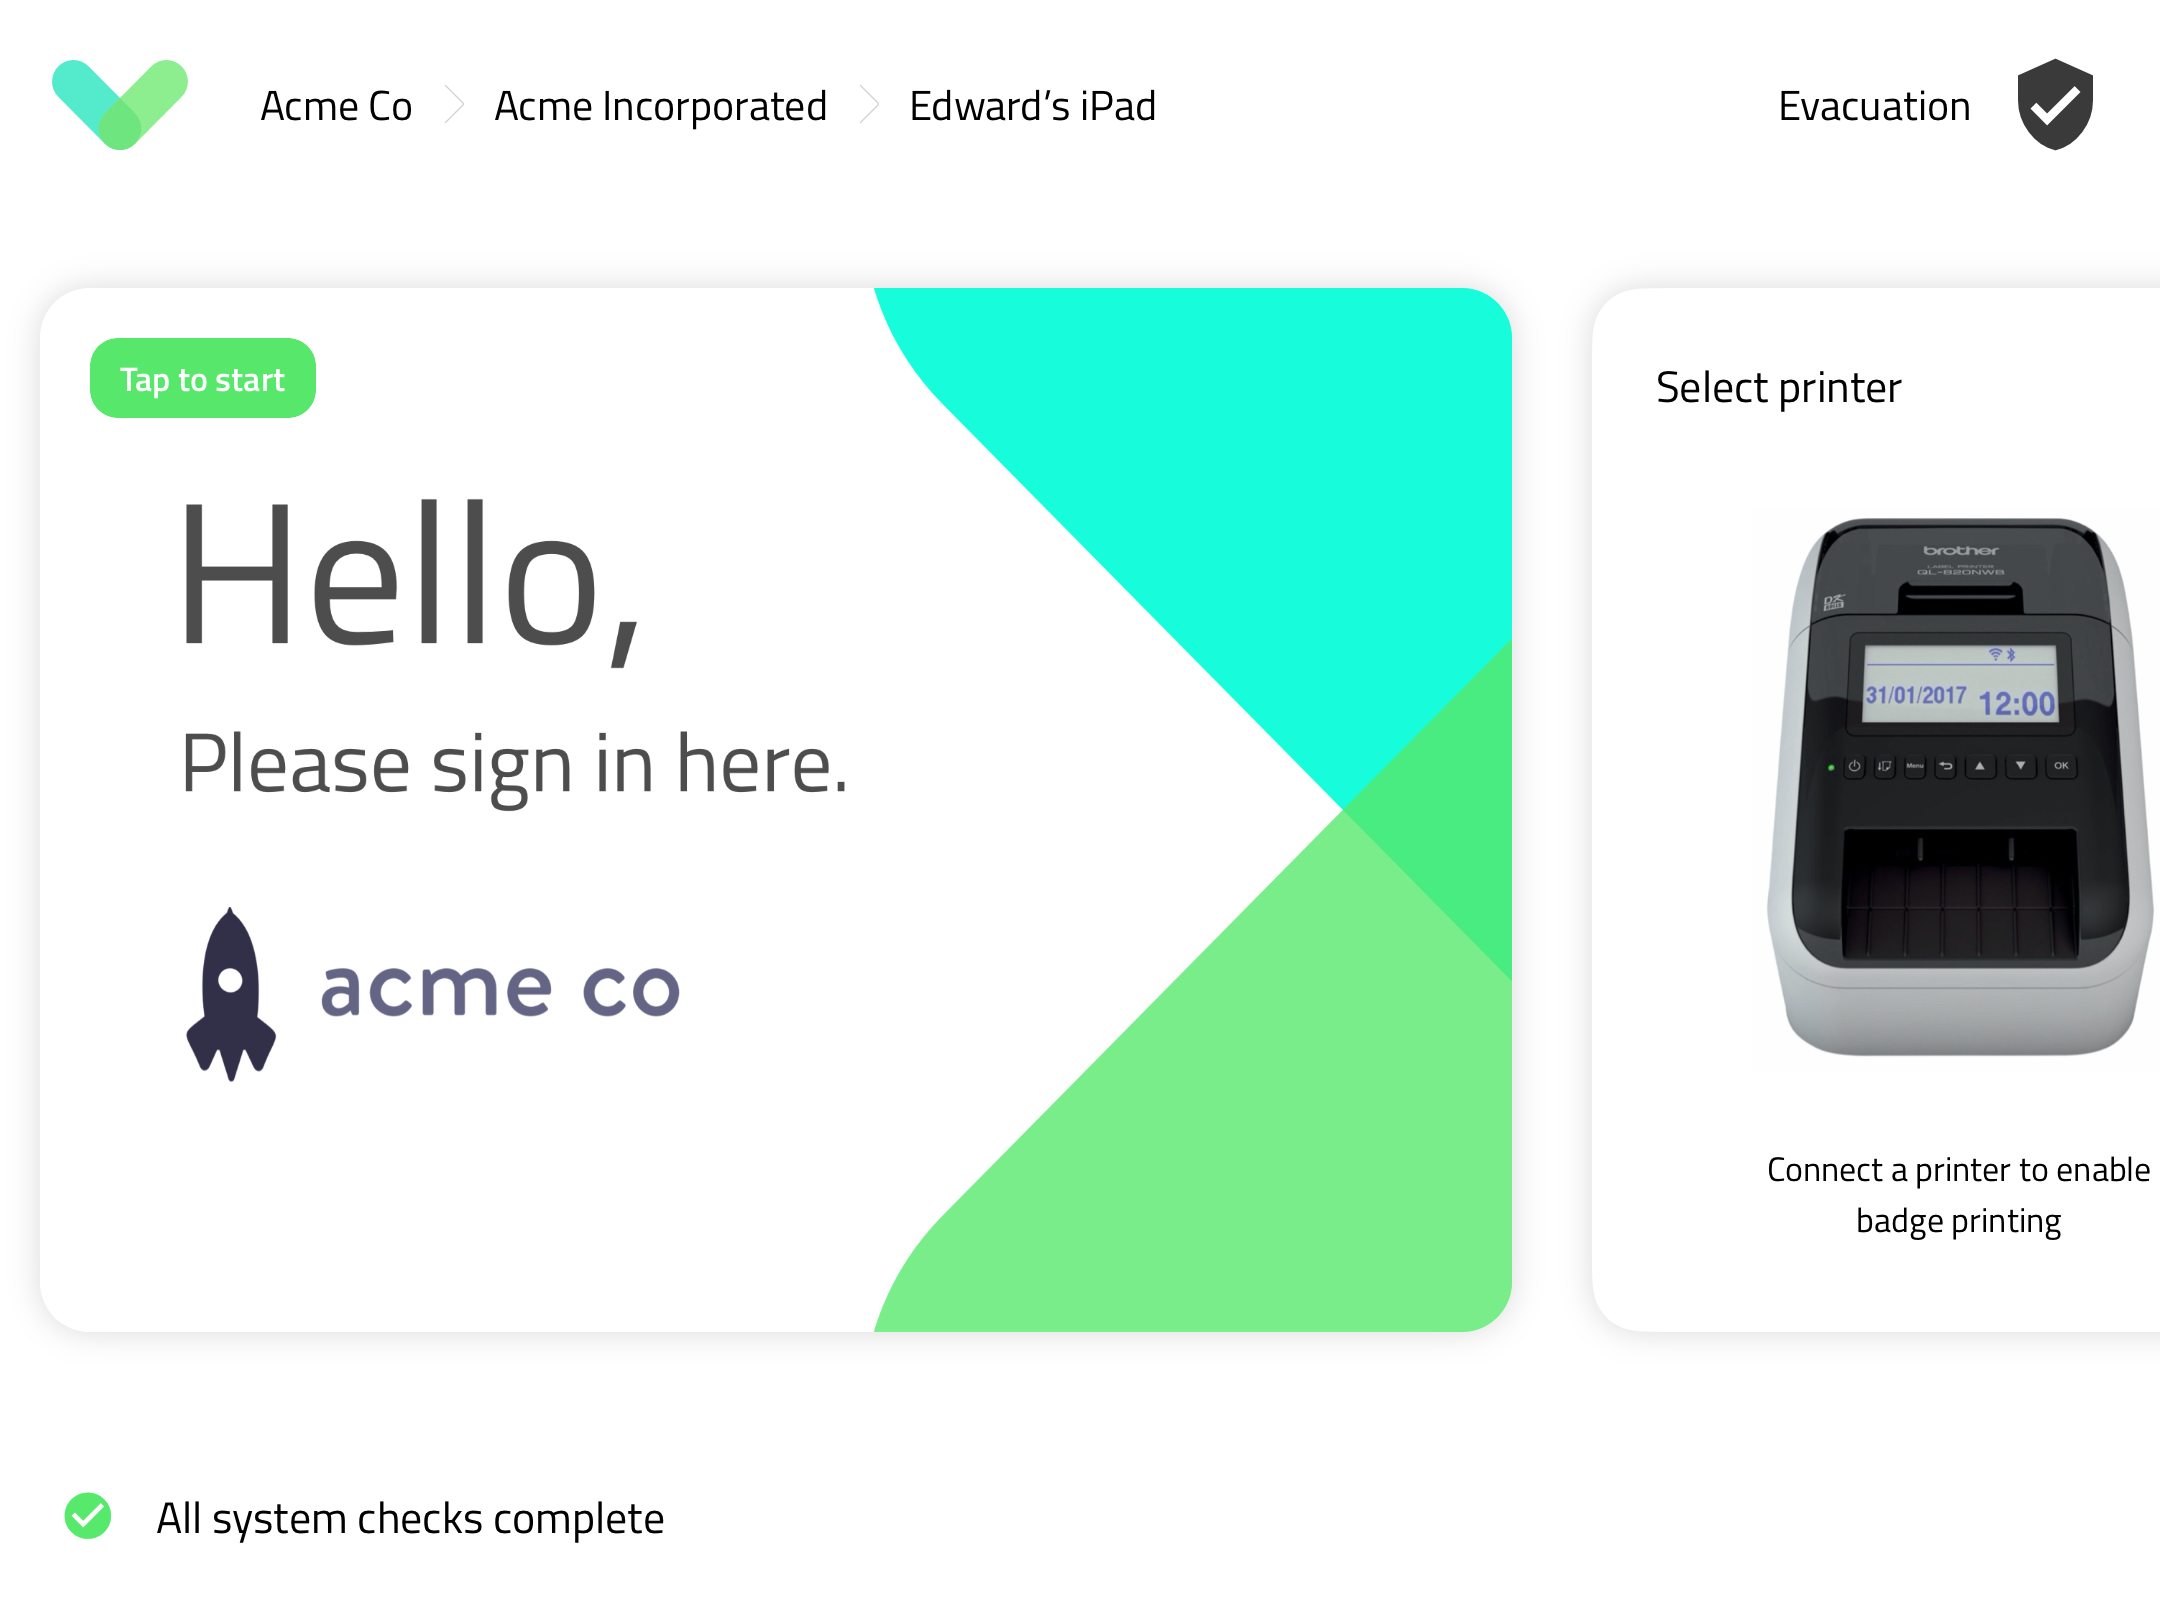
The welcome screen
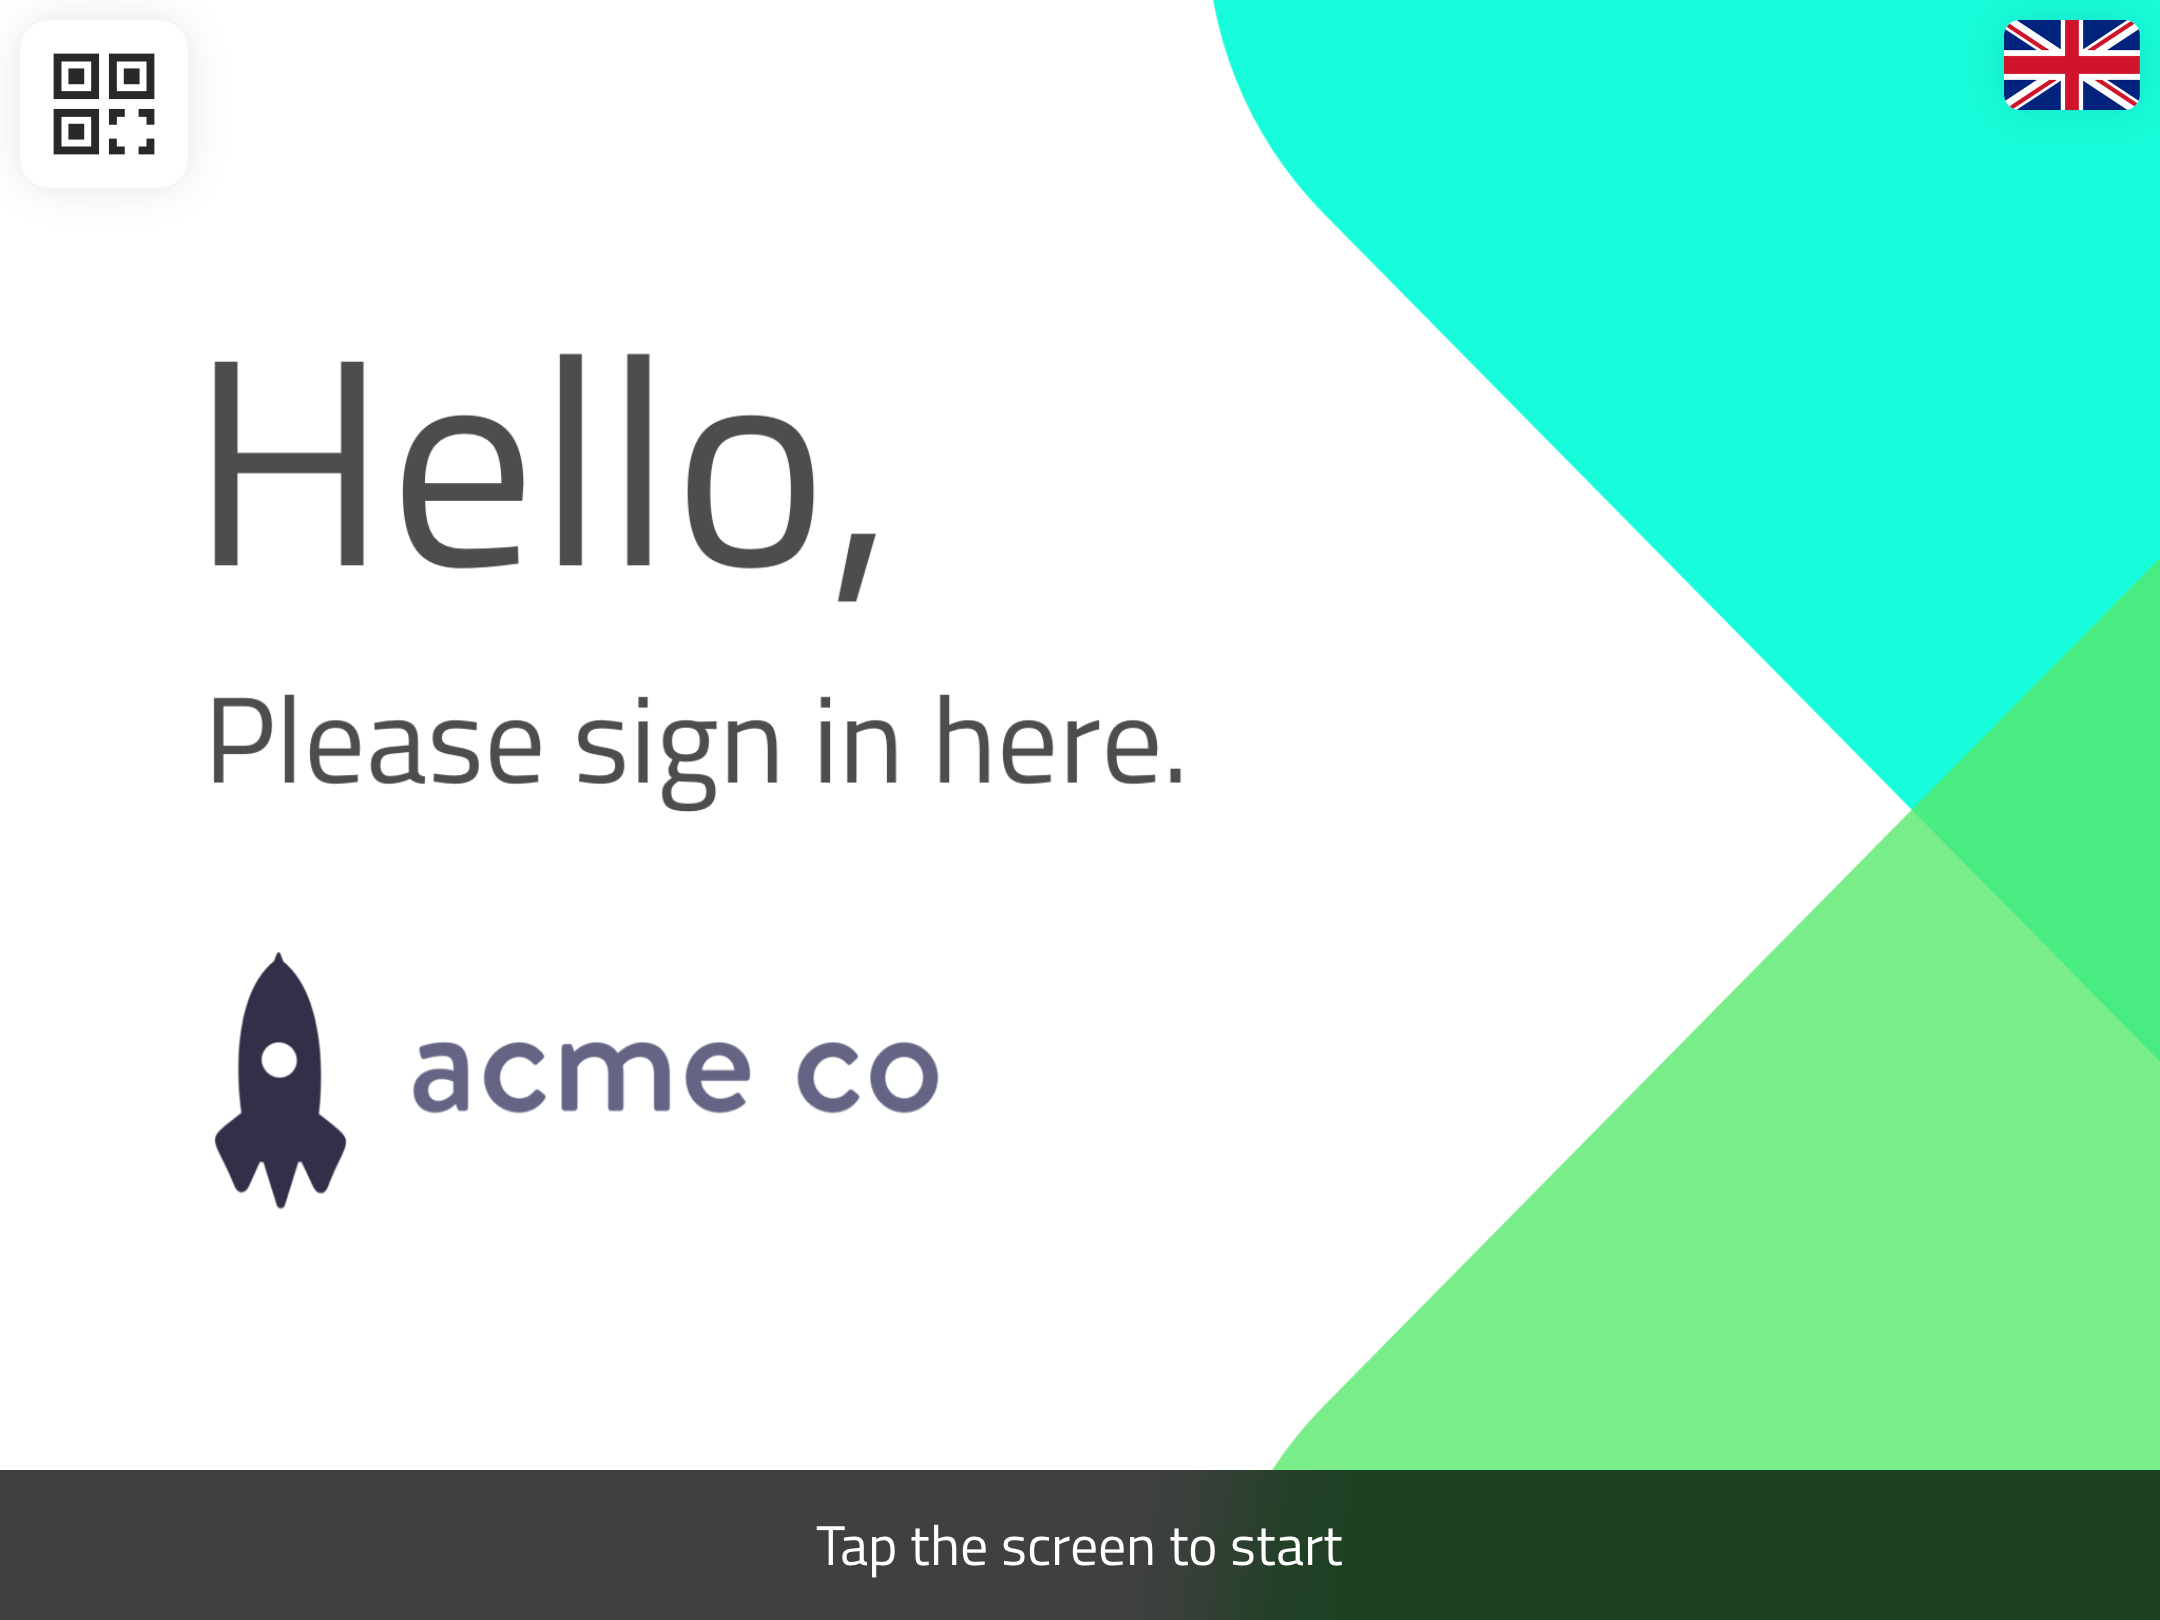
Create a great first impression with a welcome image for your guests that fills the iPad screen. A large hi-res logo on a white background always has an impact, or customise with images and colours inline with your brand guidelines. A clear but discreet dark bar always shows at the bottom with the instruction Tap the screen or use contactless.
Tip
Sign In App also supports Contactless sign in for visitors. To read more about this feature and how to set it up click here
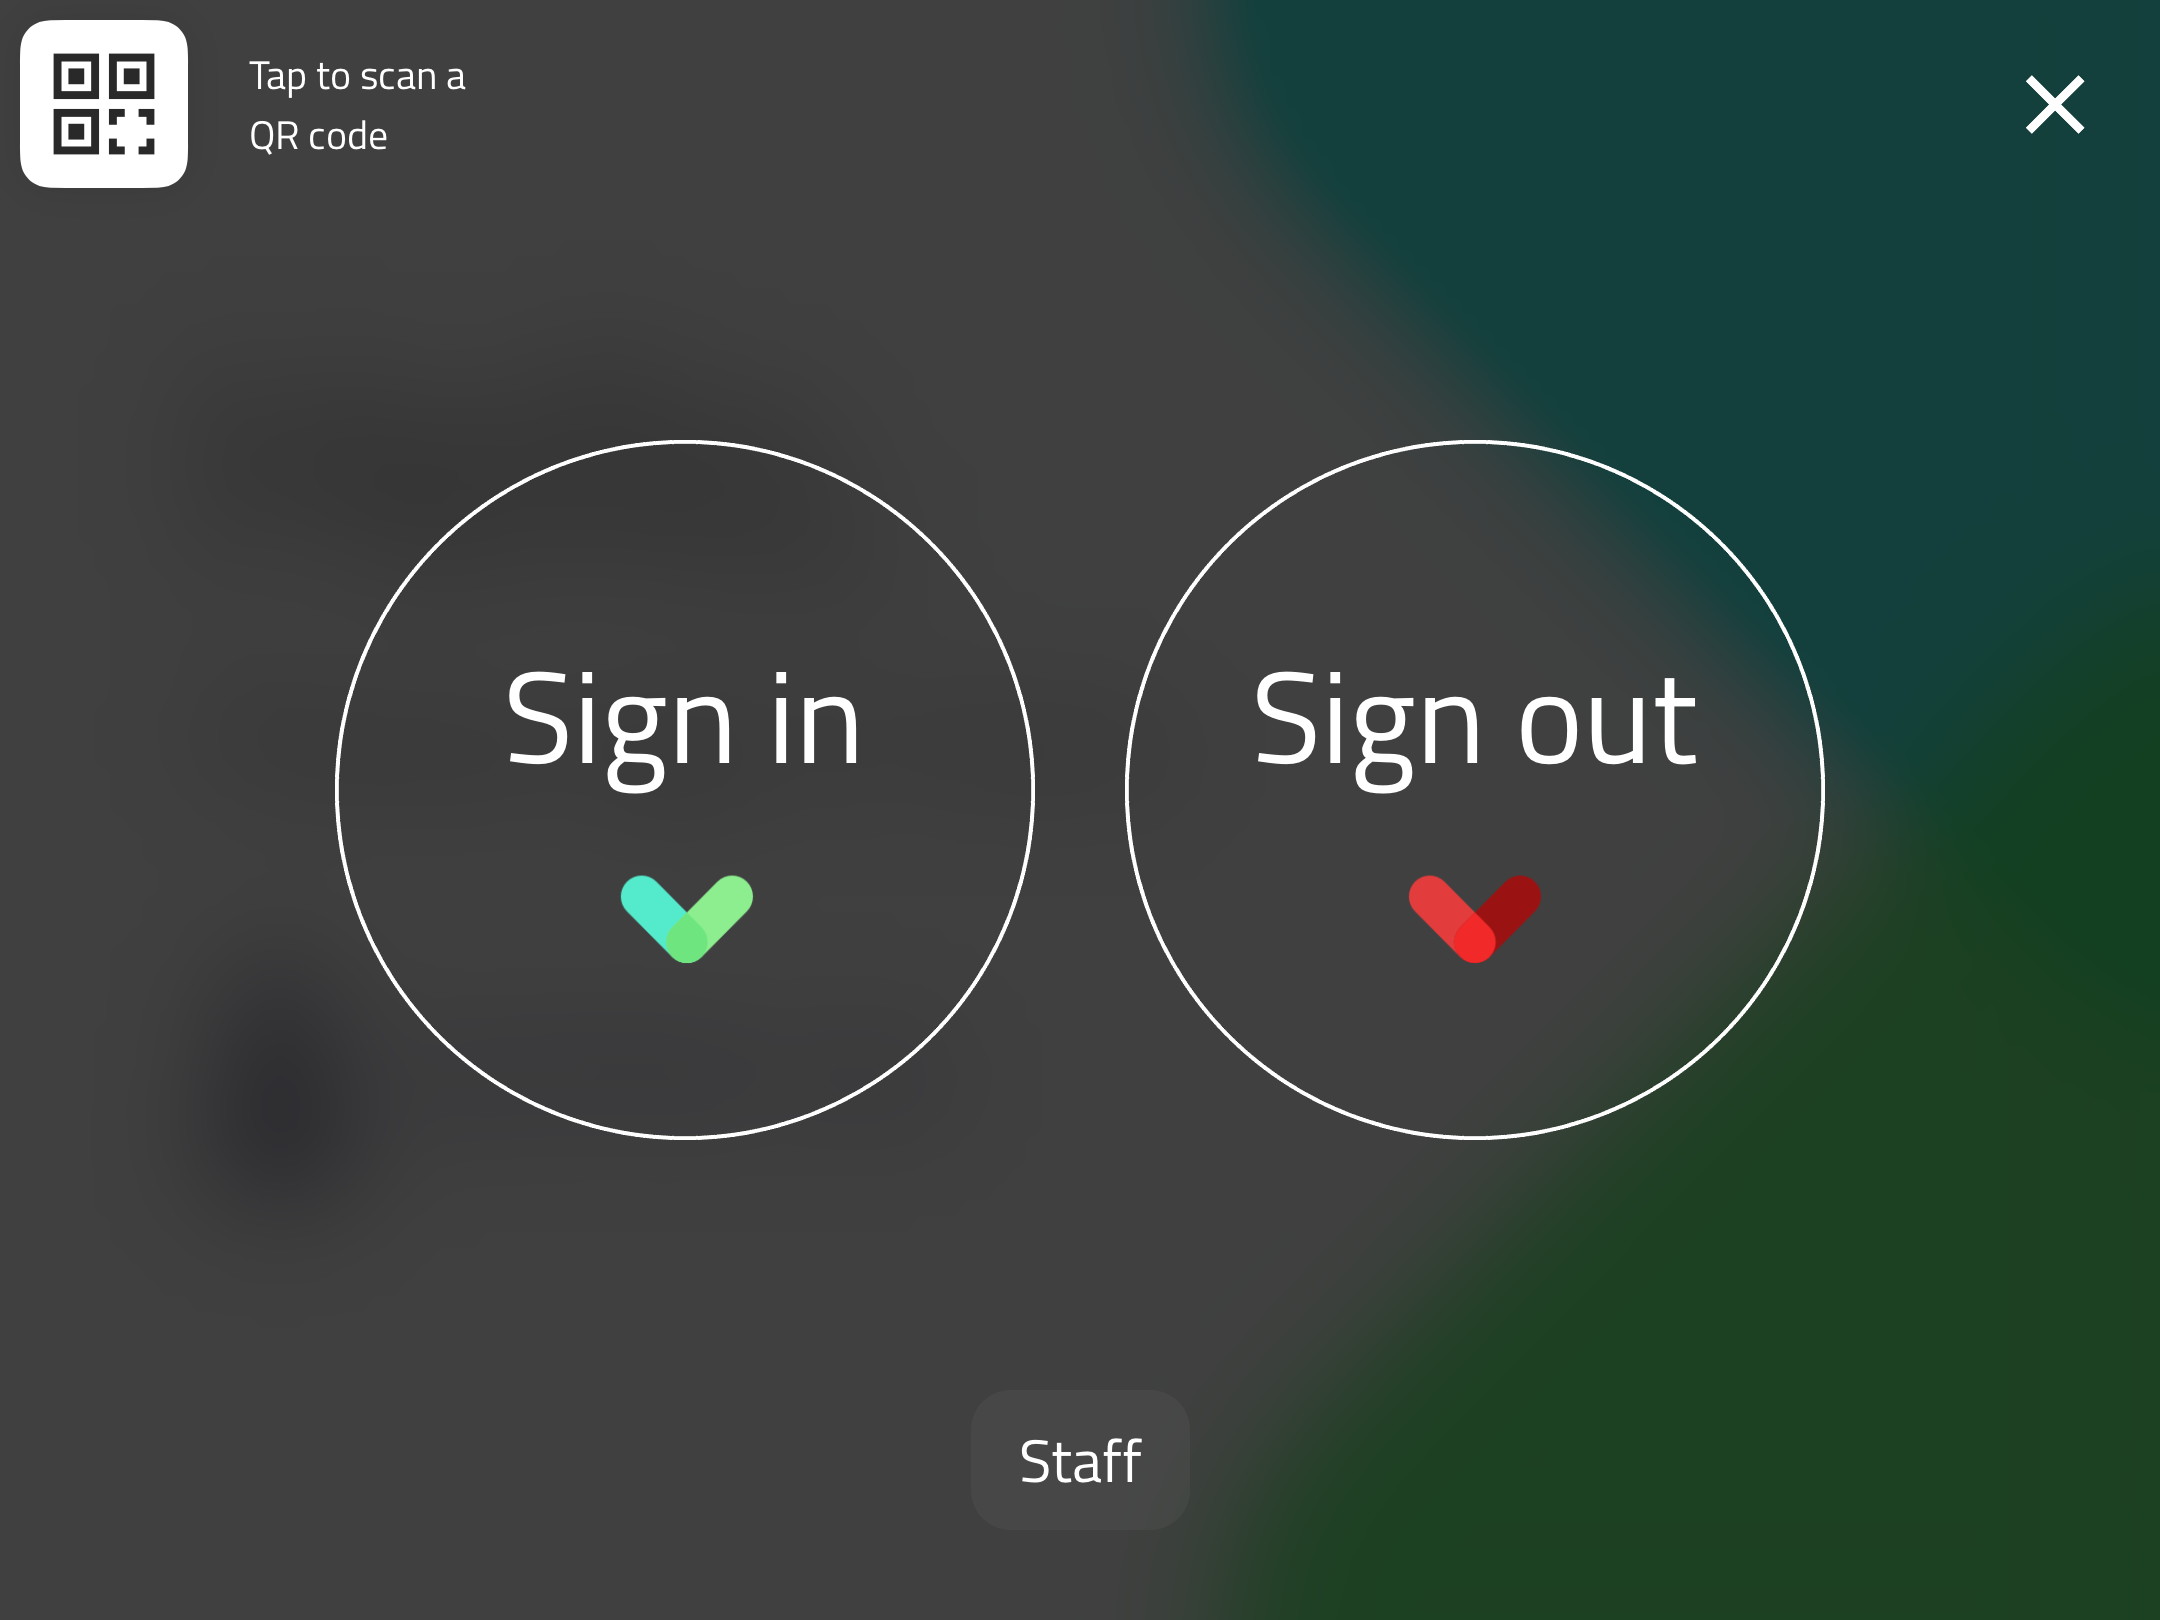
Once the user taps anywhere on the screen, a panel slides to fill the screen with two simple options. Large, clear buttons allow standard users to Sign In or Sign Out. The user can cancel the sign in and return to the welcome screen at any stage by tapping the cross in the top right of the screen.
Tip
After tapping Sign In, the guest will be asked to select a group from the list provided.
Repeat visitors (i.e. staff)
After tapping the screen once, repeat visitors should tap their group from the list at the bottom of the screen under the Sign In and Sign Out buttons, or click Sign In and then select their group.
QR codes
If QR codes are enabled in the site config, an additional option will appear in the top left of the welcome and sign in screens. This button, when tapped, will open the camera ready to scan a QR code. If your guest has been pre-registered and received an email invitation, scanning the QR code from their phone will take them to the visitor information screen with their details pre-populated.
Repeat visitor group members with a QR code will be immediately signed in or out when they scan their QR code.
Standard visitors
After a guest (standard visitors) selects Sign In, they are asked to provide their full name. Any custom fields set up in the portal are also displayed here. As the user taps 'Continue' on each field the next field is selected.
Autocomplete
If the visitor has previously signed in and privacy mode is turned off, their name will autocomplete as they type, speeding up the sign in process.
Notify list
Some fields allow visitors to select a from a list of repeat visitors at your organisation i.e. staff. When your visitor starts to type a name in this field, search results will automatically appear to the right. Selecting a person will send a notification by email or SMS to this user (if configured).
Visitor photos
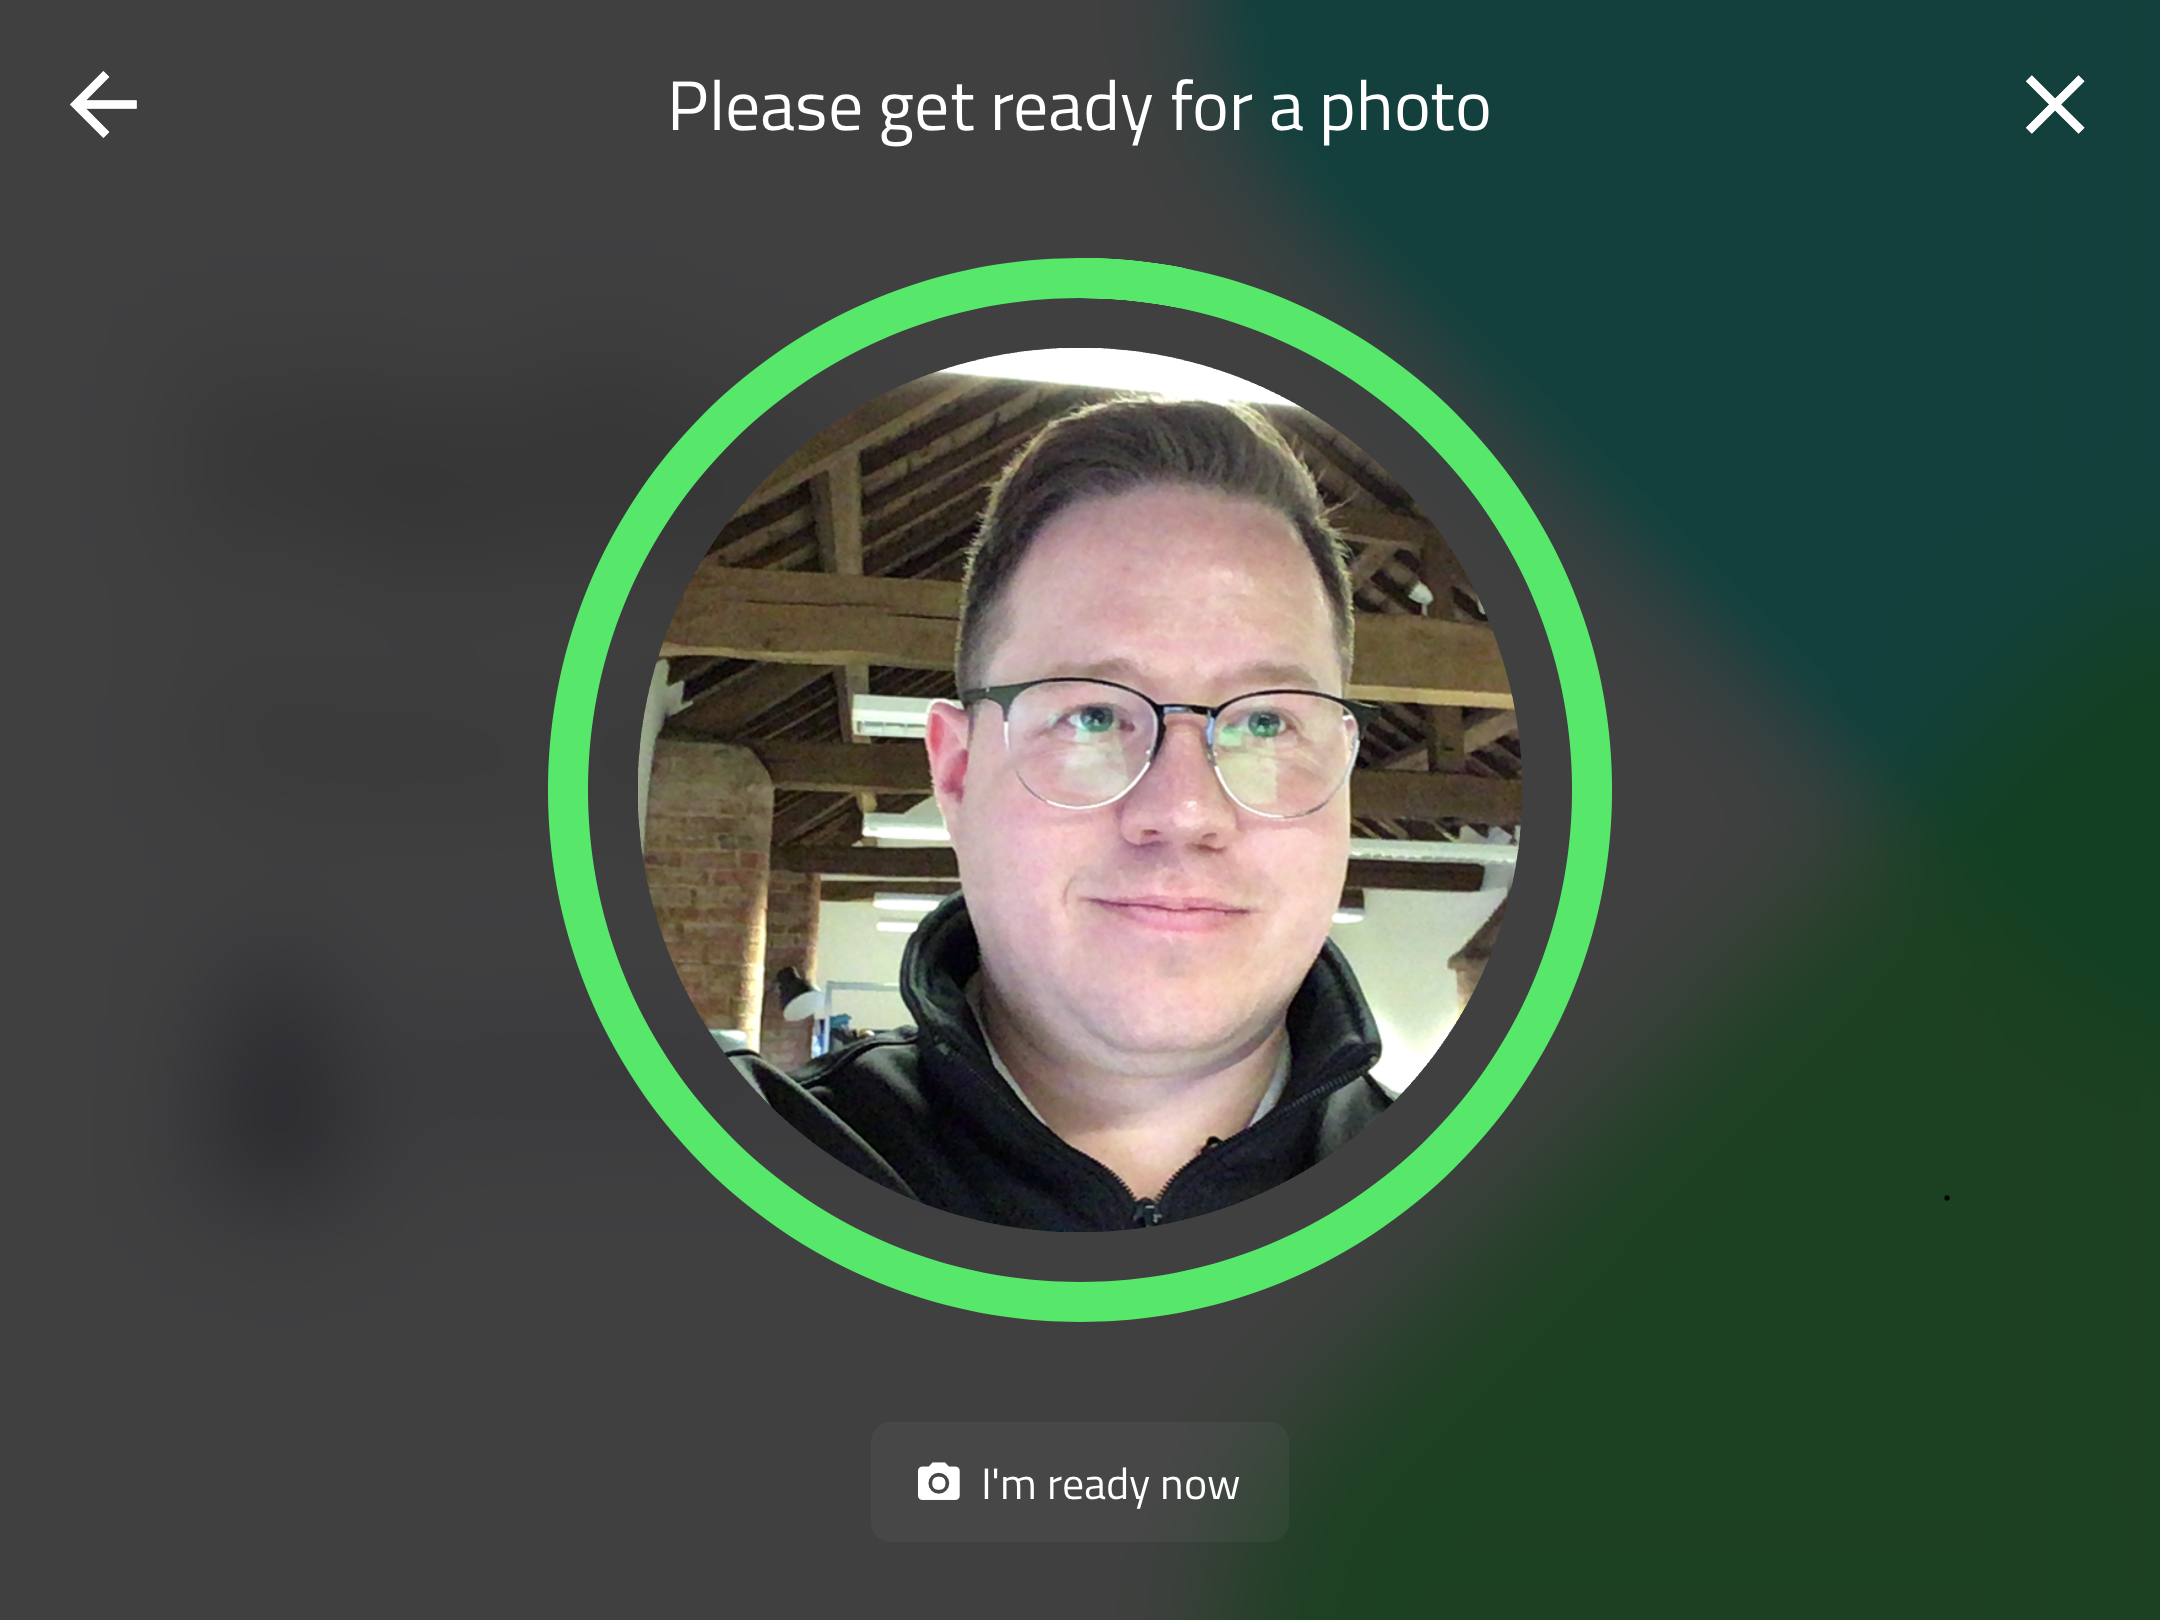
If visitor photos are enabled, the user is presented with a live preview from the iPad's front facing camera. A 3 second countdown will automatically start before taking a photo. After the photo is taken, the user is given the opportunity to retake the photo or continue. Visitor photos can be enabled or disabled from the Sign In App portal.
Messages
If visitor messages are enabled, the user will then see your custom terms or policies such as Health and Safety Policies, Non-disclosure Agreements or fire safety information. Messages may require visitors to accept before proceeding, optionally check a box, or provide a signature on screen. Visitor messages can be enabled or disabled from the Sign In App portal. Messages support a range of file types including images (.png and .jpeg), videos and pdfs, as well as plain text. Videos will autoplay when the visitor navigates to the message. Larger files can be accessed using a hyperlink to an external page.
Badge printing
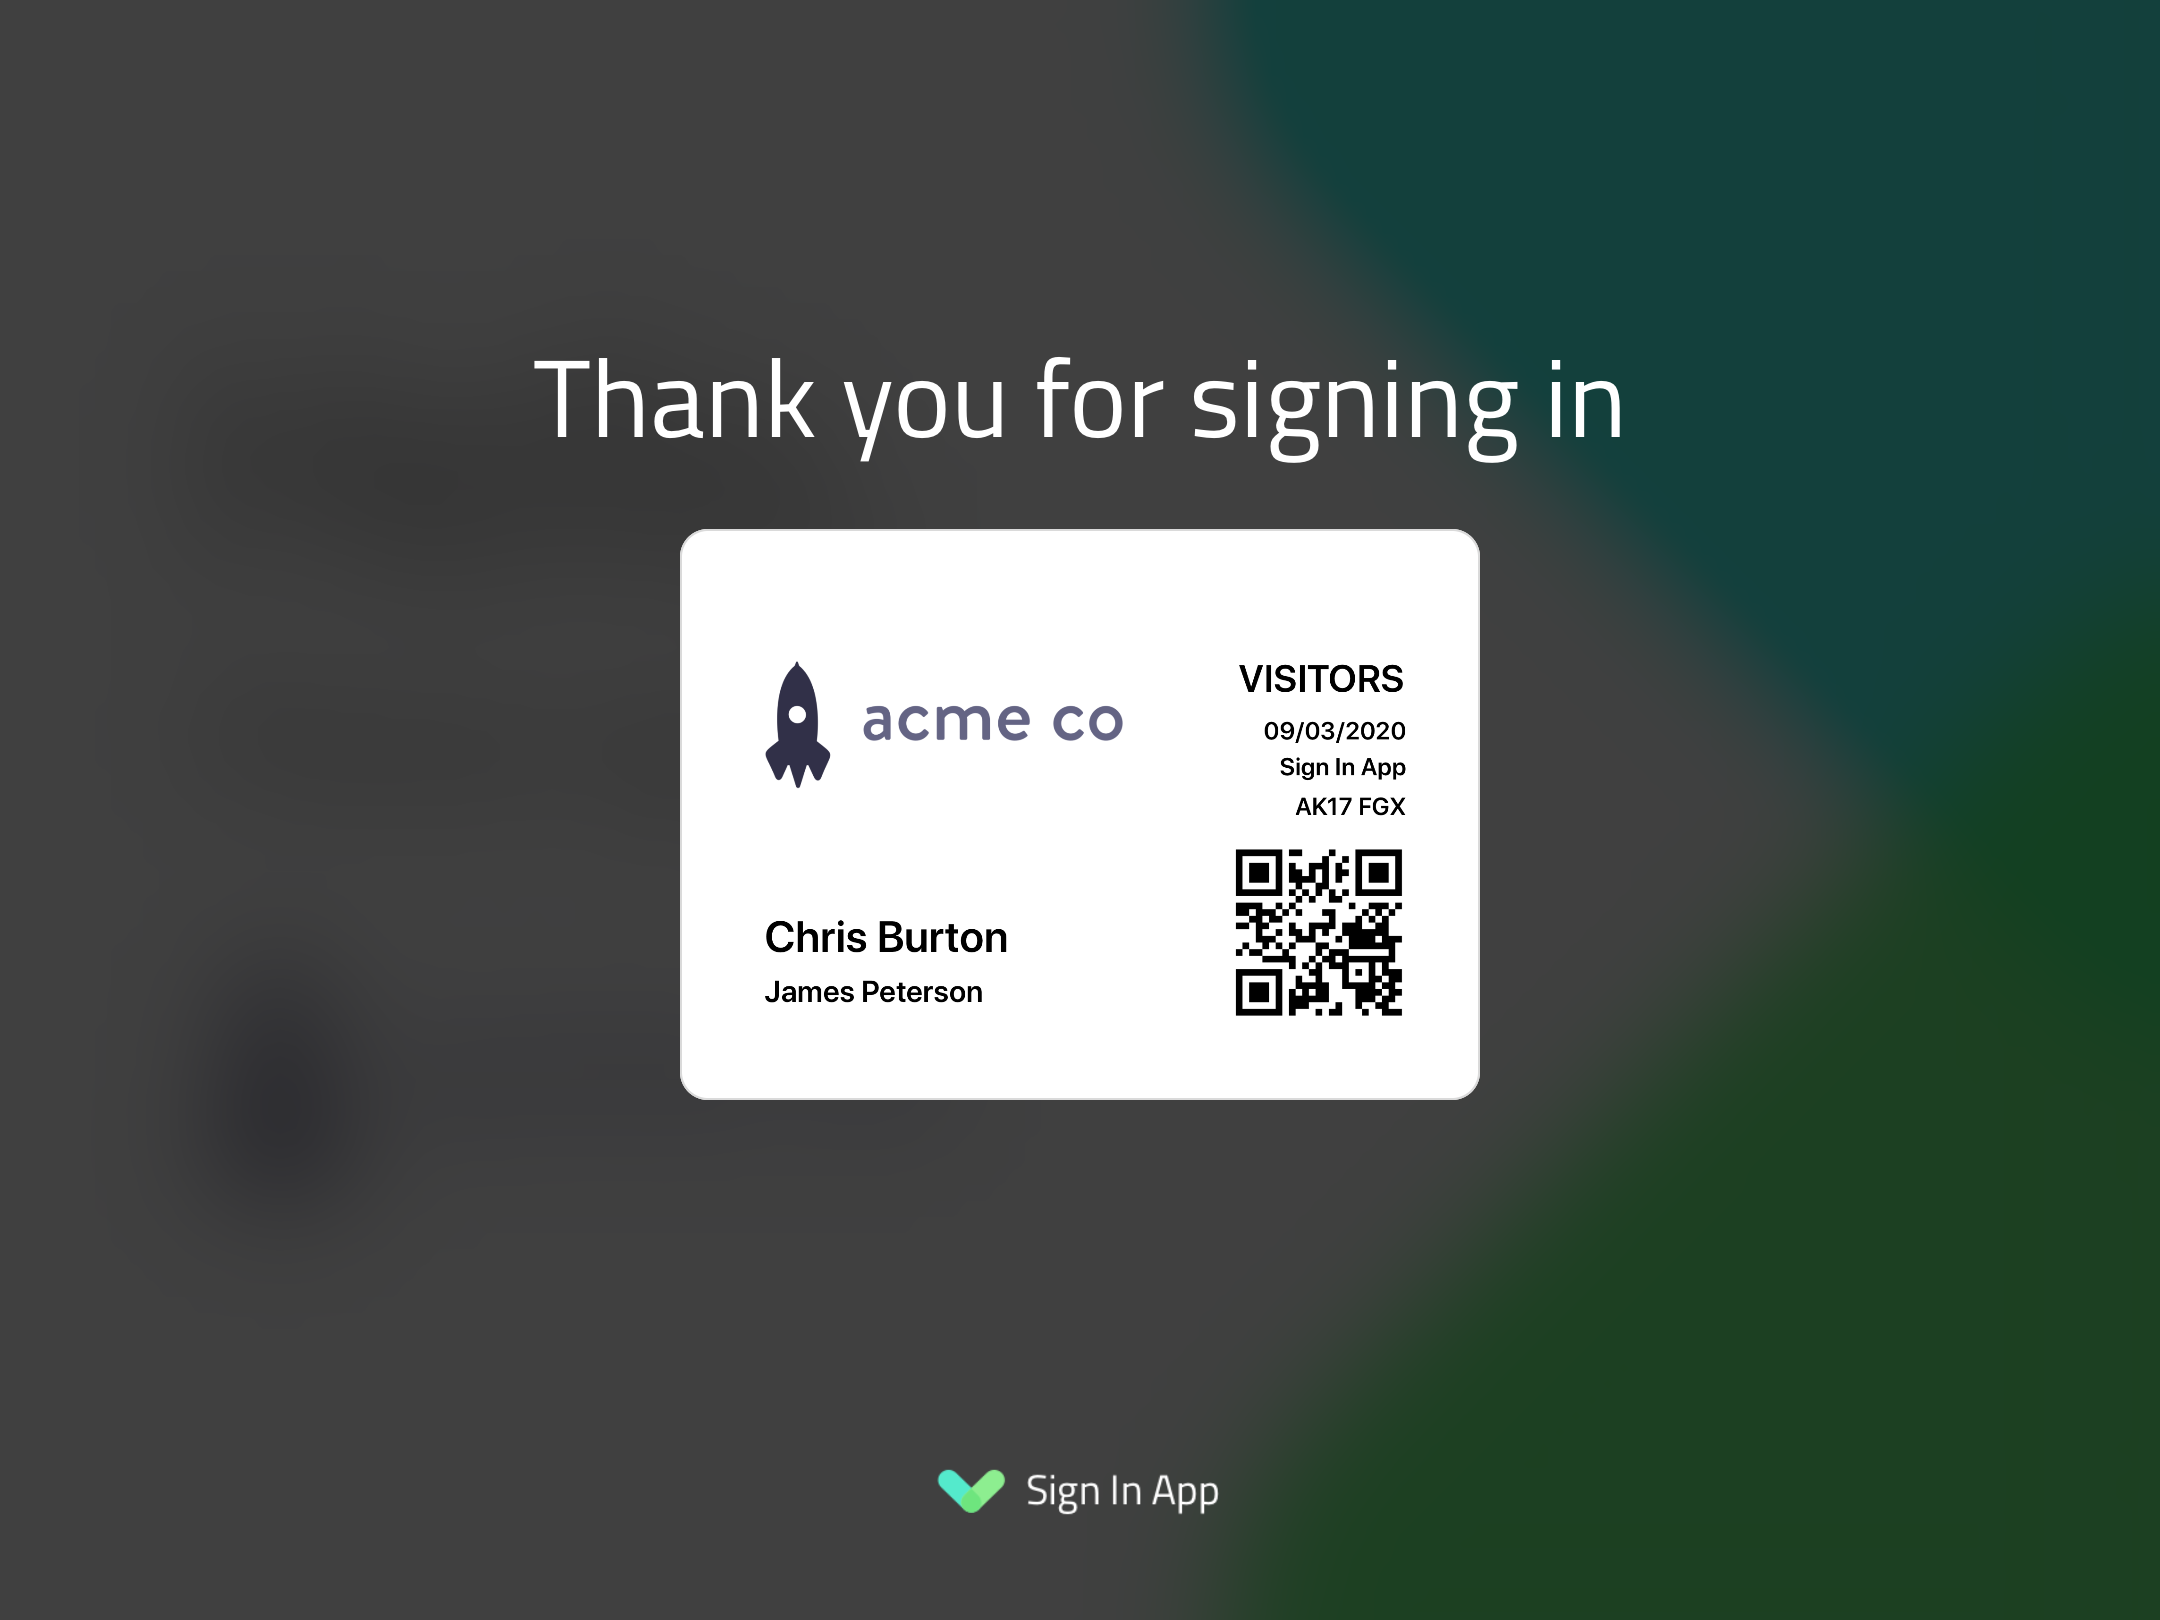
If a compatible Brother printer is connected, a visitor badge will then be printed. A range of badge templates is available on the Sign In App portal.
Important
If the internet is temporarily unavailable when a user signs in, their badge will still be printed. The visitor's information will be stored locally on the iPad and automatically uploaded when the internet reconnects. If you return to config mode, a message will appear informing you that there is no internet connection.
Sign out
When a visitor selects sign out from the welcome screen, they are presented with a sign out screen with a search. If privacy mode is configured to hide guest names, the user will find their name by searching. If names are not hidden, guests are also displayed in a list. Privacy mode can be configured from the Sign In App portal.
To sign out, visitors tap their name to reveal the red Sign out option. Tapping the red button will then sign the visitor out. After a short delay, the app will automatically return to the welcome screen.
Repeat Visitors
When a repeat visitor (i.e. staff) selects their group name, a grid of group members appears.
When signing in for the first time, new members can tap 'Add new' to first add themselves to the group (if enabled). After one successful sign in, they will appear in the grid for easy access. To sign in or out simply tap your name and select from the options.
Tip
When being added through the app each group member will be prompted to take a photo (if enabled). If this option does not appear or photos appear as blank circles in the portal, make sure Sign In App has permission to access the camera in the iPad settings menu.
Once signed in, each member will have green circle next to their photo. The alphabet menu on the right side of the screen will jump to members with first names beginning with the selected letter.
Options
When viewing a repeat visitor, additional options can be accessed by tapping the Options button.
| Option | Description |
|---|---|
| Sign in with a new photo | Only available when the repeat visitor is signed out, this option will start a new sign in, prompting the repeat visitor to take a new photo. This will then update their main photo. |
| Connect a QR code | (if enabled) the front camera will appear allowing you to scan a QR code or barcode. If the scan is successful QR code connected will appear. The repeat visitor can then scan their QR code to sign in and out. |
| Connect an RFID card | If connected to Sign In App Tap you will have the option to connect an RFID. Press connect and then tap your card or fob and the reader to associate it with the member. |
| Connect companion app | Select to receive a companion app authorisation code and instructions by email or SMS. If the repeat visitor has no email address or phone number configured, they will be unable to connect Sign In App Companion. |
| Print a badge | (if a printer is set up) print a repeat visitor badge. The badge includes a photo, QR code and your company logo. |
QR codes
Repeat visitors (i.e. staff) can quickly and easily sign in and out by scanning a QR code. To use this feature, it must first be enabled in the site config. Once QR codes are enabled, an additional option will appear when signing in a repeat visitor.
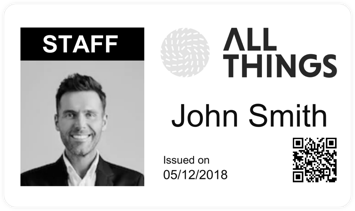
To associate a QR code to a repeat visitor, first tap their name to open the Sign In / Out window. From here, tap Connect QR code and show the QR code to the camera. A message will appear to confirm the QR code is now connected. To sign in or out, tap the QR button in the top left of the welcome screen and present the QR code.
Tip
Any QR code can be associated to a returning visitor. QR codes can be generated online, alternatively you can purchase QR code card/fob combos from Sign In App for £1.25 each plus vat. Contact us for more information.
Return to config mode
On the welcome screen, tap and hold your finger anywhere on the screen until the green bar completes the circle.
You will then have to option to Go to settings, Reprint a badge and Refresh config. You can limit access to the config screen by setting a pin. Go to settings allows you to open the config menu, to read more about this click here. Reprint a badge means you can print a badge for a standard visitor. Refresh config will update any changes made on the portal instantly, otherwise they update every 30 minutes.

