Config mode
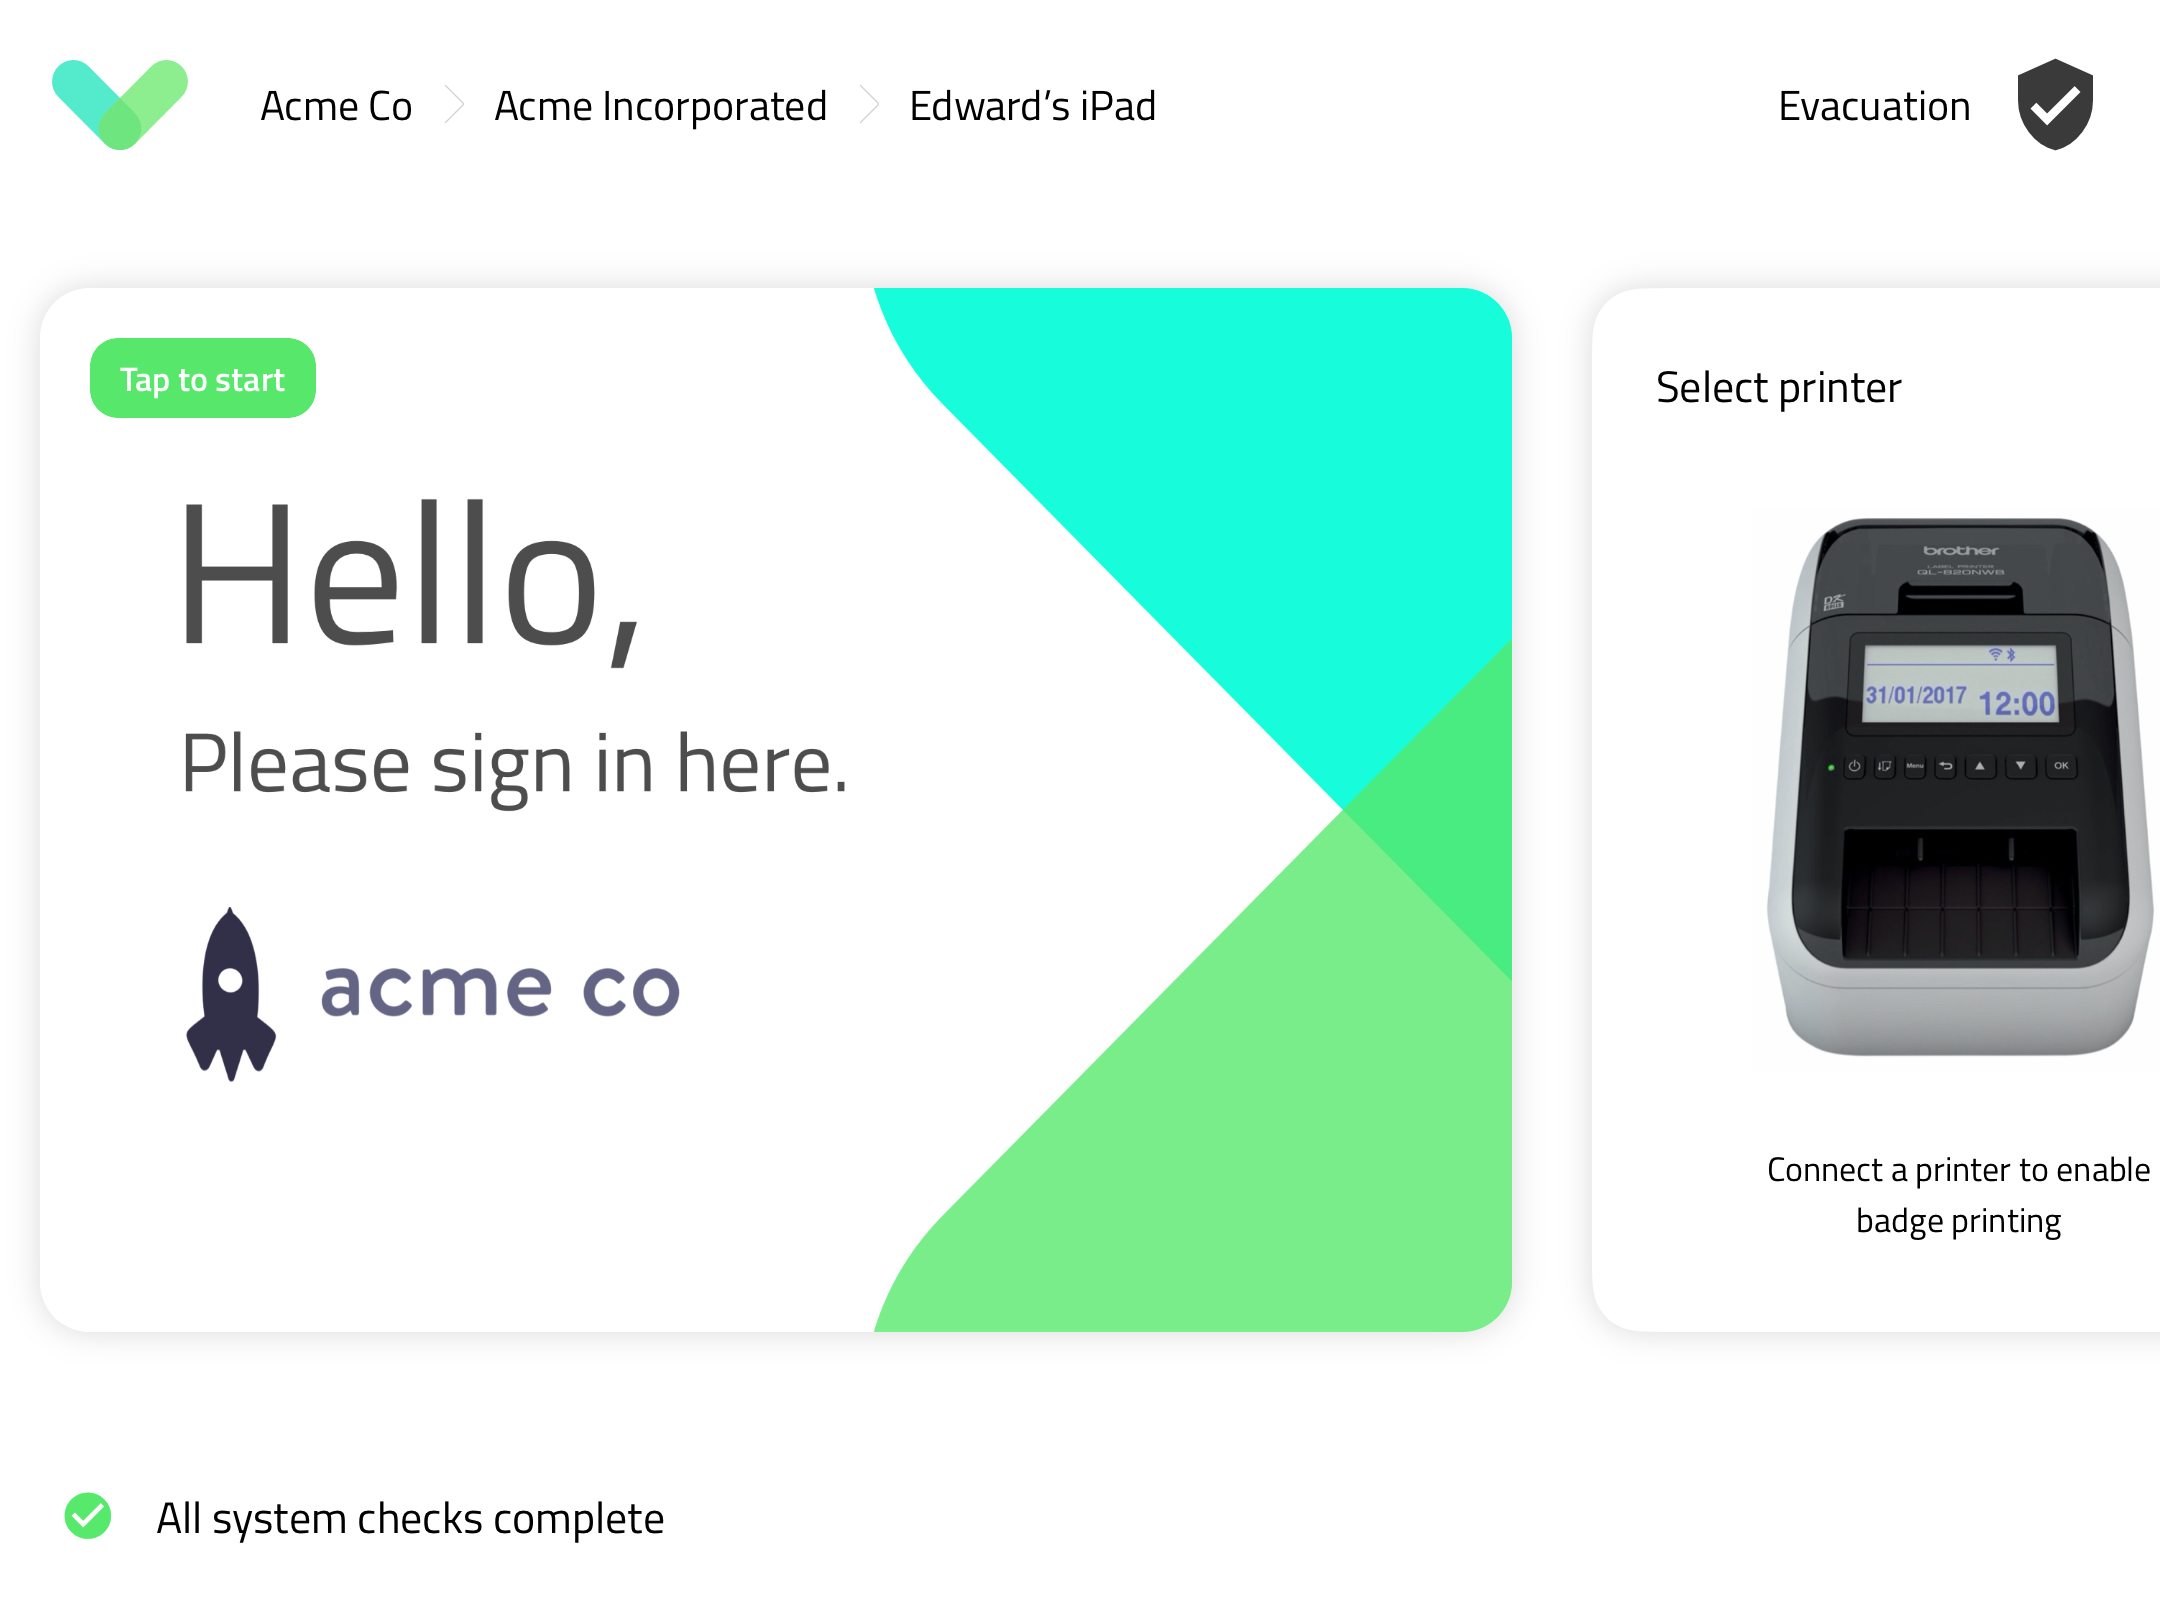
Config mode allows you to connect your printer, view evacuation lists, add security pins and change settings for the overall iPad app. Reception mode is the section of Sign In App where visitors can sign in and out, to read more about this, click here.
Accessing Config mode
When you first open Sign In App it automatically launches to the Config screen, but if you're already using the app and want to access Config mode you can do this from Reception mode. Hold your finger down on the Welcome screen and you should see a green circle appear, when the circle completes tap Go to Settings and Config mode will start.
Select Printer
To select a compatible printer to print your visitor badges, follow these instructions. To connect your printer using Bluetooth you first need to pair the printer in the iPad settings. Printers connected using wifi need to be on the same network as your iPad to pair the devices. For more information on how to connect your printer click here.
Tip
A list of compatible printers can be found here
Connect Tap
Use your existing door access cards or fobs to sign in on the iPad. With one tap staff can easily sign in and out, simplifying the process and saving time for you and your employees. Not only is it quick and easy, but it’s also a secure way of signing in. Find the full how-to-guide for Sign In App Tap here.
Settings
Night mode
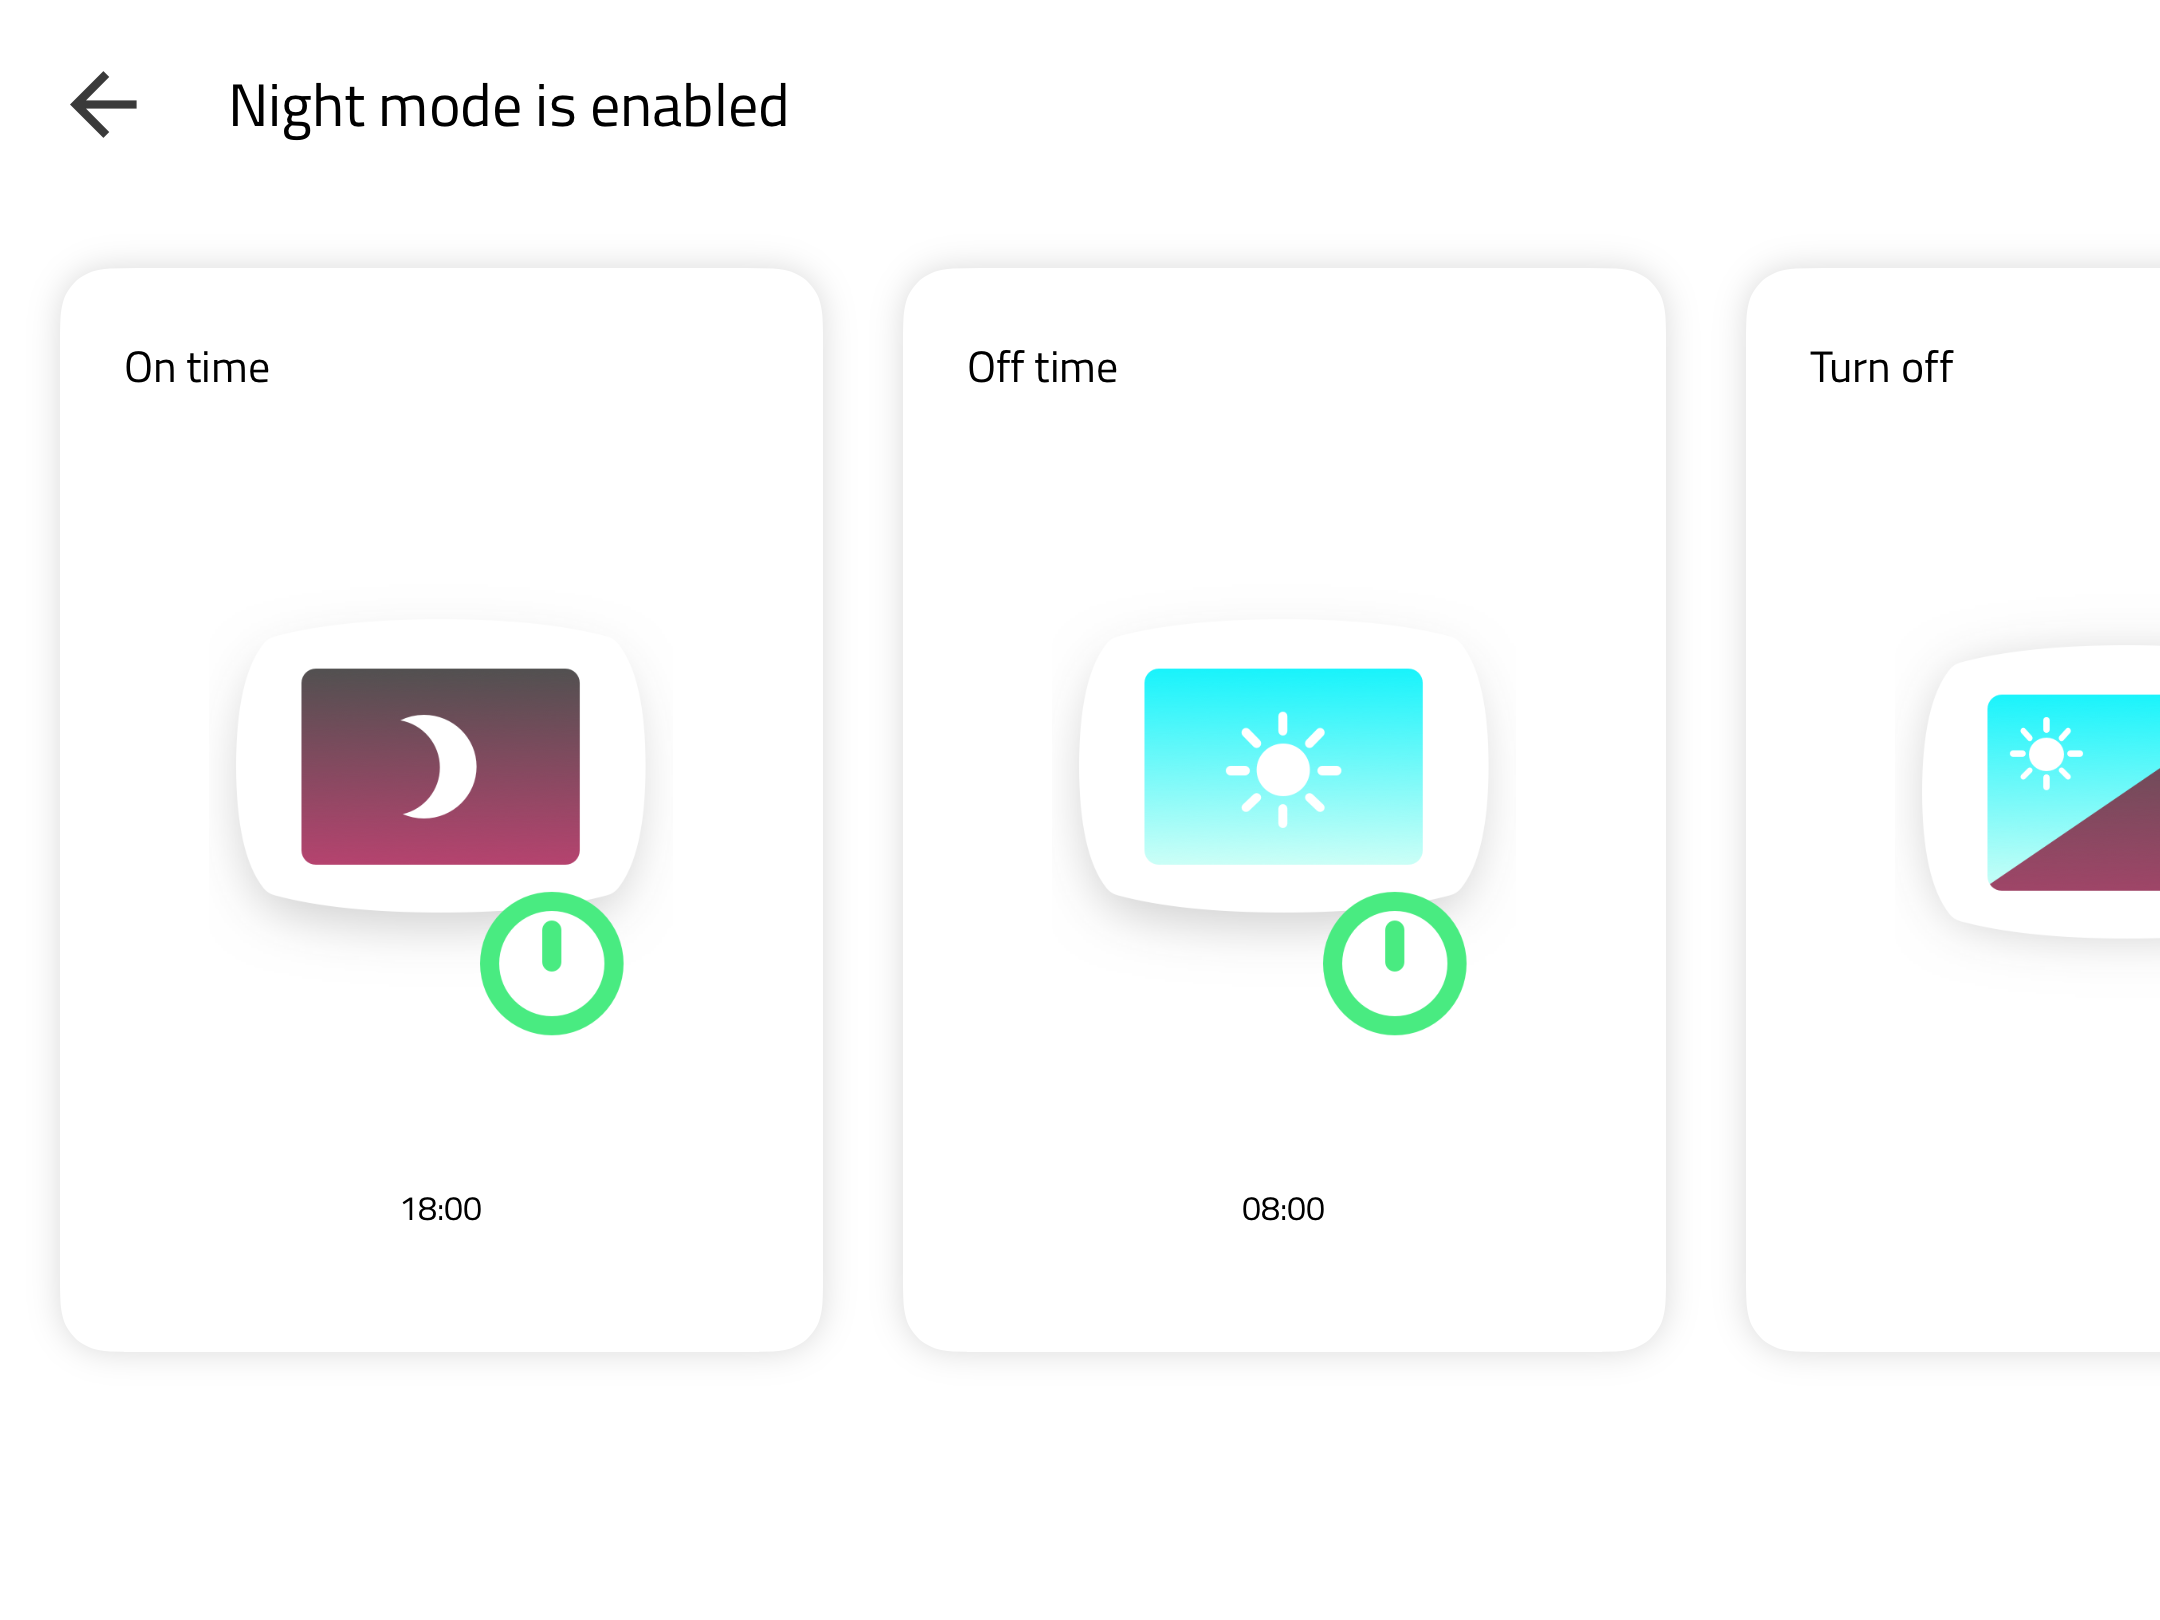
Night mode automatically reduces the brightness of your iPad screen at the end of each working day. While night mode is activated, you can continue to use Sign In App by tapping the screen at any time. To enable night mode, select it from the options menu and toggle the switch. Two times will appear, the first should be set to the time you want the screen to dim each day. The second time should be the set to when you want the screen to return to full brightness.
Refresh config
Updates made on the portal will sync with the iPad automatically, but if for any reason your network prevents us pushing this update, this option can be used to update the iPad with your latest settings.
Set a pin
Keep your settings secure and limit access to the config screen with a pin.
Tip
To prevent visitors exiting Sign In App you can use Guided Access which means a passcode has to be entered to leave the app.
- Go to Settings > Accessibility, then turn on Guided Access.
- Tap Passcode Settings, then tap Set Guided Access Passcode.
- Enter a passcode, then re-enter it.
- Whilst guided access is enabled enter Sign In App and triple click the home button to start guided access and press Start.
- Once you’ve done this, pressing the home button once won’t do anything and triple clicking the home button will require the passcode to leave the app.
Hands-free QR
Enabling Hands-free QR scanning allows QR codes to be scanned without touching the Welcome screen as the system senses when someone is nearby. When enabled a QR code icon will pop up showing you that the camera is scanning for a QR code.
Tip
If you're trying to reduce contact with your Sign In App iPad you can also set up Contactless sign in.
Manage clock
Have a clock show on your welcome screen. You can choose either white or dark text to allow the clock to stand out on different backgrounds.
Spoken messages
Set your iPad to announce a sign in/out message.
Manage hidden groups
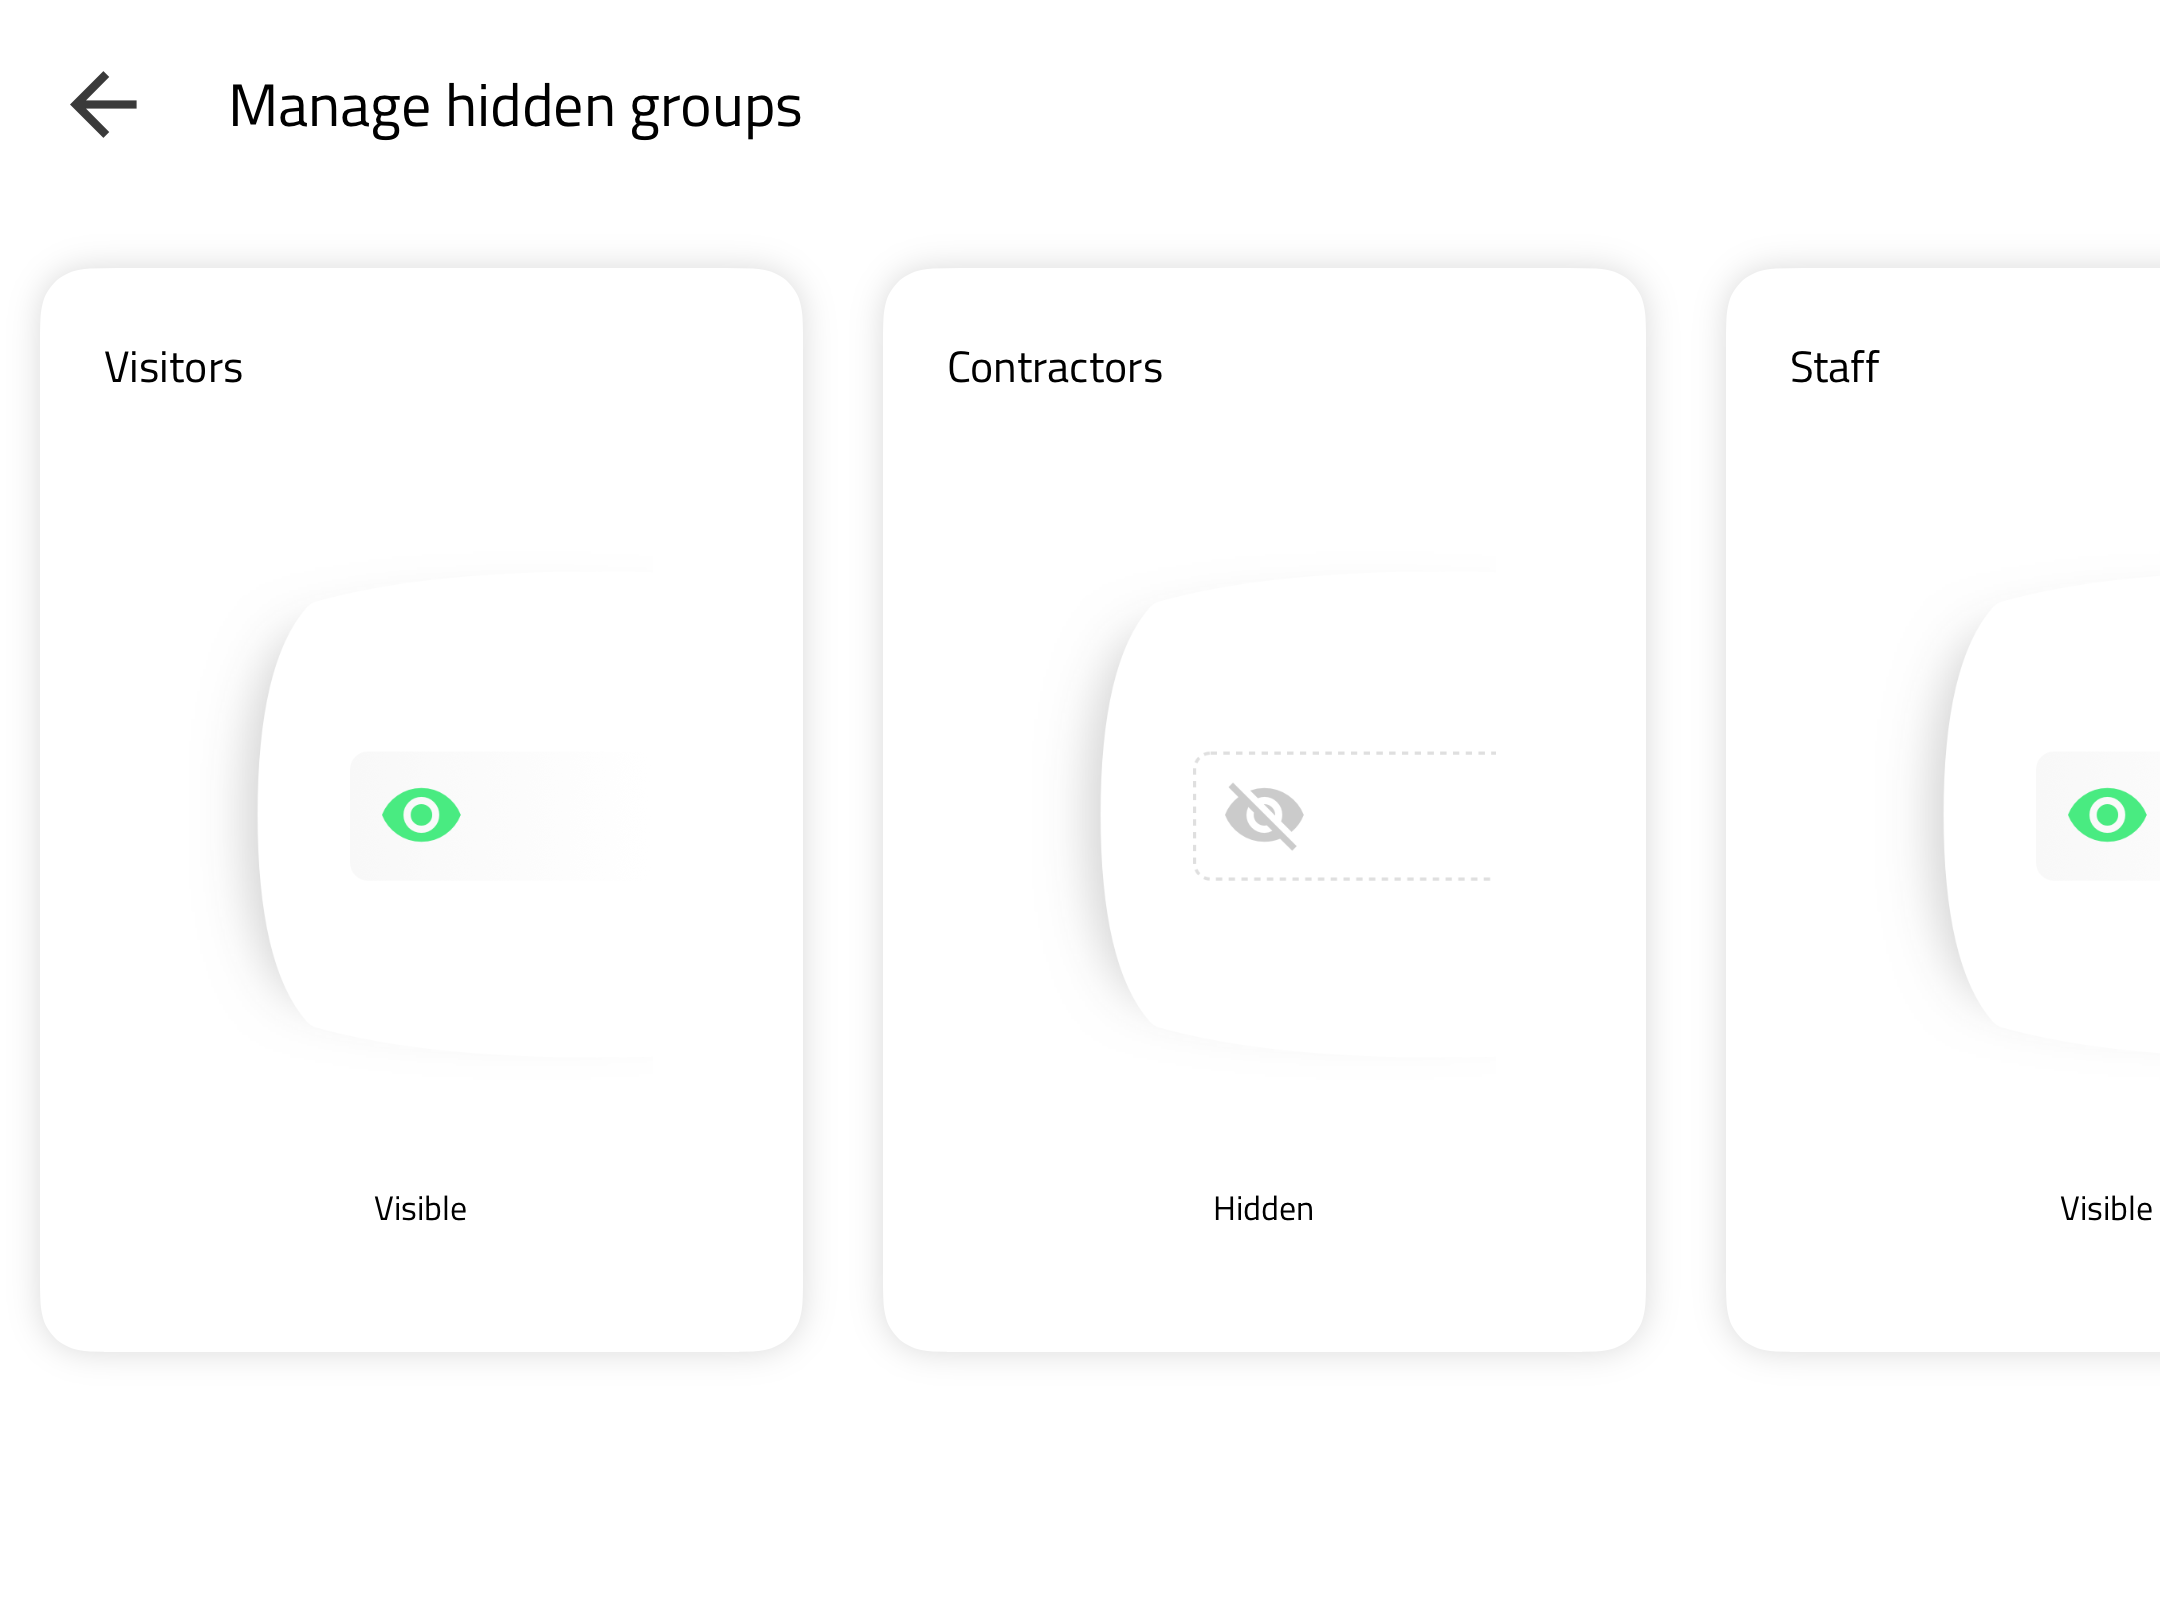
You can hide individual groups at a device level. Tapping this button you will see all your groups, you can toggle these groups between Visible and Hidden. These changes only apply to this iPad and disabling a group will not prevent these members from signing in with a QR code or RFID card.
Manage languages
Sign In App has over 30 languages available, from here you can choose your primary language, enable the language selector and hide languages from the selector.
Tip
You can provide custom translations for the custom fields, message agreements, group names, and welcome messages that are then presented in the language of choice for the personing signing in.
Click here to read the how-to-guide for custom translations.
New sign in experience
Switch to the new sign in experience. The New sign in experience brings a cleaner user interface and improved accessibility to Sign In App. Read more about this here.
Return to grid (Original experience only)
Turn this option on if you want a repeat visitor (i.e. staff) to be returned back to the grid of group members after a successful sign in or out.
Increase font size (New experience only)
The Sign In App New experience aims to improve accessibility, part of this is allowing you to increase the size of text for buttons and labels.
Show evacuation point
If you have this configured in the portal you can enable the map to be displayed after the messages section. Read more about evacuation points here.
Disable flash
Turn off the screen flash when a photo is taken. To try and get the best quality photos on your badges we recommend keeping this setting on.
Activity log
View this device’s activity log showing recent sign ins.
Sign everyone out
Sign out everyone who is currently signed in to this site.
Tip
There is also an option in the Sign In App portal to sign out all guests automatically each day at a time of your choosing.
Add a site or event
Connect your device to an additional site or event. You just need to enter an authentication code for your site or event. Once connected each site or event is managed independantly.
Disconnect
Disconnect this device from Sign In App. Once disconnected the app will no longer function and you will need to generate an authorisation code to add the device to a new site, click here) to read more.
Evacuation list
Shared evacuation report
With Safety+ shared evacuation report you can join evacuations with colleagues and account for everyone on site in real-time across multiple devices, ensuring no one is left behind. When an evacuation is completed reports are synced with the cloud, giving you access to historic reports from any device at any time.
Tip
To enable Safety+ evacuation go to Manage and scroll down to Sign In App+. Clicking Shared evacuation reports will enable the feature for your account.
Running reports from the iPad app
If you want to start an evacuation report from the iPad app tap you first need to go to the config screen. To access the config screen, either close and reopen the app, or hold your finger down on the welcome screen until the green circle completes and tap Go to settings. From the config screen, tap the Evacuate button in the top right corner and select Start an evacuation - the report is now in progress and can be joined from any other device connected to the site.
You can use the filter to switch between groups or evacuation points. Tap the group or evac point to see all the evacuees. By default, an evacuee is unaccounted for. Tap the tick to mark them as present, and the cross to mark them as missing. At the bottom of the screen you will see a progress circle with the percentage of evacuees accounted for.
Tip
We recommend using Companion app for shared evacuation reports, from our experience this is the best way to complete evacuation reports as you’re likely to have a network connection, either cellular or WiFi, which is essential to run Safety+ evacuation reports.
If you don’t have Sign In App Companion set up, we’d recommend that you read through the full guide here.
Ending and leaving reports
Once you’ve accounted for everyone on site it’s time to finish the evacuation report. Tapping Finish report will give you two options, Close the report for all and Leave report.
Tapping Close the report for all will end the report for all participants - only do this if you’re sure the evacuation has been completed, once confirmed this action cannot be undone.
Selecting Leave report will keep the evacuation running, but the device you’re using will leave the report, you can rejoin the report after doing this.
Tip
When the site evacuation has been completed we recommend ending the report straight away so the duration of the report is recorded accurately. After 4 hours of inactivity, the report will be automatically closed.
Viewing reports
Once the evacuation report has been closed for all it can now be viewed from any device with access to the evacuation reports.
iPad app
From the config screen on the iPad app, tap the Evacuate button and then select View previous reports. You will see a list of all the evacuation reports that have been carried out. Tap to view the full details of the report.
Portal
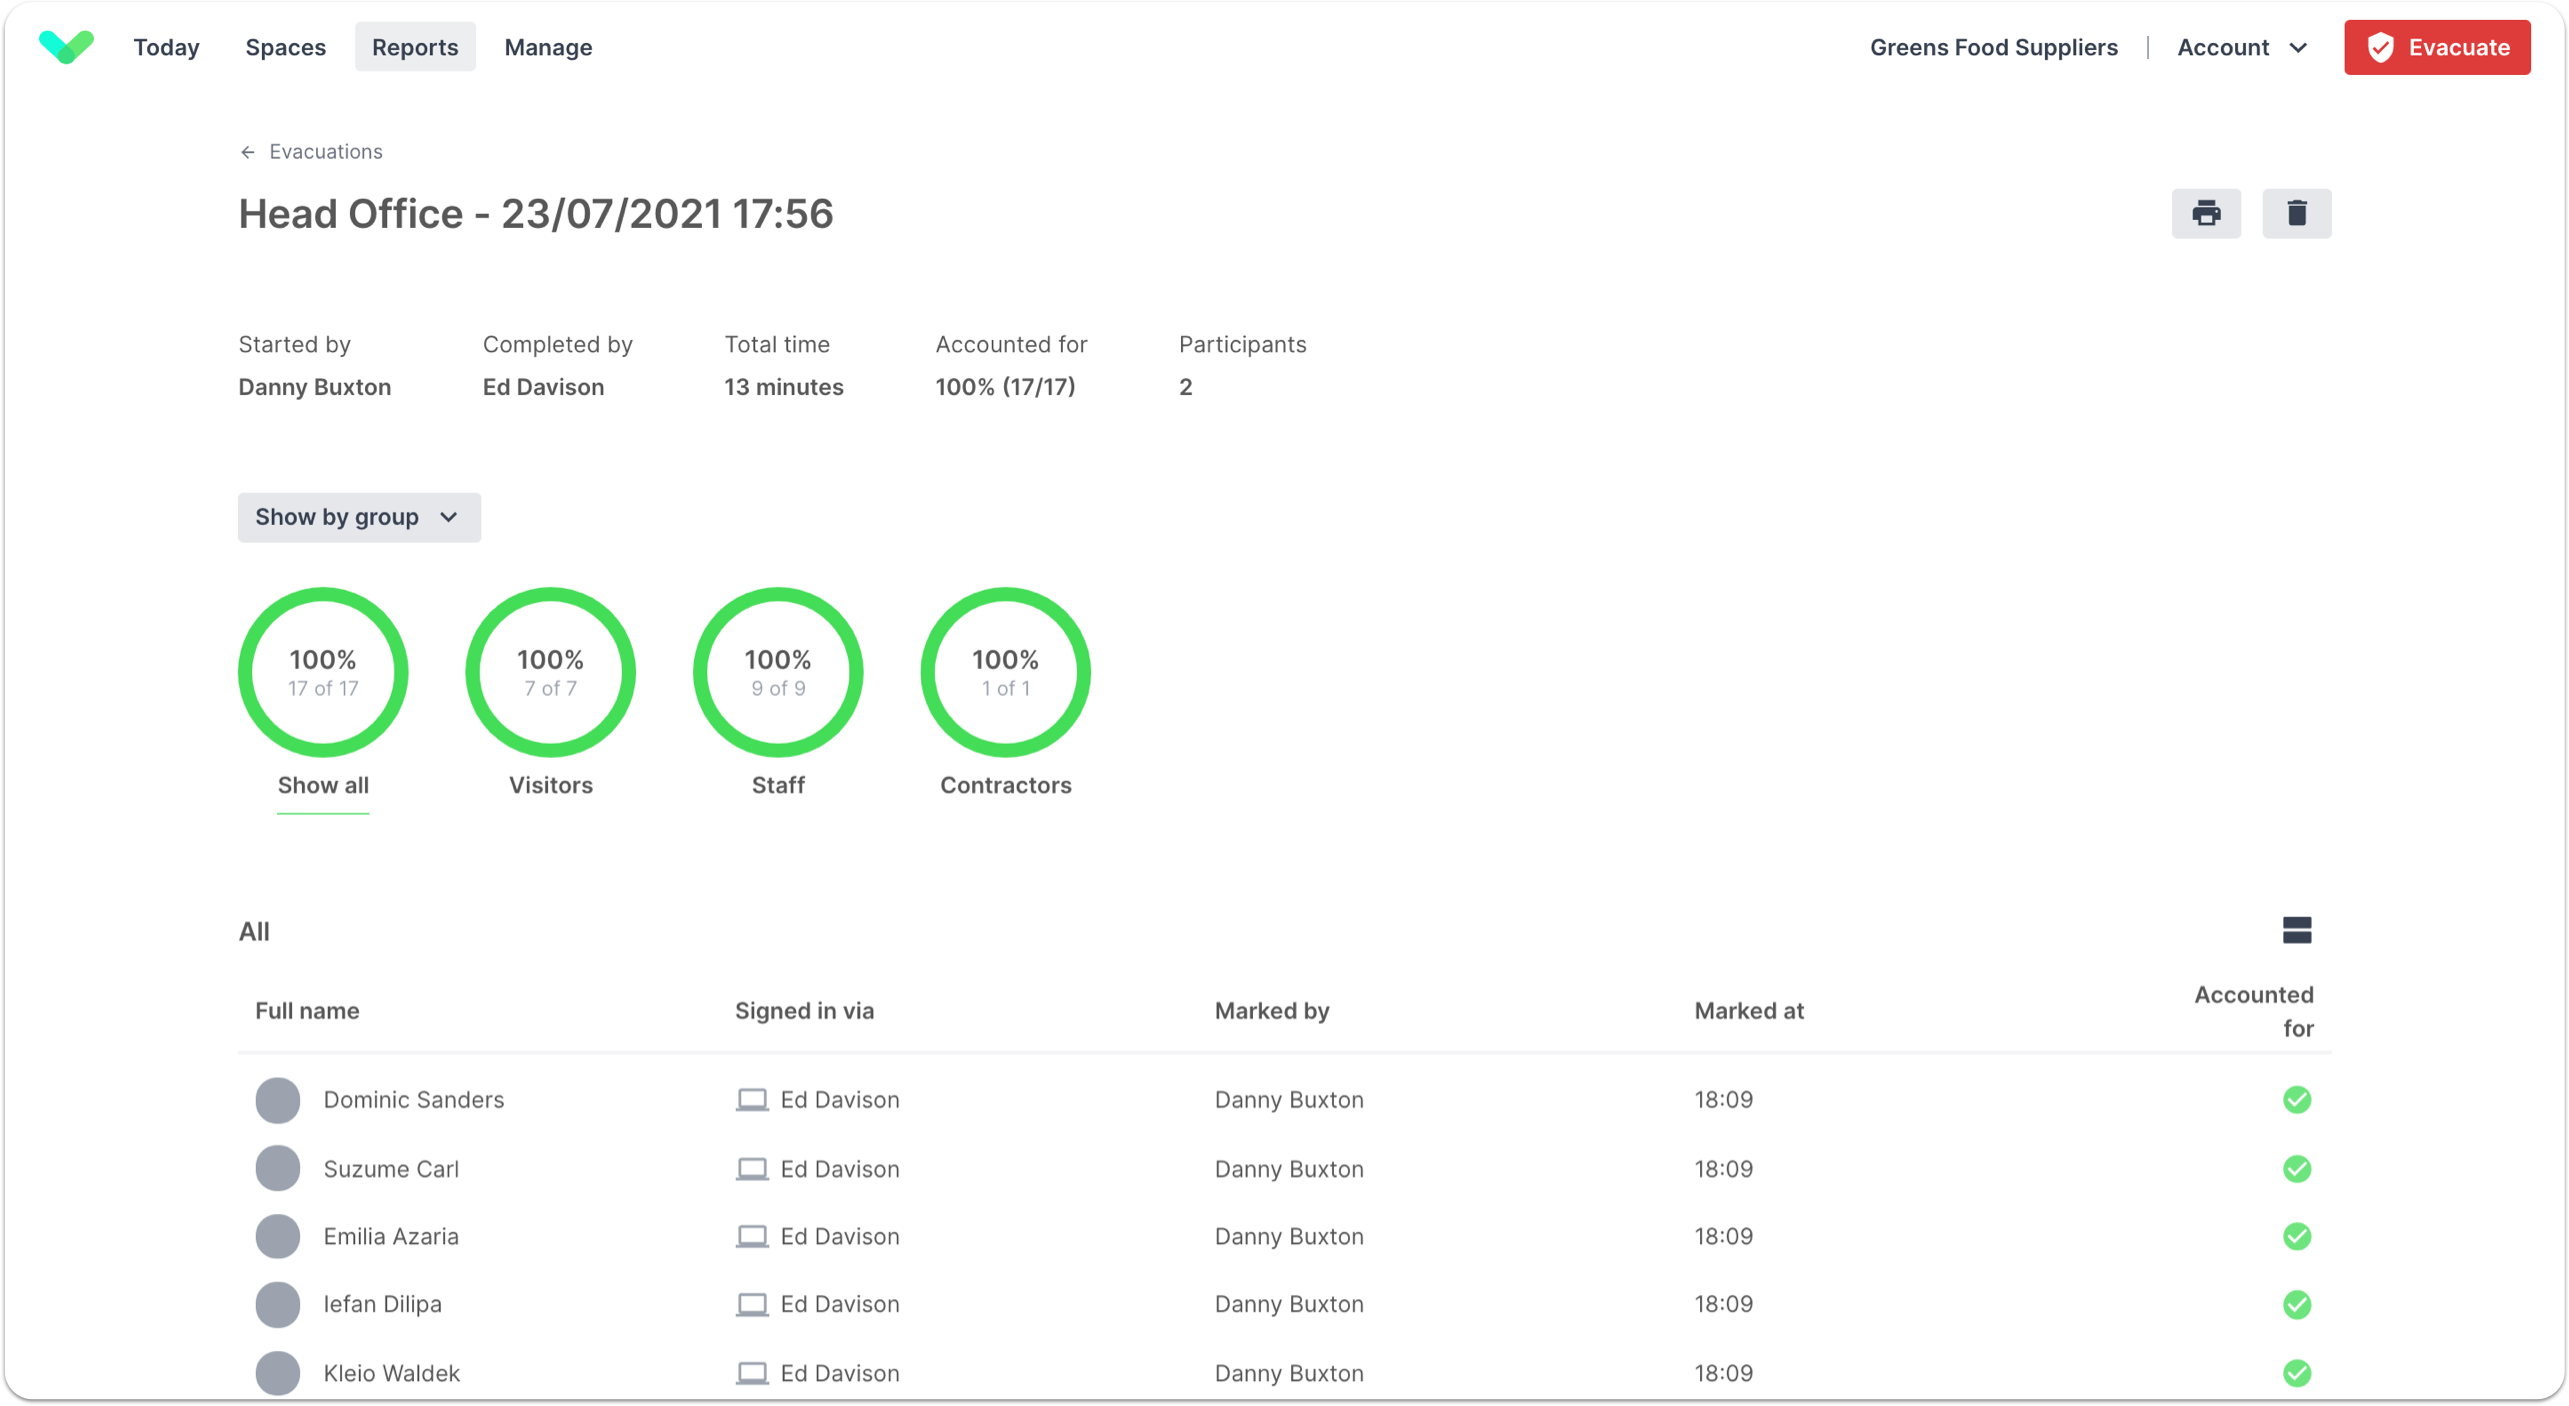
From the reports section Sign In App portal you can view, print, export and delete evacuation reports. You can navigate to your evacuation reports from the portal by going to Evacuate > View previous report or Reports > Evacuations, click on a report to view the report details. Clicking the printer icon will give you the option to print or download the report. Click the bin icon to delete the report (this action can’t be undone).
Local evacuation report
View a local fire/evacuation list for the current site. All visitors and staff who have signed in but not yet signed out will be displayed with rings to provide a visual representation of how many visitors are accounted for. You can also switch to the evacuation points to see how many people allocated to each point have been accounted for.
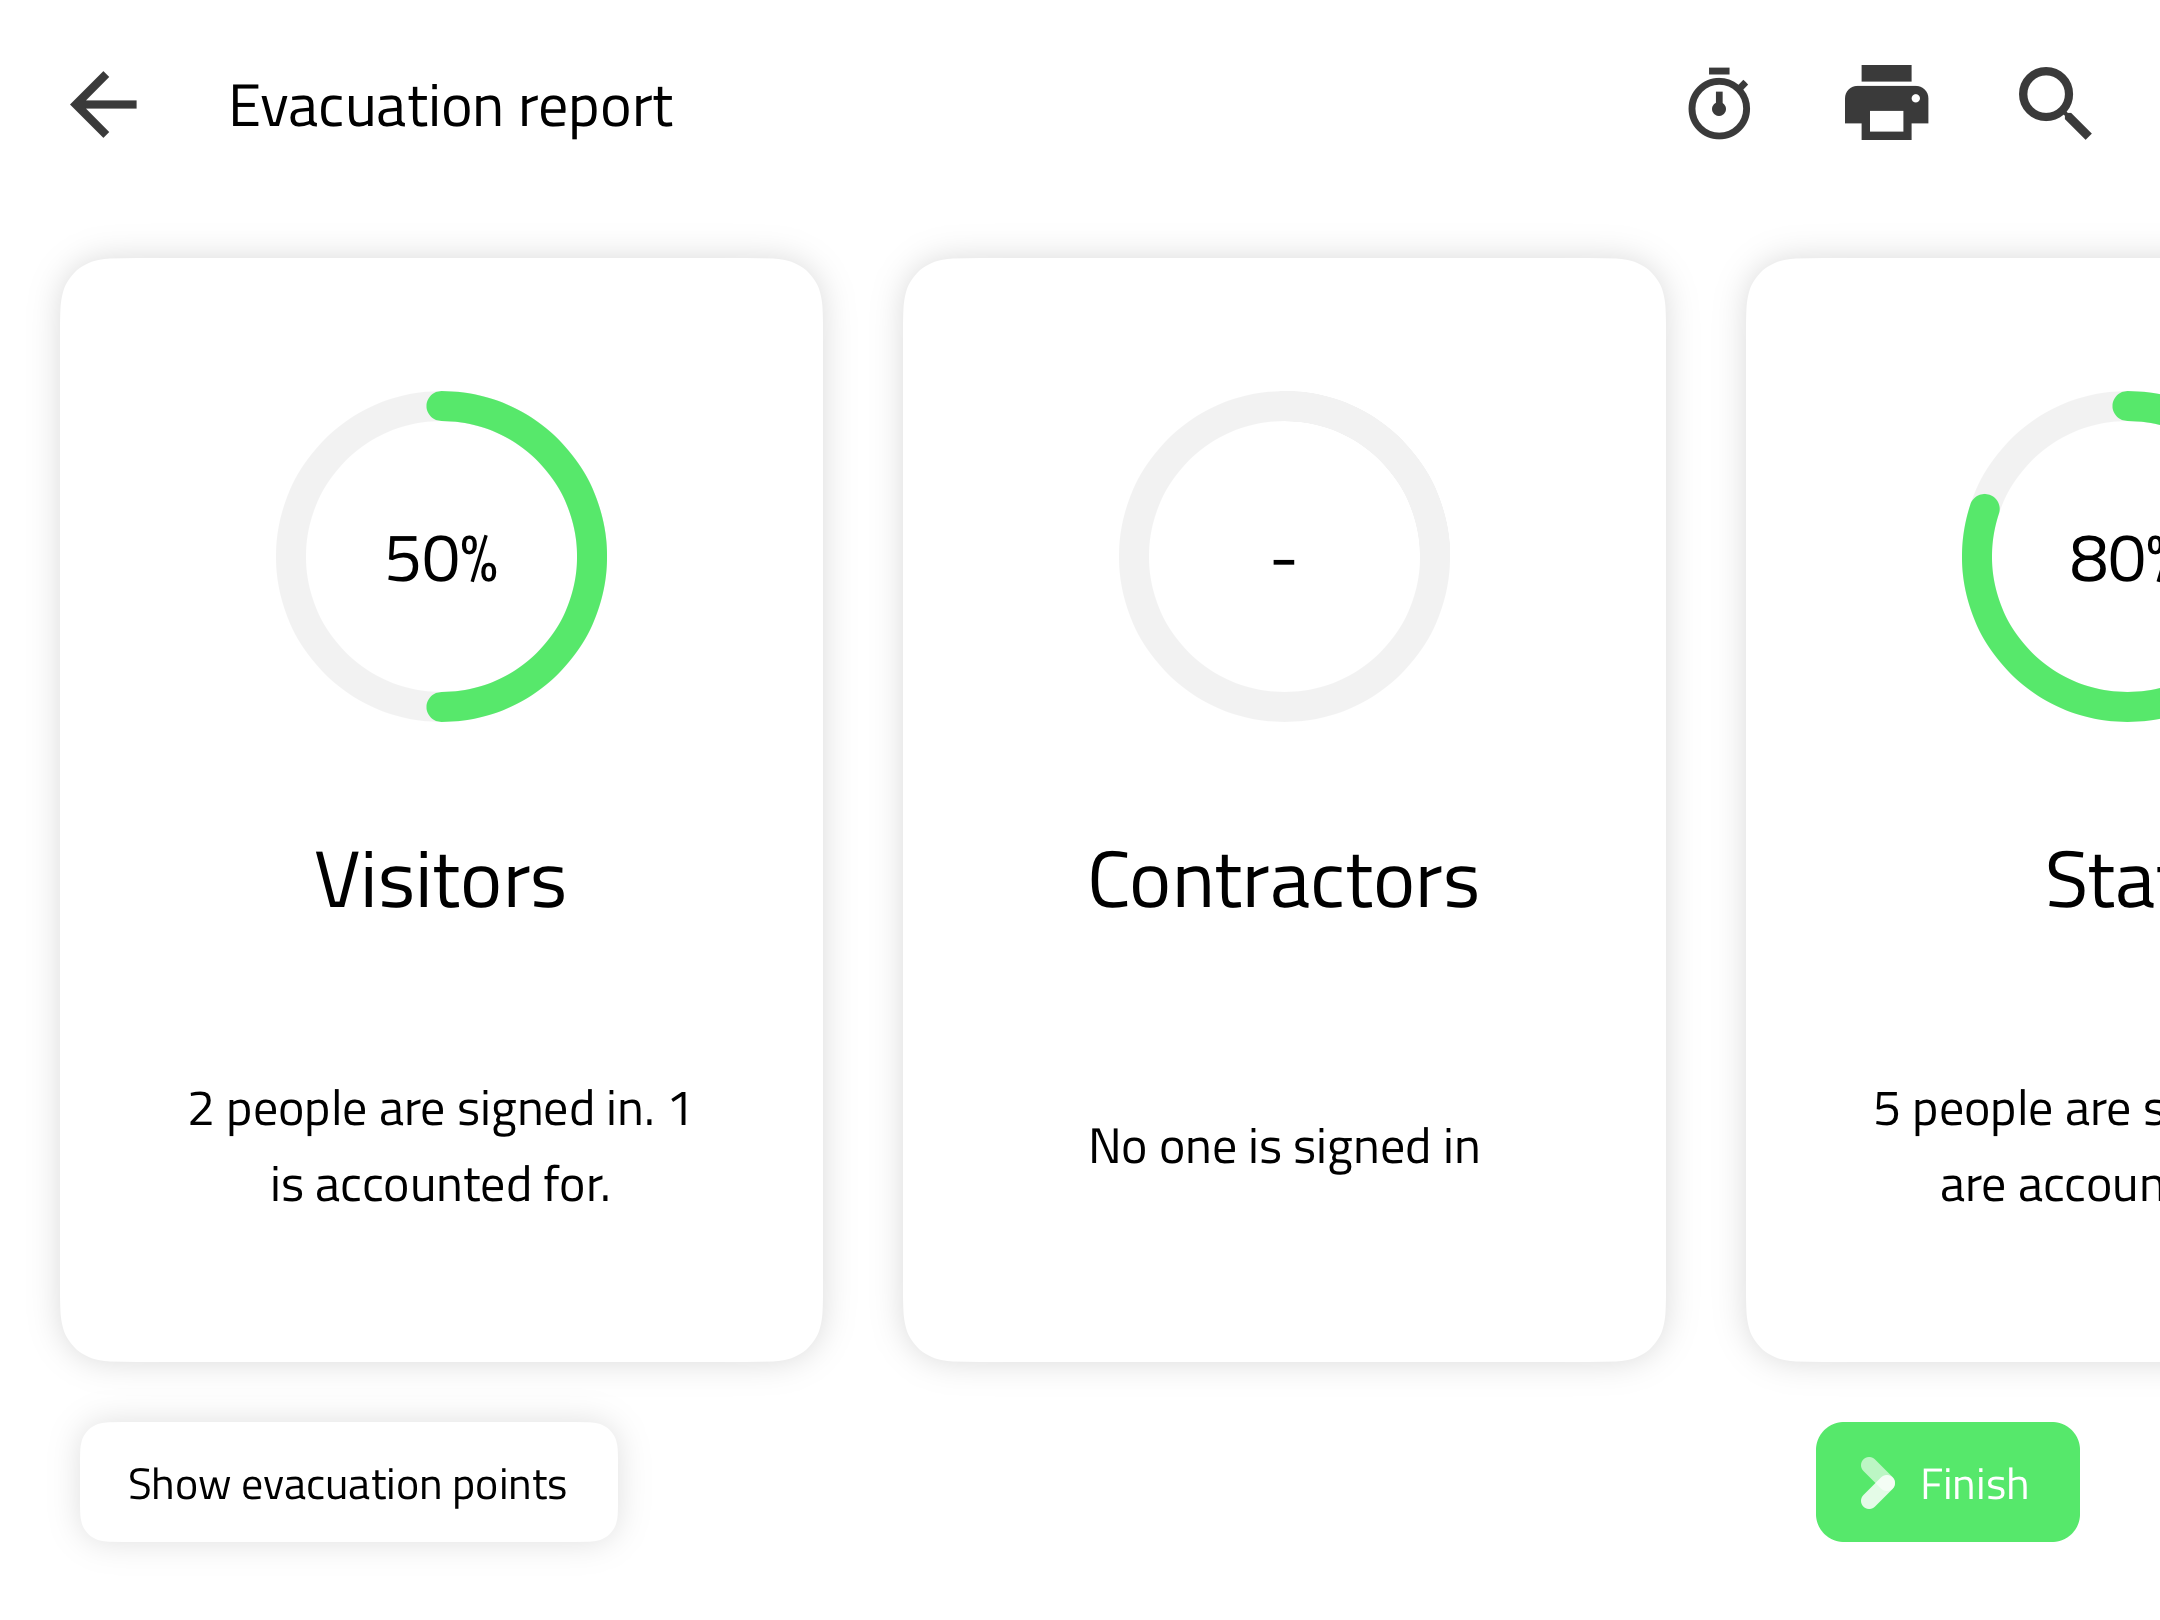
You can time how long the evacuation took using the timer and then produce a report once it’s finished. Tap the timer in the top right to start the clock and tap it again to pause. To produce a report you need to tap ‘Finish’ in the bottom right corner. This report can be shared as a pdf file allowing you to keep an accurate record of the evacuation.
The fire list can also be viewed on Companion app and any internet connected device logged in to the Sign In App portal.
Print a list
If you’re connected to a printer you will see the option in the top right to print the evacuation report. Tapping this button will print the live fire list using the connected printer. This option is only suitable for sites using continuous rolls of media, not individual labels. There are a few different formats you can choose for the quick print of the evacuation list.
Standard fire list - this option will print the entire fire list together (50 per label)
Split by group - the printer will cut the label at the end of each group
Split by evacuation point - the printer will cut the label at the end of each evacuation point
System checks
We try to give you as much information about your Sign In App setup and System checks give a live update on the status of the system. It lets you know if there is an issue or if all the system checks have been successful. You can see if your device is offline, when large images are downloading or if there’s a problem with the printer.

