Today
The Today screen is a live view of all your site's sign ins. As people sign in, they automatically pop into the view. You do not need to refresh the page. Their name and sign in time is displayed.
Select site
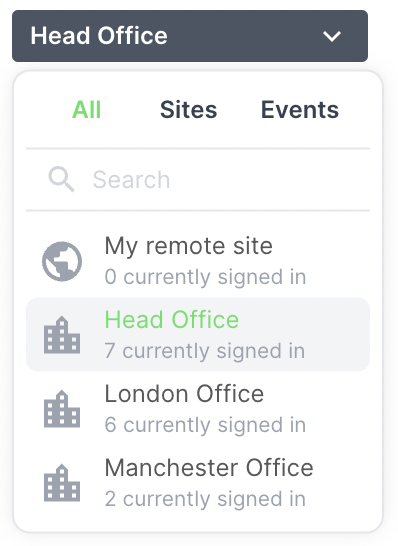
If you have Sign In App installed over multiple sites, it's important to make sure you are always viewing the correct site when using the online portal. On the Today screen, the site name appears on the dropdown on the left side of the screen - e.g. Head Office in the example below.
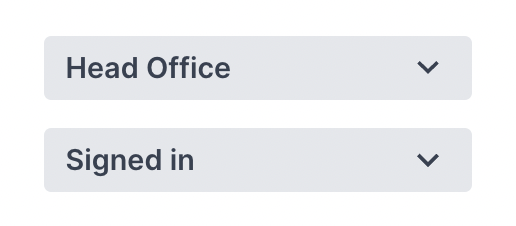
If you have multiple sites and are not on the correct one, click the site name to switch between sites. From here you can also view your remote site and any events.
Visitor groups
Each visitor group is displayed above the list with a total showing the number of visitors signed in on this site. Clicking one will show the people signed in and out for that group. For more information about groups, click here.
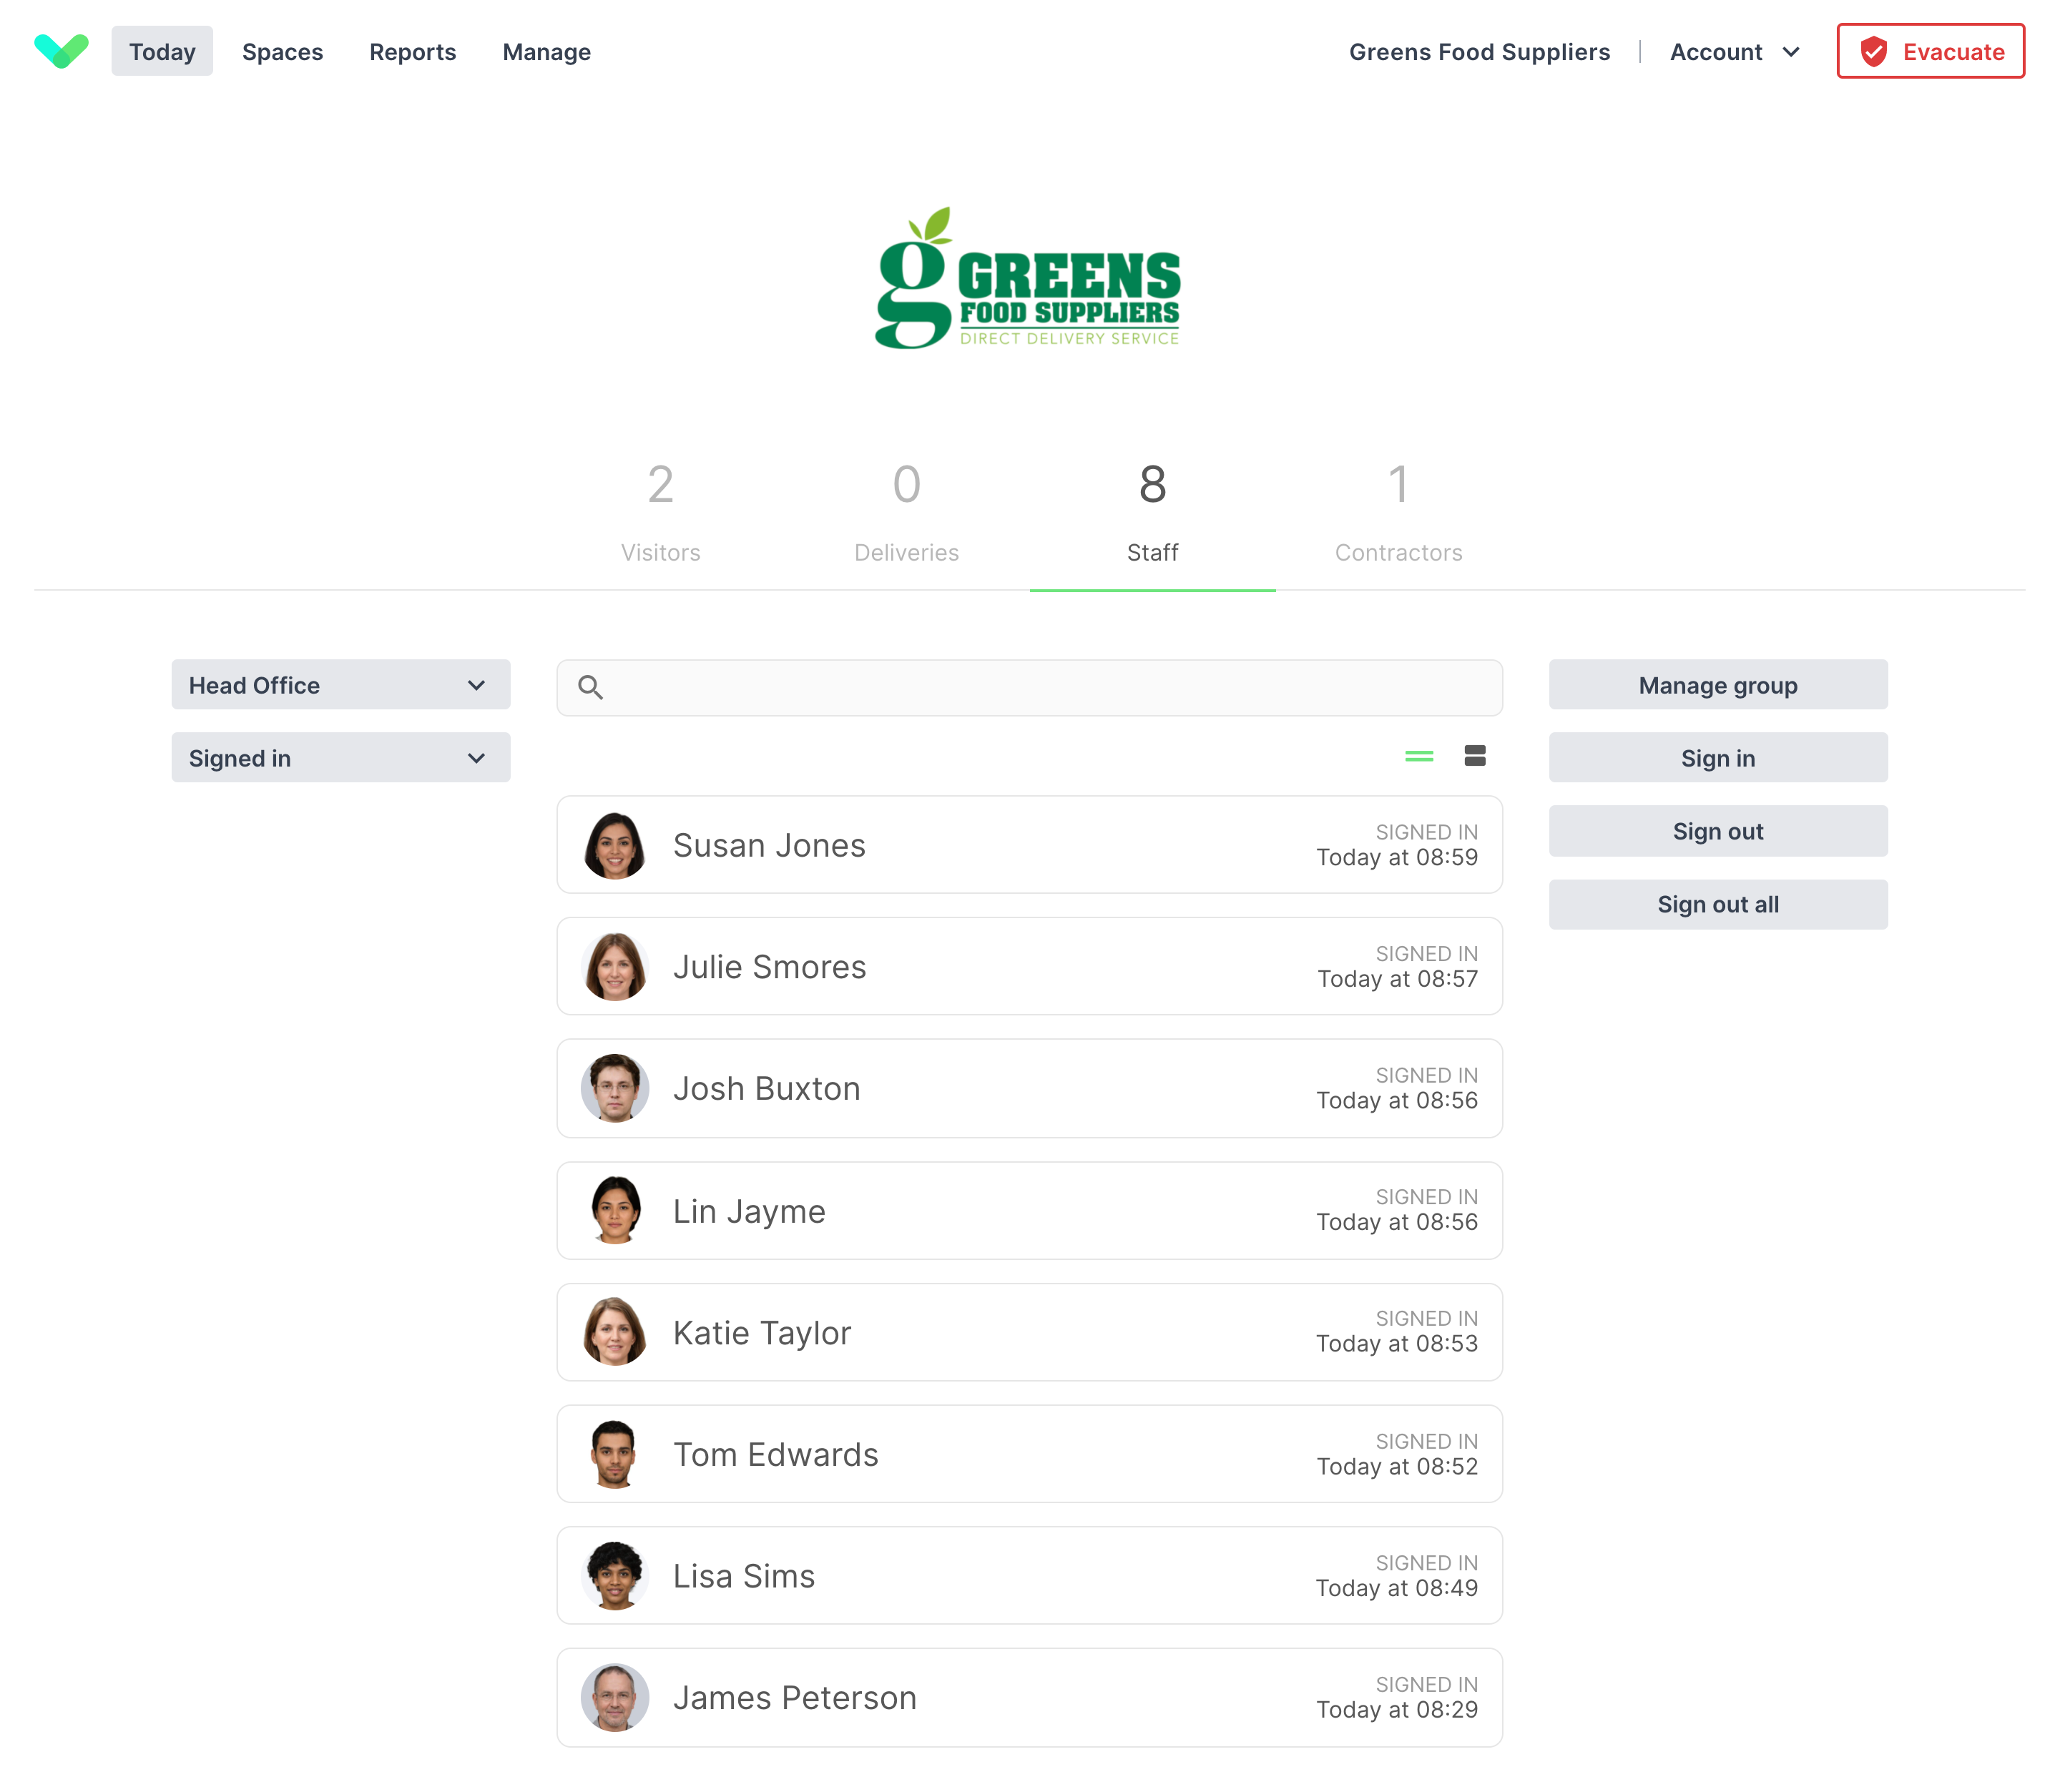
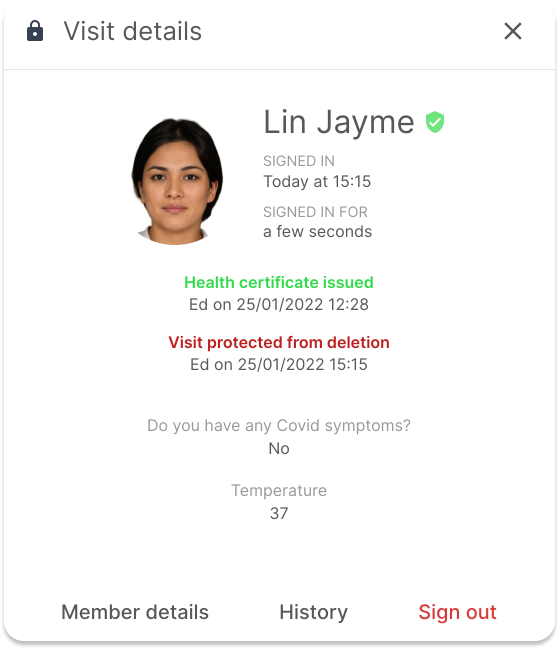
Click on a visitor to see more information (including any additional custom fields you have set). When you select a visitor, you will also see the option to manually sign them out from the site. If the visitor photo feature is enabled, each visitor's photo will be displayed. You can also view safety check status and protect records.
Protect records
You may have sign in records that shouldn’t be deleted in line with the group’s data retention settings. You can protect these records so they’re kept permanently until they’re changed to unprotected. Select the record you need and then click the padlock button to protect this sign in record.
Safety check status
On the Today screen, a green icon will appear next to records that have passed your site safety check. Clicking into a record will show you the time/date the certificate was issued and which portal user created the certificate. You can read about setting up safety check here.
Tip
If you go to Reports > History you can also view a visitor safety check status and protect records.
Internal notes
From the Today screen you can add notes to a visit record either on sign in or after the visitor has signed in. These notes are not visible to the visitor, but can be viewed by other portal users with the permission to view the Today screen.
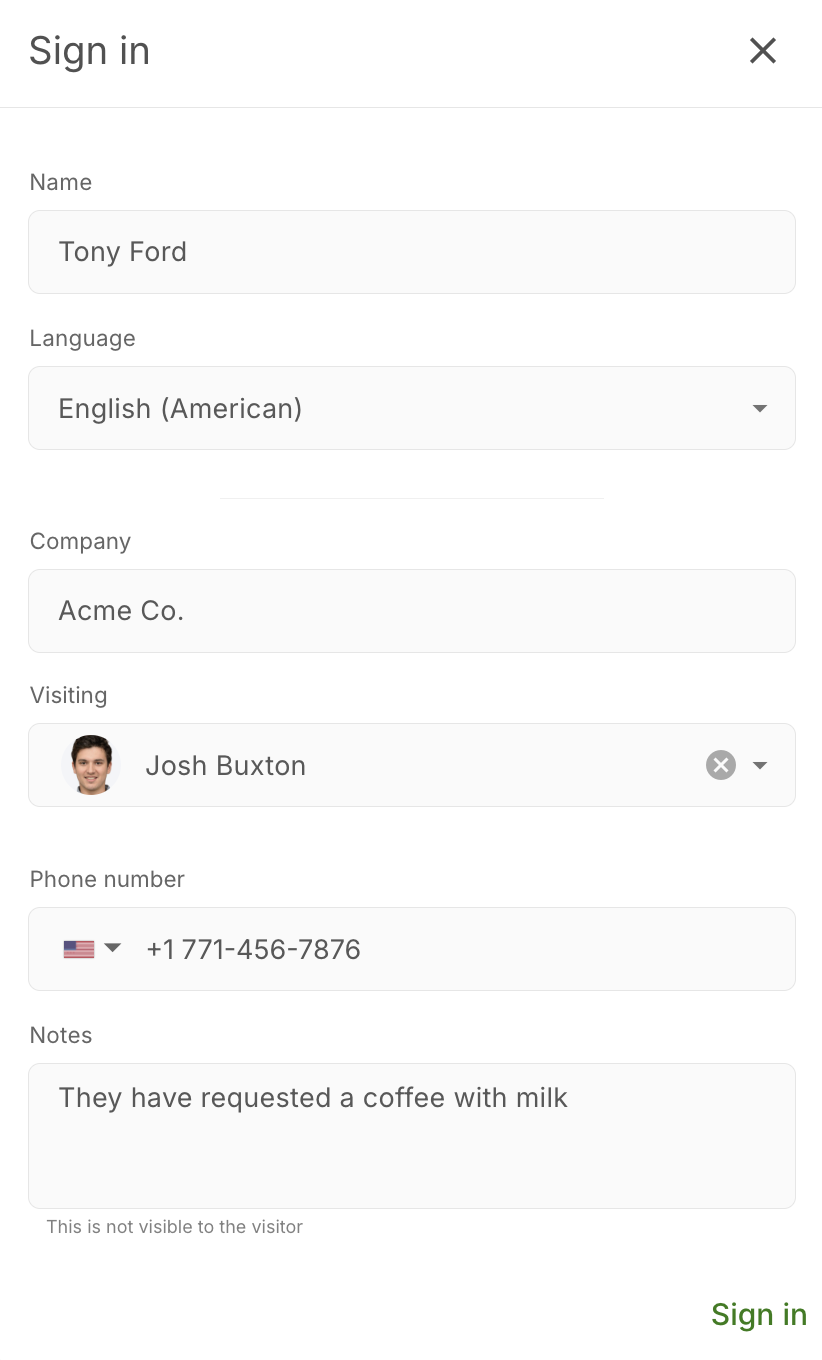
On sign in
If you sign a visitor in from the Today screen you can add a note whilst populating the visitor name and custom fields. This note can be edited or added to after the sign in is complete.
After sign in
If you need to edit the note or you would like to add a note to a visitor who has not been signed in from the Today screen you can select the group on the today screen and click the record of the visitor to expand it. From there you can add a note against the visit record.
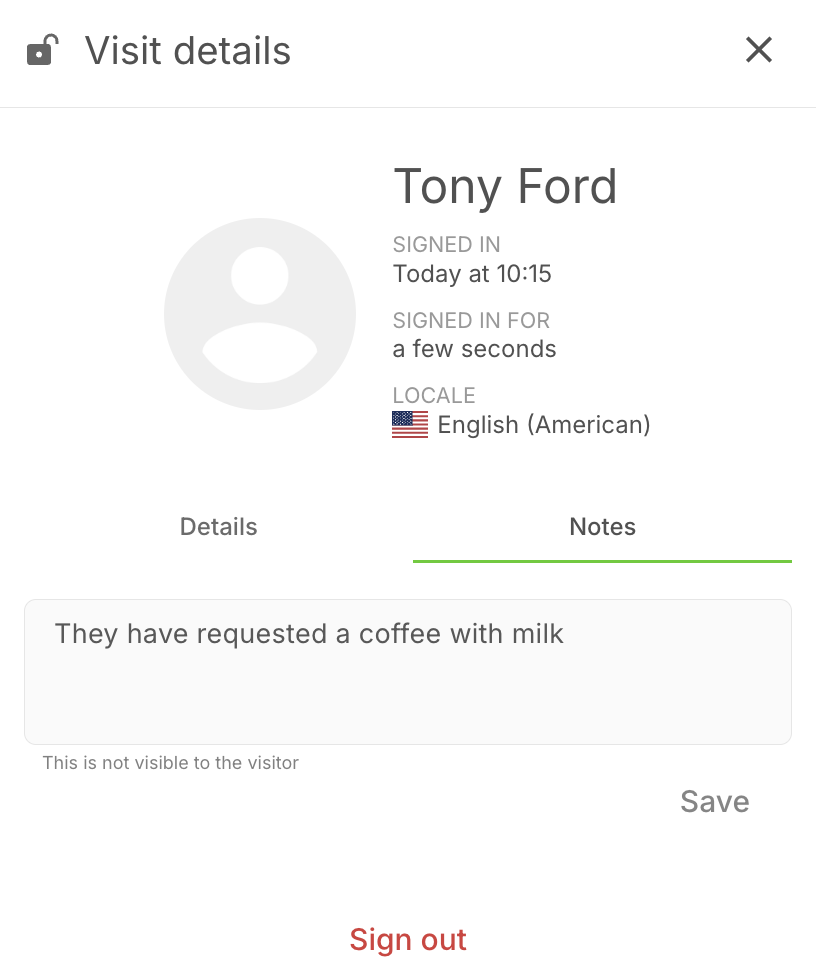
A visit record with a note icon next to it indicates that a note has been added against that visitor. You can click the visit record to view and edit the note.

Tip
Internal notes against visitors can also be viewed under Reports > History by clicking the visit record. You can also export the notes by ticking the Visit notes option under Export
Badges (Standard visitor groups)
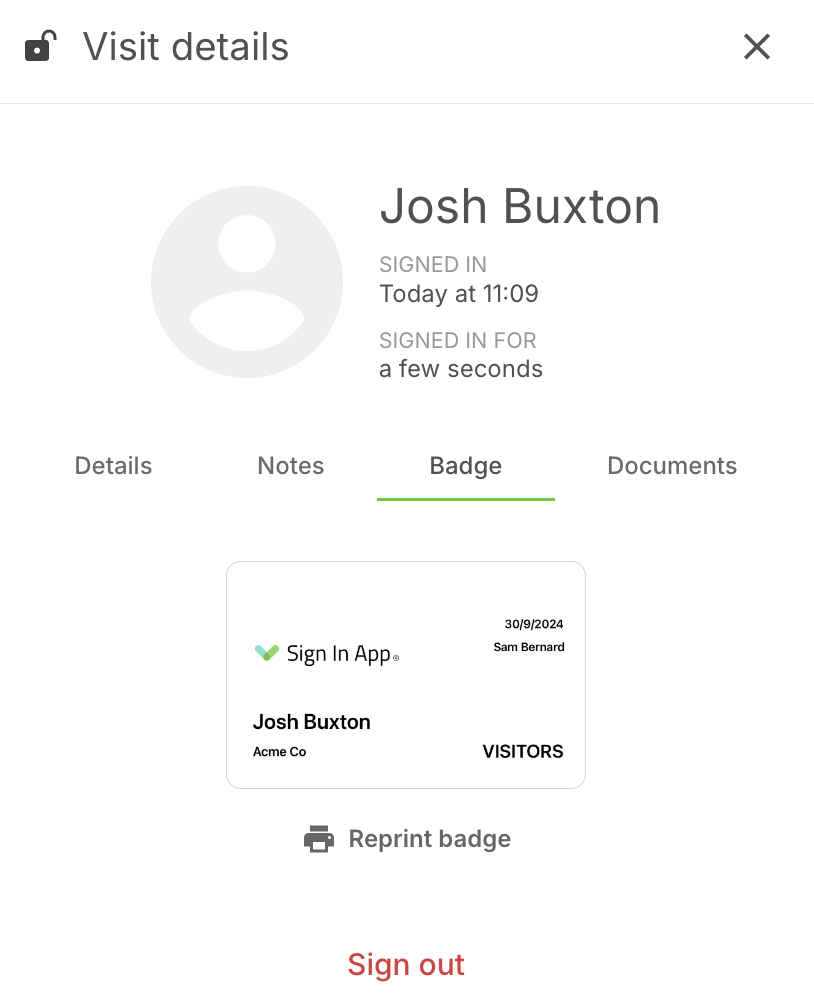
When you click to expand a visitor record from the Today screen for a Standard visitor group you will see an option called Badge. From here you can view the badge for this visitor, clicking Reprint badge will reprint a badge from the printer connected to the iPad the visitor signed in from.
Documents (Standard visitor groups)
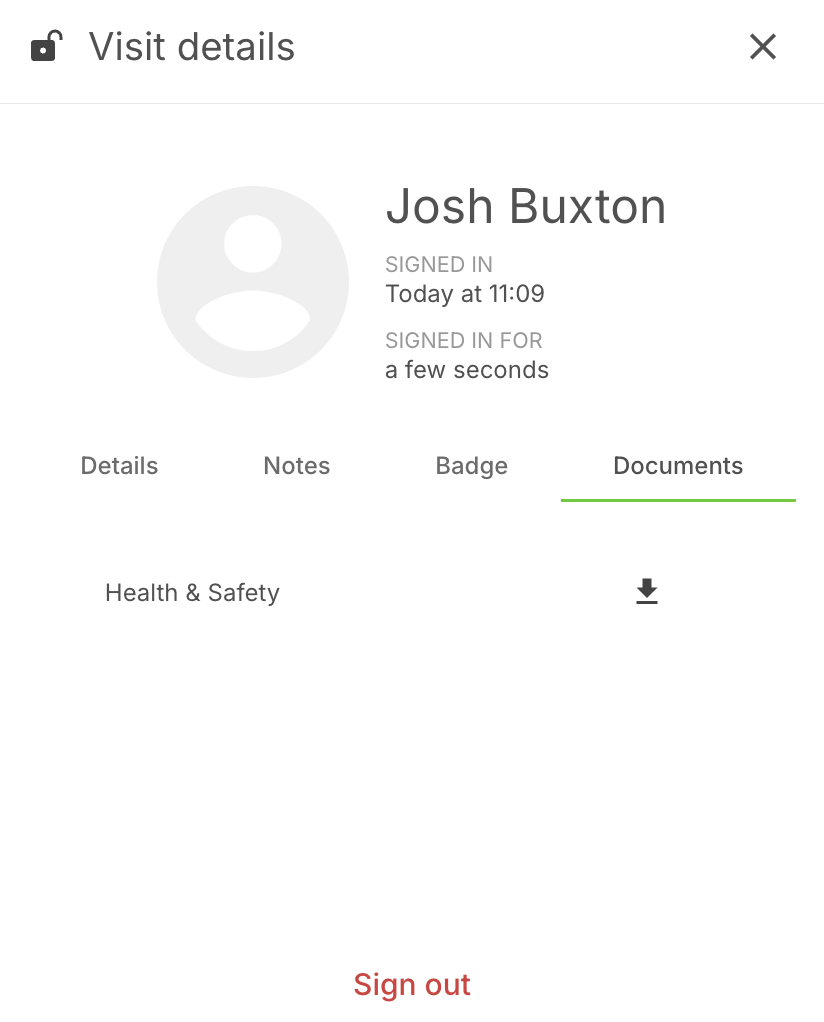
The Documents section shows the Message agreements the visitor has agreed to. Clicking the download button allows you to download a PDF document of the Message agreement.
Filters
The Today screen will show currently signed IN visitors by default. You can use the filter dropdown to change the information visible.
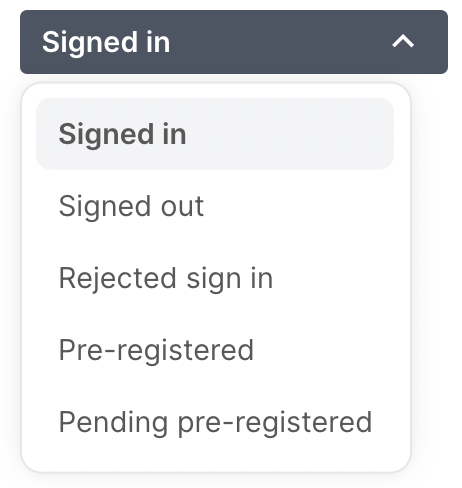
- Signed in (Default) - Shows all standard or repeat visitors who are currently signed in.
- Signed out (Default if sign out first enabled) - Shows all standard or repeat visitors who are currently signed out.
- Rejected sign in - Shows sign in records that have been rejected. Click here to read more about rejected sign ins.
- Pre-registered (Standard visitor groups) - Shows all approved pre-registrations.
- Pending pre-registered (Standard visitor groups) - Shows all pre-registrations waiting for approval.
Tip
The Pending pre-registered filter won't show untless you have Pre-registrations require approval enabled. You can enable this by going to Manage > Groups > Select group (Standard) > Pre-registrations.
Additional options
Manage
If you are looking at repeat visitors (i.e. staff) the Manage option will appear. This will allow you to view and add
new repeat visitors to this group. You can also access the manage section from the Manage option in the top menu.
Sign in
Manually sign a person in directly from the today view.
Pre-register
If you are expecting visitors or VIPs on a specific date, pre-register them from the today view. Select this option, choose what type of visitor they are, provide their name, any custom data, date of visit and time of arrival (optional). When the guest signs in their name will automatically be populated for a streamlined sign in experience.
Tip
If the QR code feature is enabled in site config, a QR code for fast sign in will be included on the email. If the feature is not enabled, there will not be a QR code on the email.
Send email invitation
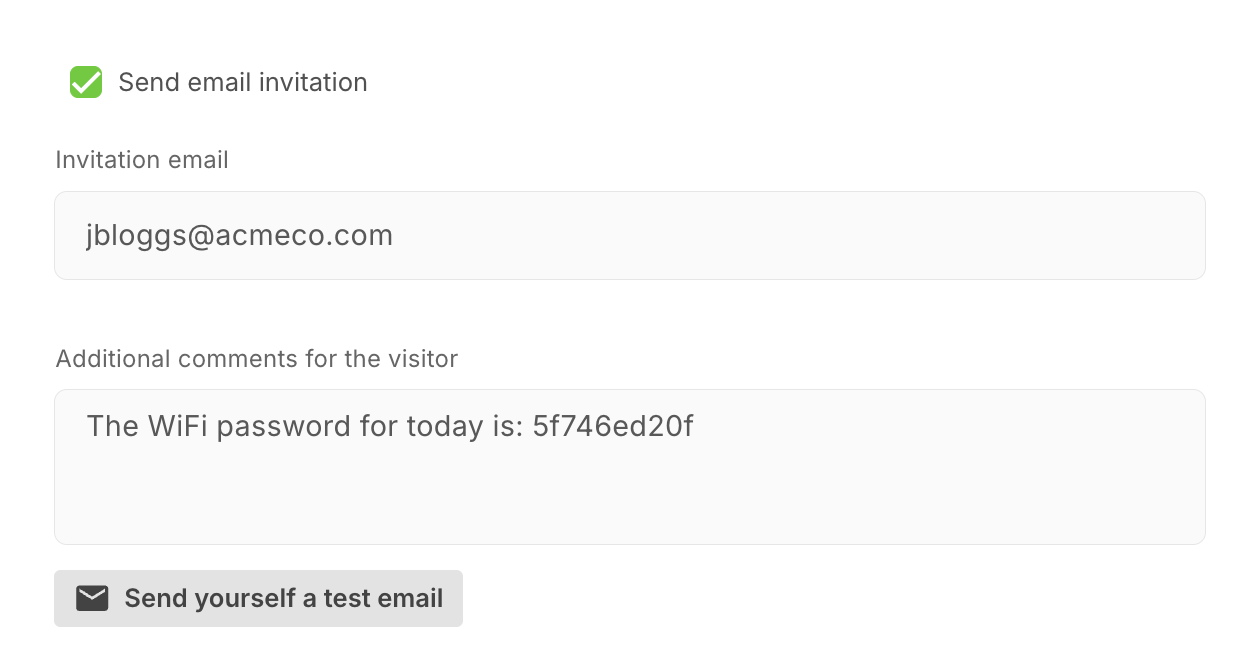
To automatically send the visitor an email invitation, tick the Send email invitation option when creating a pre-registration.
A new field will appear allowing you to enter their email address. Once you click Pre-register, the email will be sent.
Use the Additional comments for the visitor field to provide notes for this pre-registration - for example you could provide today's WiFi password. This comment will be added alongside the pre-registration template configured under Manage > Groups > Visitors group > Pre-registrations.
When you have completed the pre-registration and provided additional comments if required, you can click the Send yourself a test email to receive a copy of the email that would be sent to the pre-registered visitor to ensure everything appears correctly.
Sign in a pre-registration
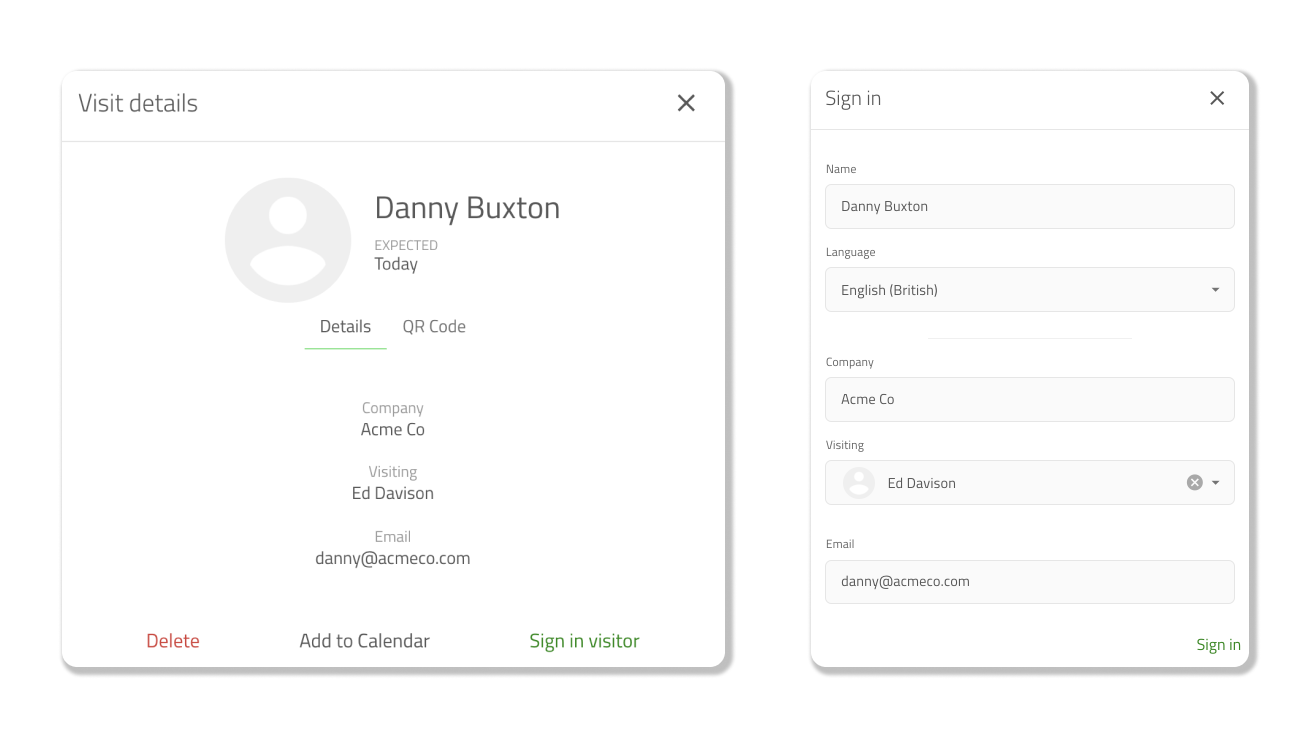
To sign in a pre-registration from the online management portal, select Pre-registered from the drop down menu and then click the pre-registration you’d like to sign in. This will pop-up a window with the option to Sign in visitor, click this and the data from the pre-registration will populate the sign in fields. Click Sign in to complete the sign in of the pre-registration.
Sign out all
Selecting this option will sign out all visitors currently signed into the site.
Warning
If you sign out all visitors, you will not be able to undo this action.

