Evacuate
Shared evacuation report
With Safety+ shared evacuation report you can join evacuations with colleagues and account for everyone on site in real-time across multiple devices, ensuring no one is left behind. When an evacuation is completed reports are synced with the cloud, giving you access to historic reports from any device at any time.

Minimum versions
You will also need to ensure that you’re running the following versions
- iOS Companion app: 2.3.0 or later
- Android Companion app: 2.3.0 or later
- iPad app: 4.2.0 or later
Enabling Safety+
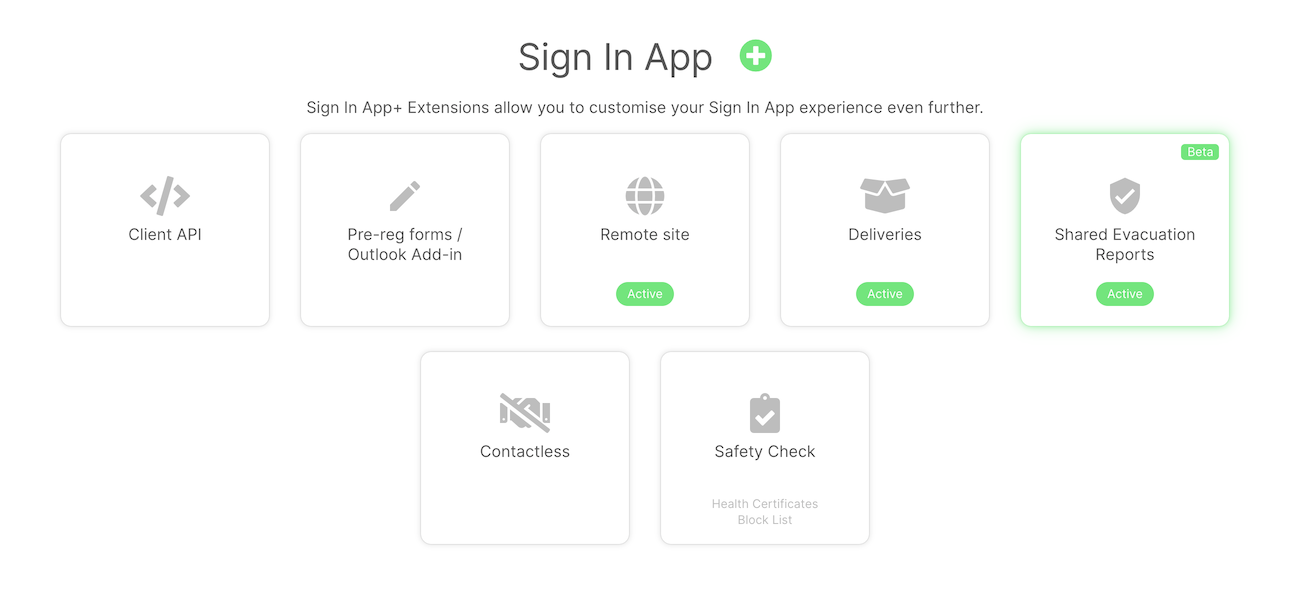
To enable Safety+ evacuation go to Manage and scroll down to Sign In App+. Clicking Shared evacuation reports will enable the feature for your account.

Tip
The real-time communication between devices connected to a shared evacuation report is enabled through a technology called Pusher. It’s important that the pusher domain is whitelisted on your network firewall if you connect to wifi. The domain depends on the region your data is stored in;
- UK : ws-eu.pusher.com
- EU : ws-eu.pusher.com
- US : ws-mt1.pusher.com
- AU : ws-ap4.pusher.com
If you’re unsure where your data is stored, please email support@signinapp.com and we can help.
Introduction
Shared evacuations can be started, joined, and completed from Sign In App Companion for smartphones, the online portal and the iPad app in the same way.
Tip
We recommend using Companion app for shared evacuation reports, from our experience this is the best way to complete evacuation reports as you’re likely to have a network connection, either cellular or WiFi, which is essential to run Safety+ evacuation reports.
If you don’t have Sign In App Companion set up, we’d recommend that you read through the full guide here.
Running reports from the portal
If you want to start an evacuation report from the portal click the Evacuate button in the top right corner and select Start an evacuation, the Evacuate button will turn red to indicate the report has started - the report is now in progress and can be joined from any other device connected to the site.
You can use the filter to switch between groups or evacuation points. Tap the group or evac point to see all the evacuees. By default, an evacuee is unaccounted for. Tap the tick to mark them as present, and the cross to mark them as missing. At the bottom of the screen you will see a progress circle with the percentage of evacuees accounted for.
Ending and leaving reports
Once you’ve accounted for everyone on site it’s time to finish the evacuation report. Clicking End evacuation will give you two options, End report and Leave report.
Clicking the End report will end the report for all participants - only do this if you’re sure the evacuation has been completed, once confirmed this action cannot be undone.
Selecting Leave report will keep the evacuation running, but the device you’re using will leave the report, you can rejoin the report after doing this.
MIS integration for schools
For UK based schools that have groups synced with MIS systems, students marked as present in your MIS register will appear on Safety+ shared evacuation reports. The report will show all students who have signed in late using Sign In App and those who have been marked as present during registration. Students who have signed out via Sign In App after registration will not appear on the report.
Important
When you start an evacuation report, Sign In App will request the most up-to-date data from Wonde. The register must be completed and uploaded to Wonde before it will appear on evacuation reports.
Filter by personal field
When viewing a shared evacuation report you can tap the Apply Filter button to filter evacuees by personal fields. You need to select a repeat visitor group to be able to filter by personal field.
Viewing current bookings
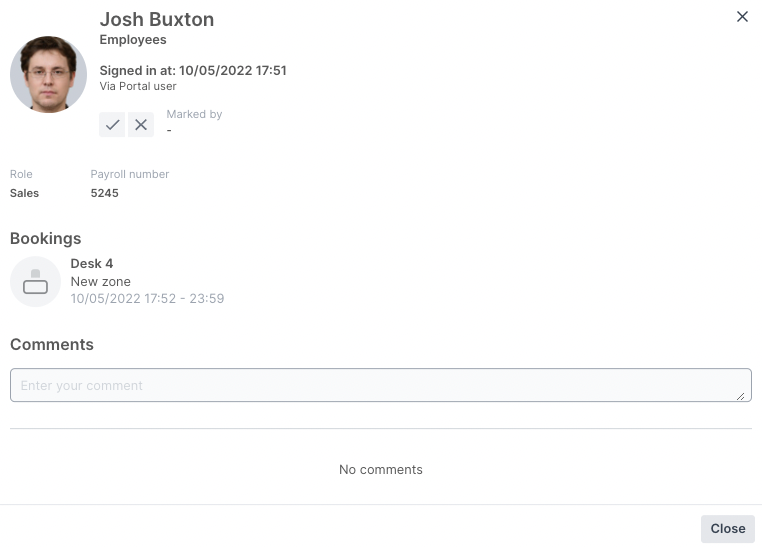
When running an evacuation report from the Sign In App portal, you can see what space(s) a user has booked at the time you start the report - this can help locate people during evacuations. Click into an evacuee to view their expanded view and current bookings. If you don't use Spaces you can click here to read more about this feature.

Viewing completed reports
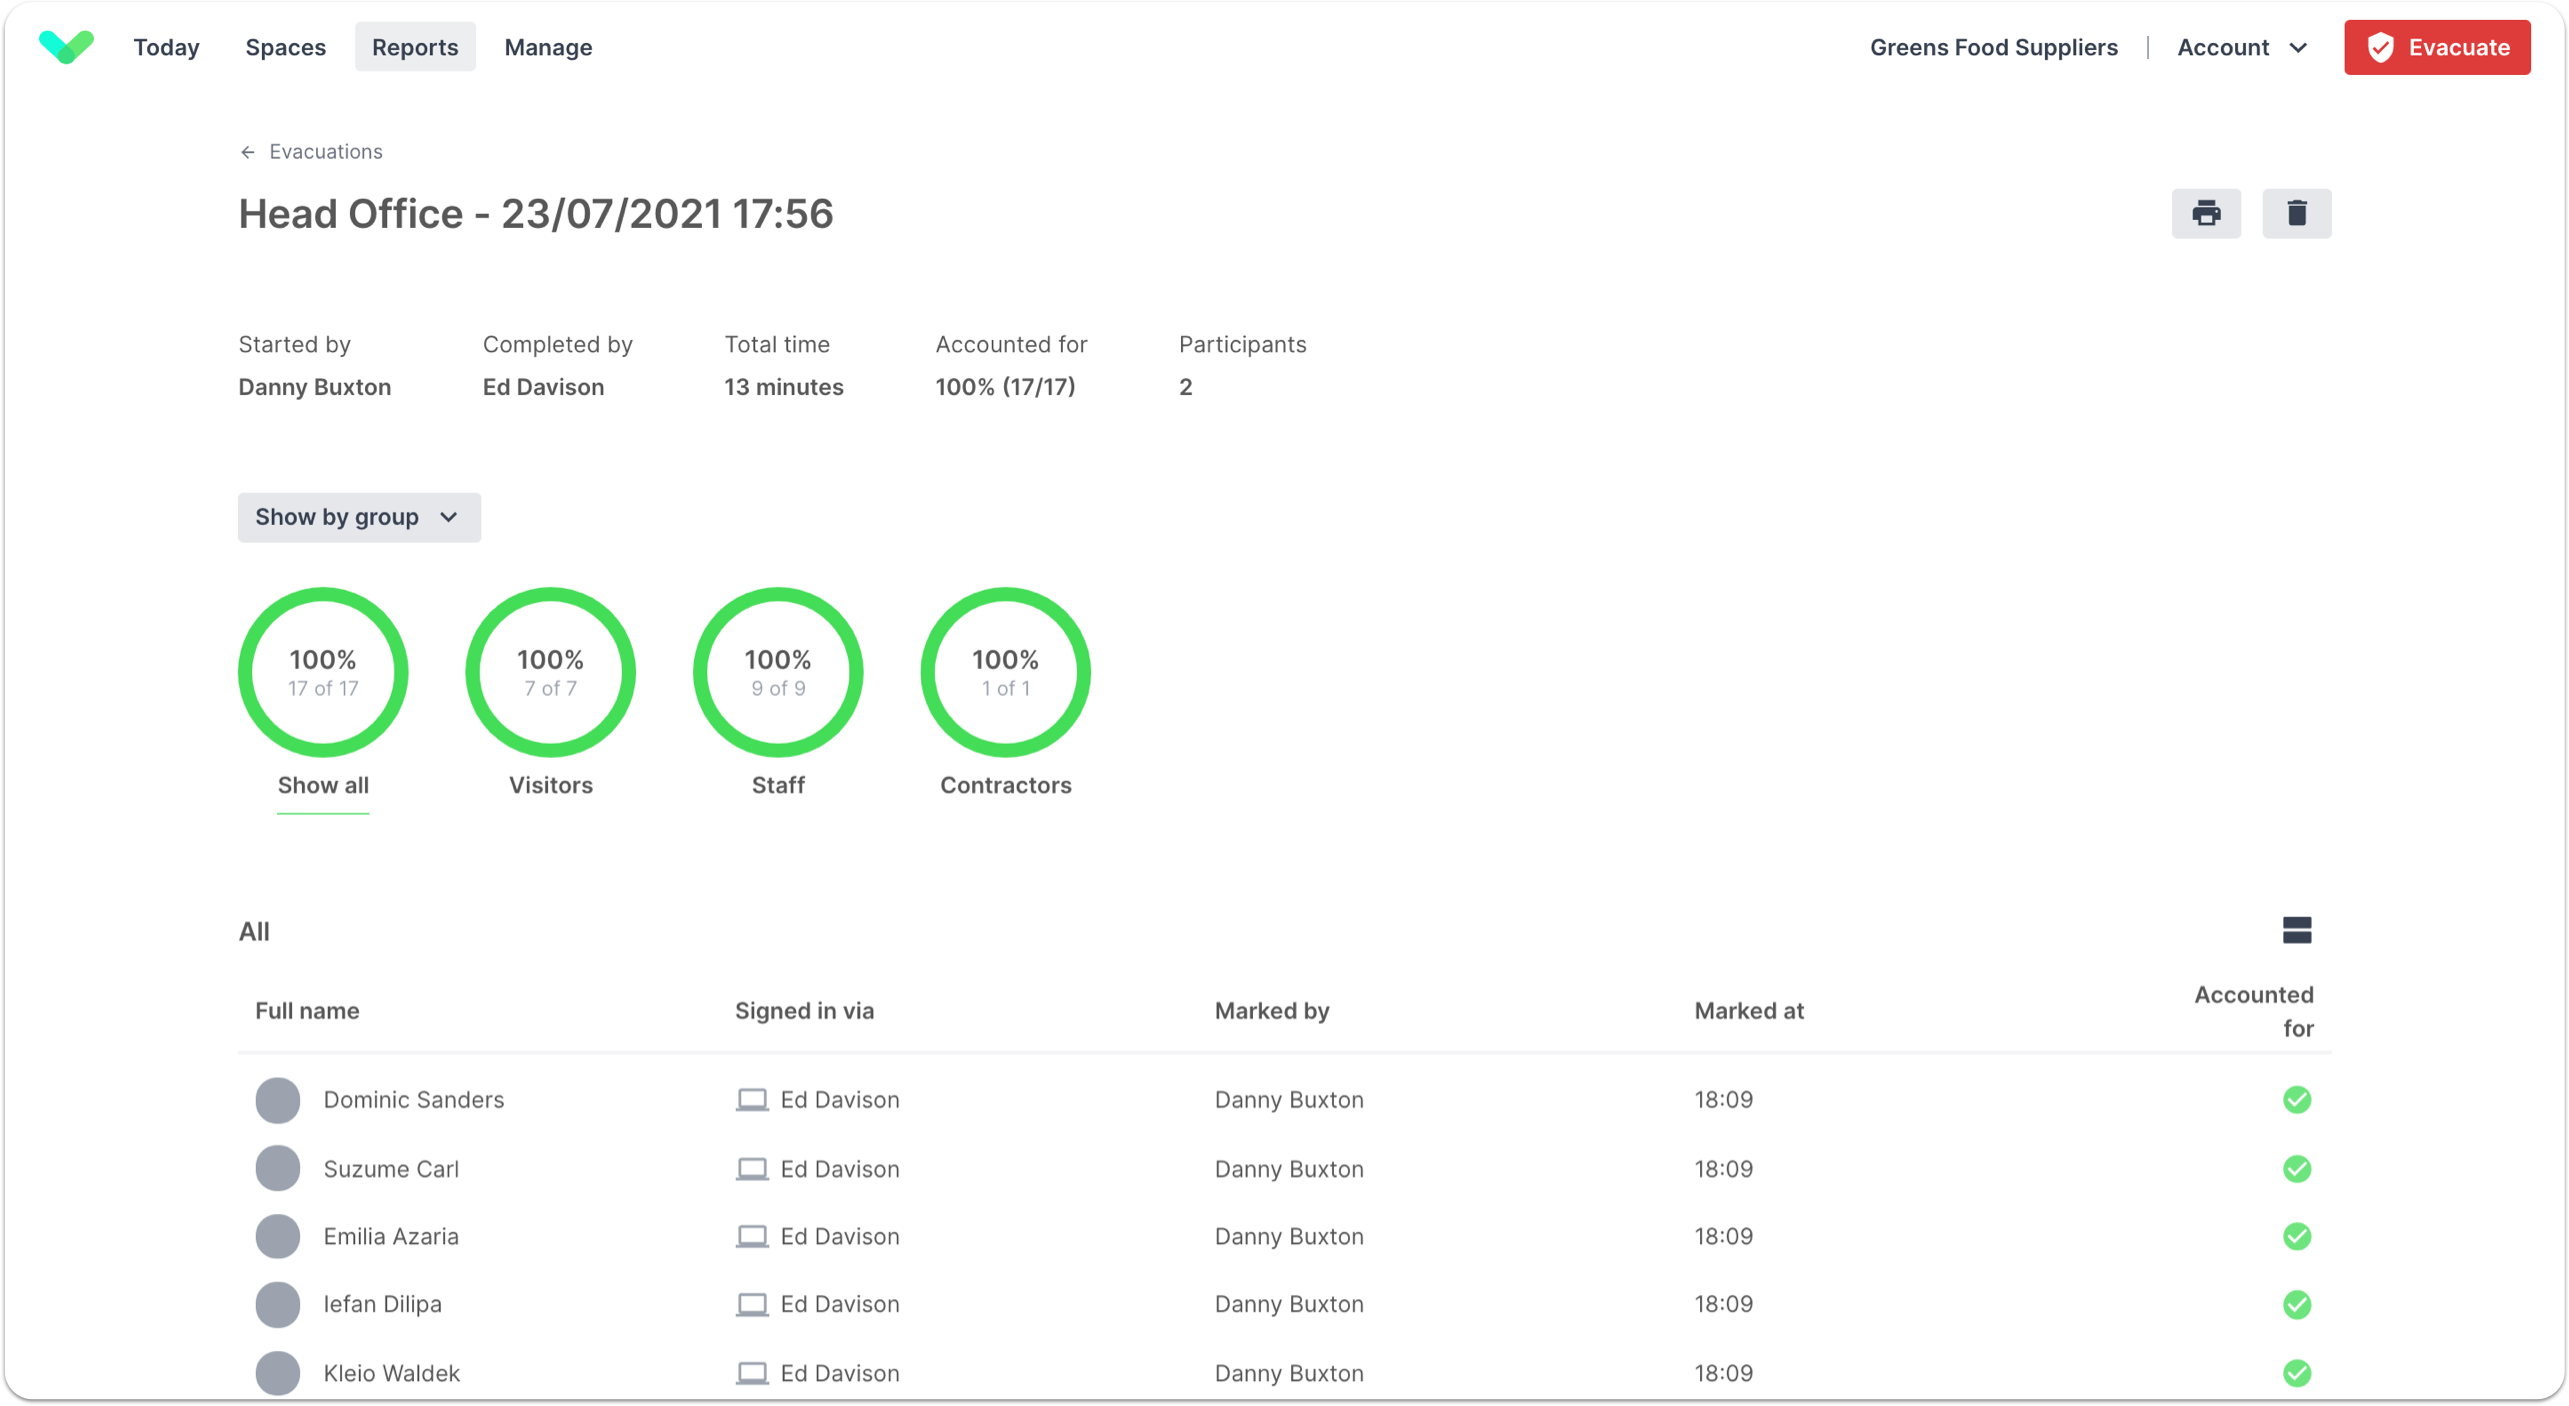
Once the evacuation report has been closed for all it can now be viewed from any device with access to the evacuation reports. From the reports section Sign In App portal you can view, print, export and delete evacuation reports. You can navigate to your evacuation reports from the portal by going to Evacuate > View previous report or Reports > Evacuations, click on a report to view the report details. Clicking the printer icon will give you the option to print or download the report. Click the bin icon to delete the report (this action can’t be undone).

Local evacuation report
The Local evacuation list allows you to view who is currently on and off site during an emergency. Printing off the evacuation list will provide an up-to-date list to roll call with once everyone has evacuated the premises. You can also run local evacuation reports from Companion app and the iPad app.
To view the evacuation list simply click Evacuation list in the header bar of the portal.
Important
Unlike with shared evacuation reports, local evacuation reports are run locally on the device meaning multiple people can't join the same report and when the report is completed it is not stored in the Sign In App portal.
List by
You can choose to sort the evacuation list by Group or Evacuation point. Toggling between these allows you to sort the evacuation list in the way that suits you.

Filters
Sign In App allows you to filter which visitors are shown on the evacuation list depending on their sign in status.
| Option | Description |
|---|---|
| All | Show all visitors regardless of thier sign in status |
| In | Only show visitors that are signed in |
| Out | Only show visitors that are signed out |
| Unknown | Shows all visitors that are neither signed in or out |
Customising the fields
On both the shared and local evacuation reports, custom and personal fields can be displayed on the evacuation list. This is useful if you need to see key bits of information at a glance as part of the evacuation report.
To add custom fields to the evacuation list, go to Manage > Sites > Select site > Custom fields and click the pen icon to edit
the custom field you would like to include. There is a check box called Show on evacuation list. Adding personal fields to the evacuation list is the same, but go to Manage > Groups > Selct group > Personal fields and edit the personal field and select Show on evacuation list.
Tip
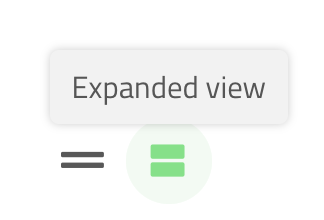
If you can't see any fields on the evacuation list you might have compact view selected, select expanded view to show custom and personal fields at a glance.


