Reports
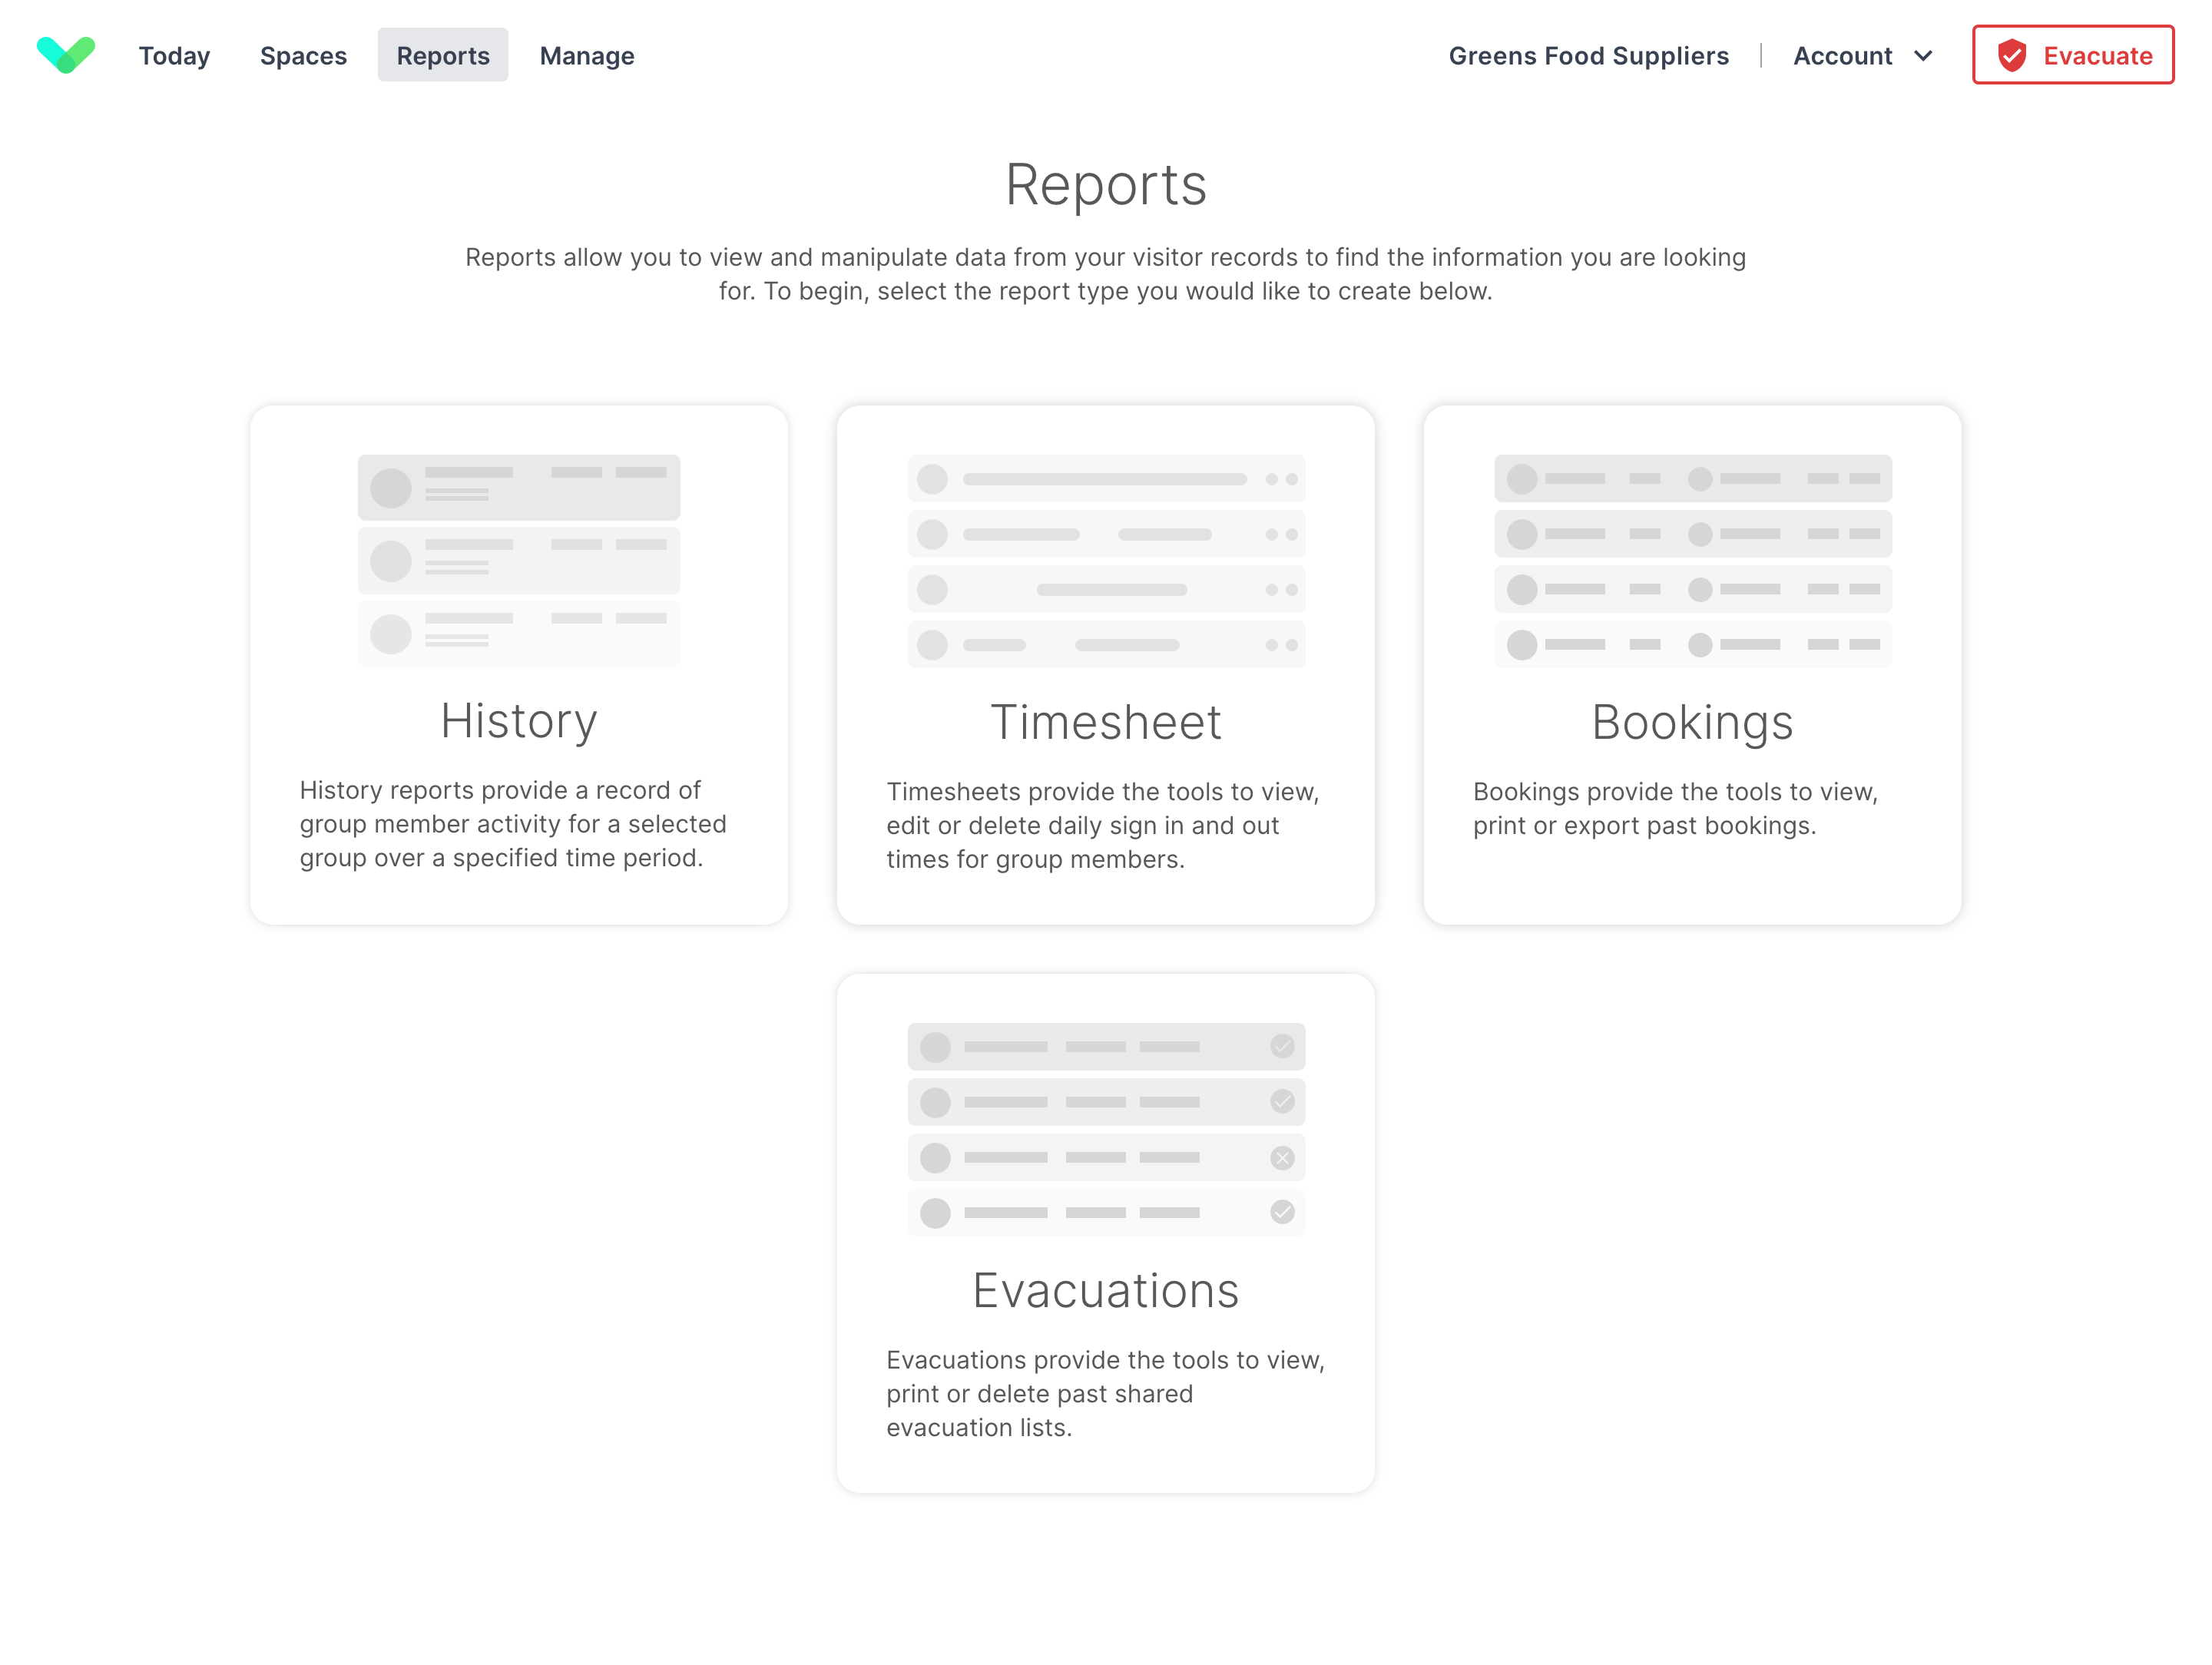
The Reports section allows you to view and export sign in activity, spaces bookings, and evacuation reports. There are four reports available, History, Timesheet, Bookings, and Evacuations.
History
The History report allows you to view and export visitor history reports based on defined dates. The exported data can be used to analyse visitor and staff sign ins for a determined period of time.
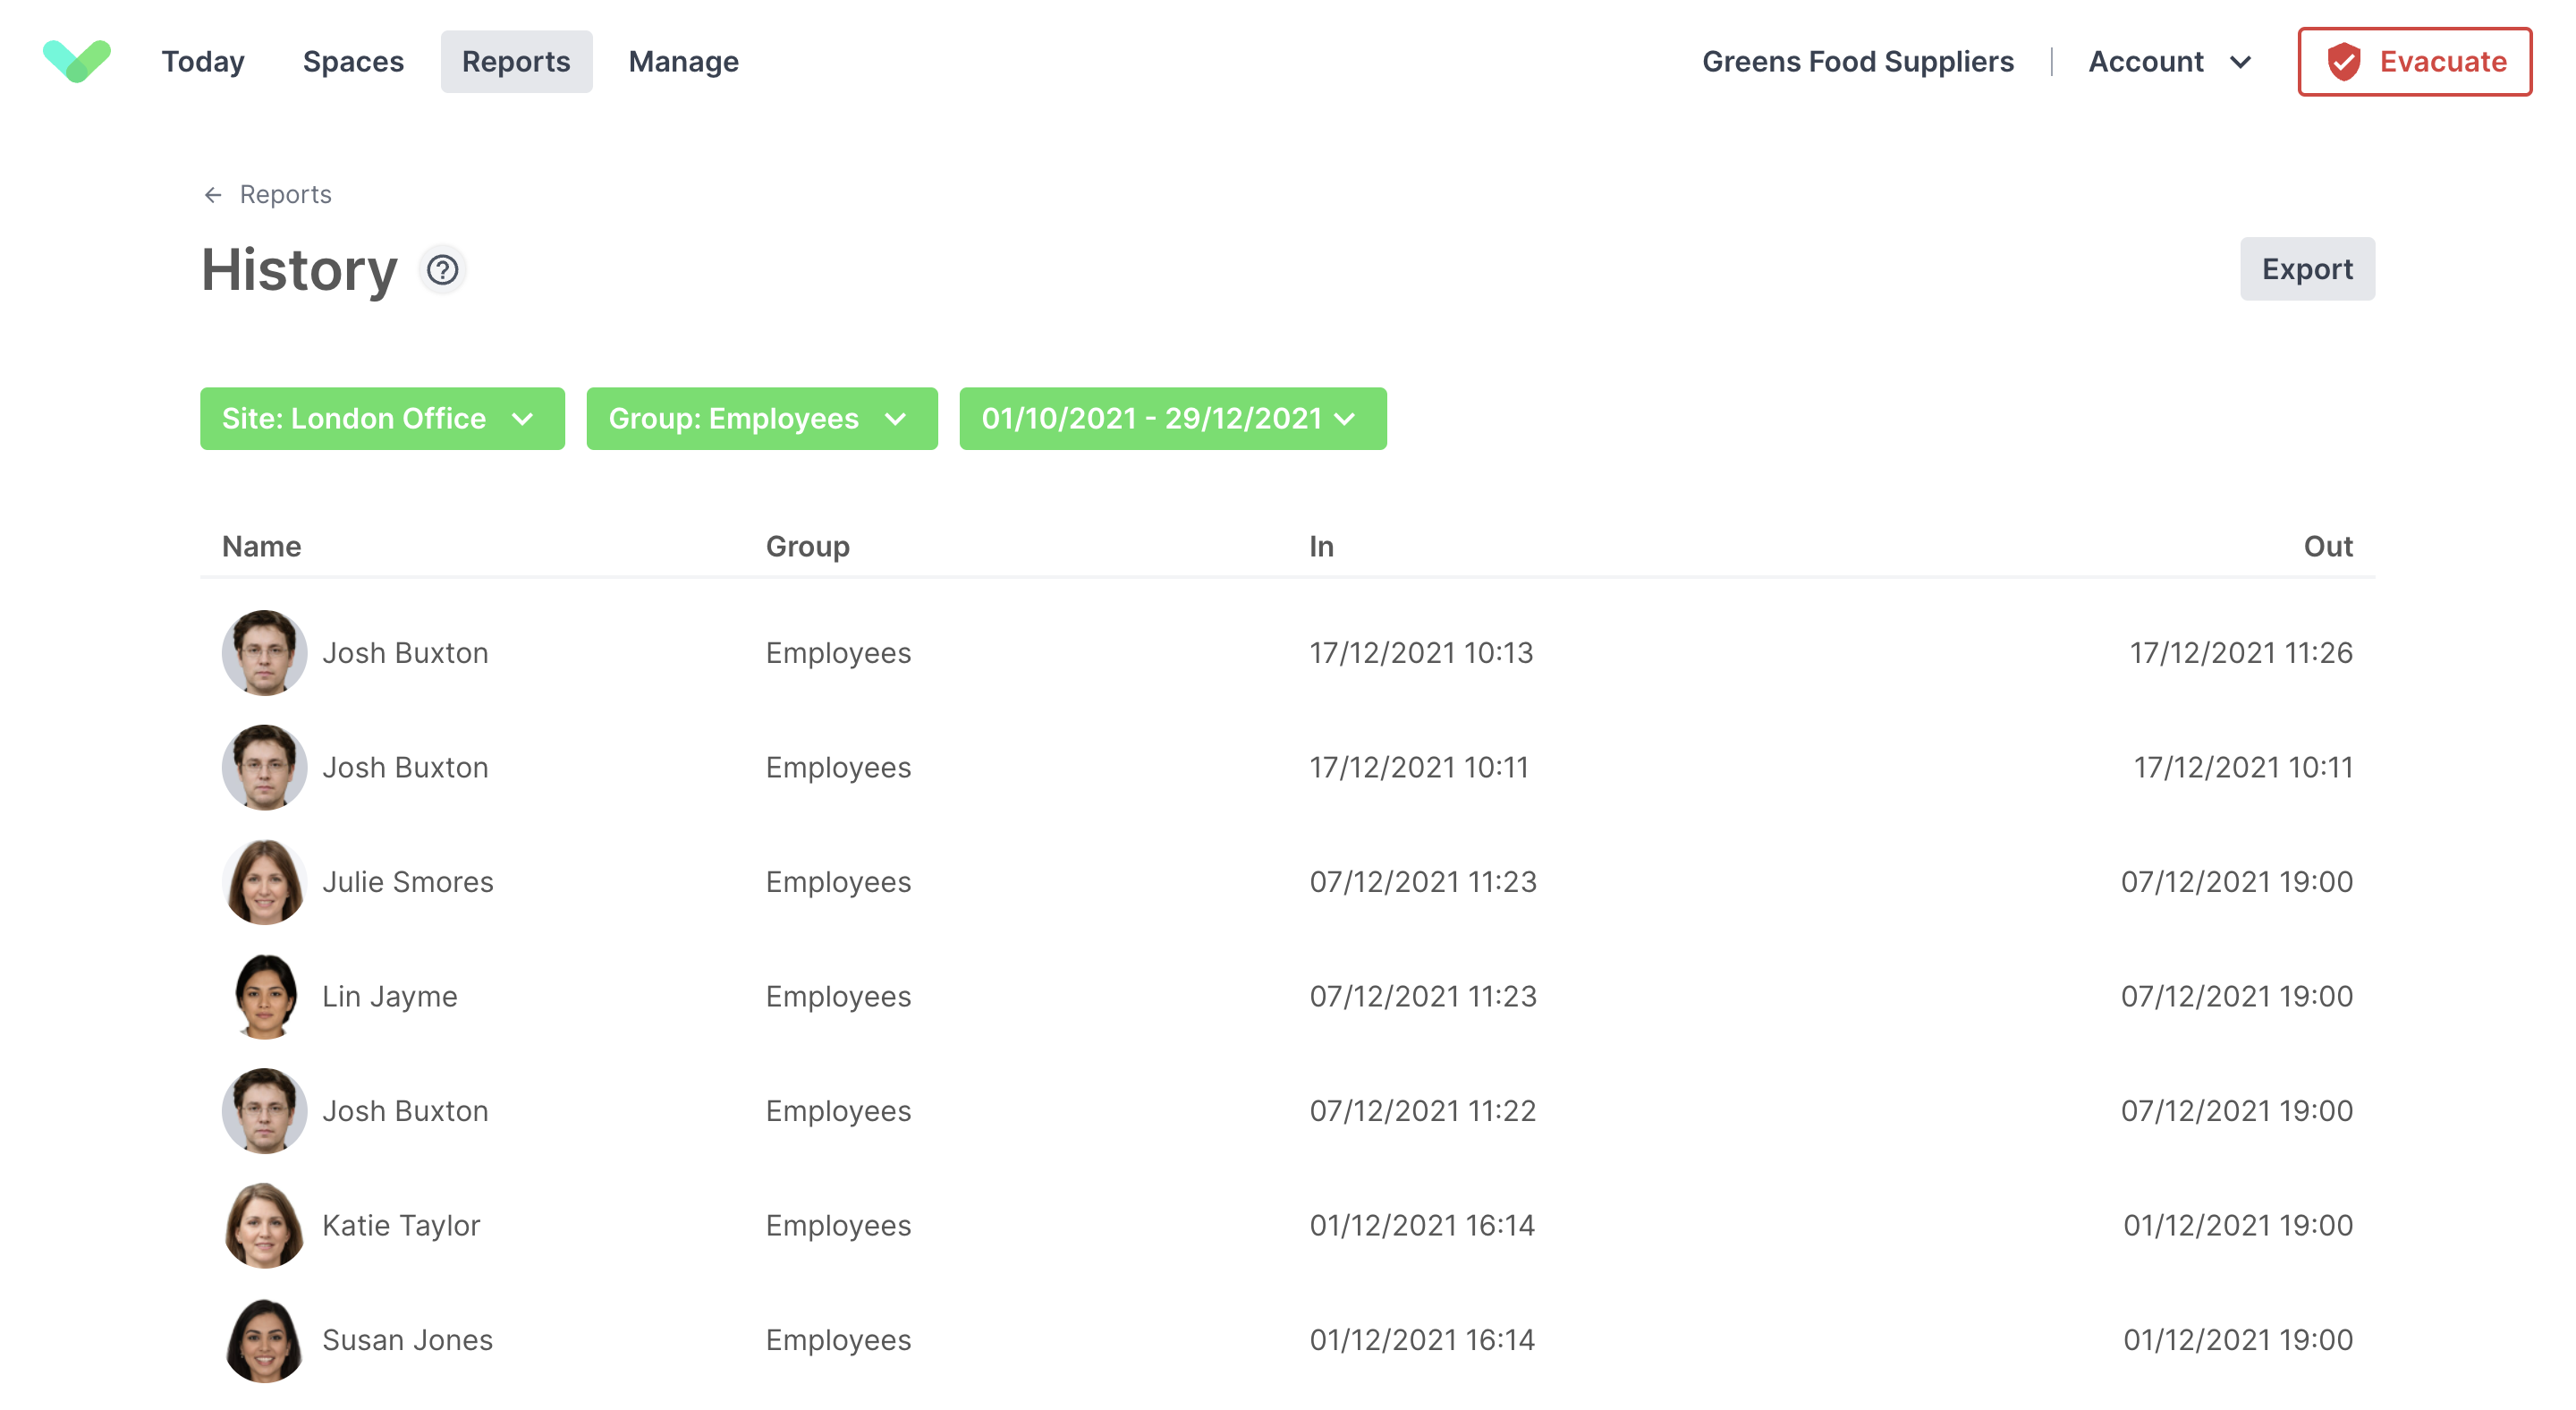
The first list you will see on the History report is a summary of today's visitors.
Filter options
Use the filters at the top to select the site, group, and timeframe.
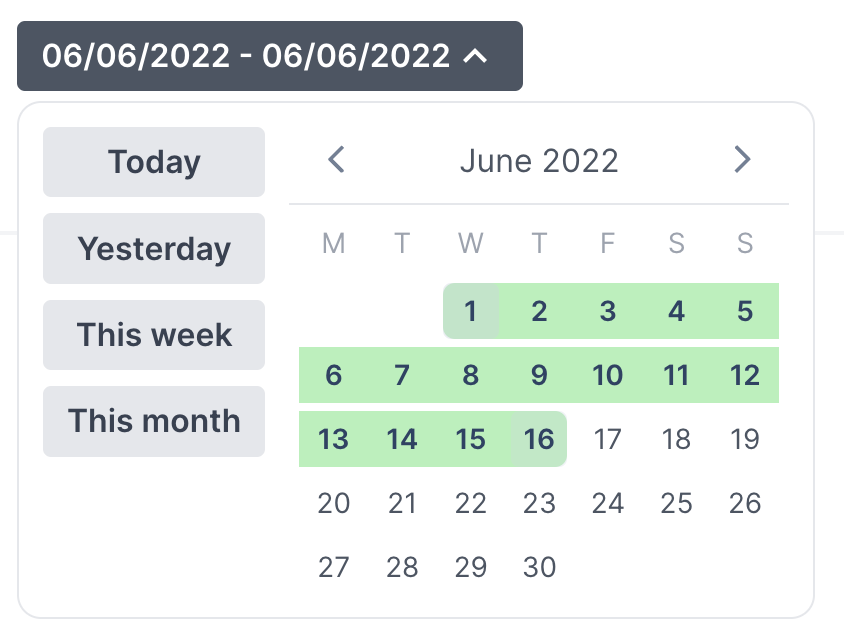
- Timeframe When selecting the timeframe you can click
Today,Yesterday,This week, andThis monthto select a pre-configured timeframe or use the date picker to select a custom one.
- Site The site you have selected on the
Todayscreen will be the default option underReports > History. Click theSitebutton to include additional sites in the report you're viewing. - Group The group setting will default to all groups. Click the
Groupbutton to remove certain groups from the filter.
Export
Click the Export button to export the data using the selected filters.
Important
To include custom or personal fields with your exported data you need to select a specific group for the export.
To select custom fields, tick the box next to each field you'd like to include before clicking the export button. For repeat visitor groups you can also include personal fields in the export.
When the export is completed you will be sent a link to download the file. Small files will download directly from the webpage.
Tip
Your data will be downloaded in CSV format. These will open in Microsoft Excel or Numbers on Mac as a spreadsheet. The export includes the date and time of the sign in, but this can sometimes be formatted incorrectly in Excel. Make sure the cell formatting is set to a format which supports date and time.
View sign in details
To view a summary of a visitor's details click the record.
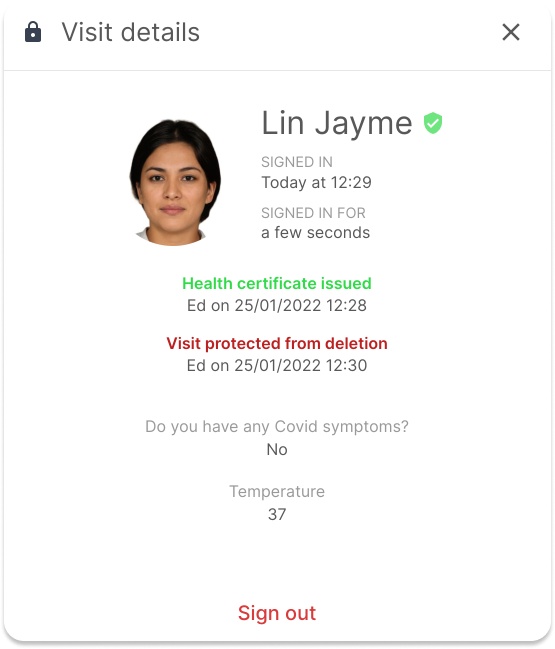
Protect records
You may have sign in records that shouldn’t be deleted in line with the group’s data retention settings. You can protect these records so they’re kept permanently unless they’re changed to unprotected. Select the record you need and then click the padlock button to protect this sign in record.
Safety check status
When viewing sign in history, a green icon will appear next to records that have passed your site safety check. Clicking into a record will show you the time/date the certificate was issued and which portal user created the certificate. You can read about setting up safety check here here.
Tip
On the Today screen you can also view visitor safety check status and protect records.
Timesheet
The Timesheet report provides a summary of one day's activity in a visual format. Unlike the History report which shows each sign in/out as a separate record, Timesheet groups these together for each person giving a daily total.
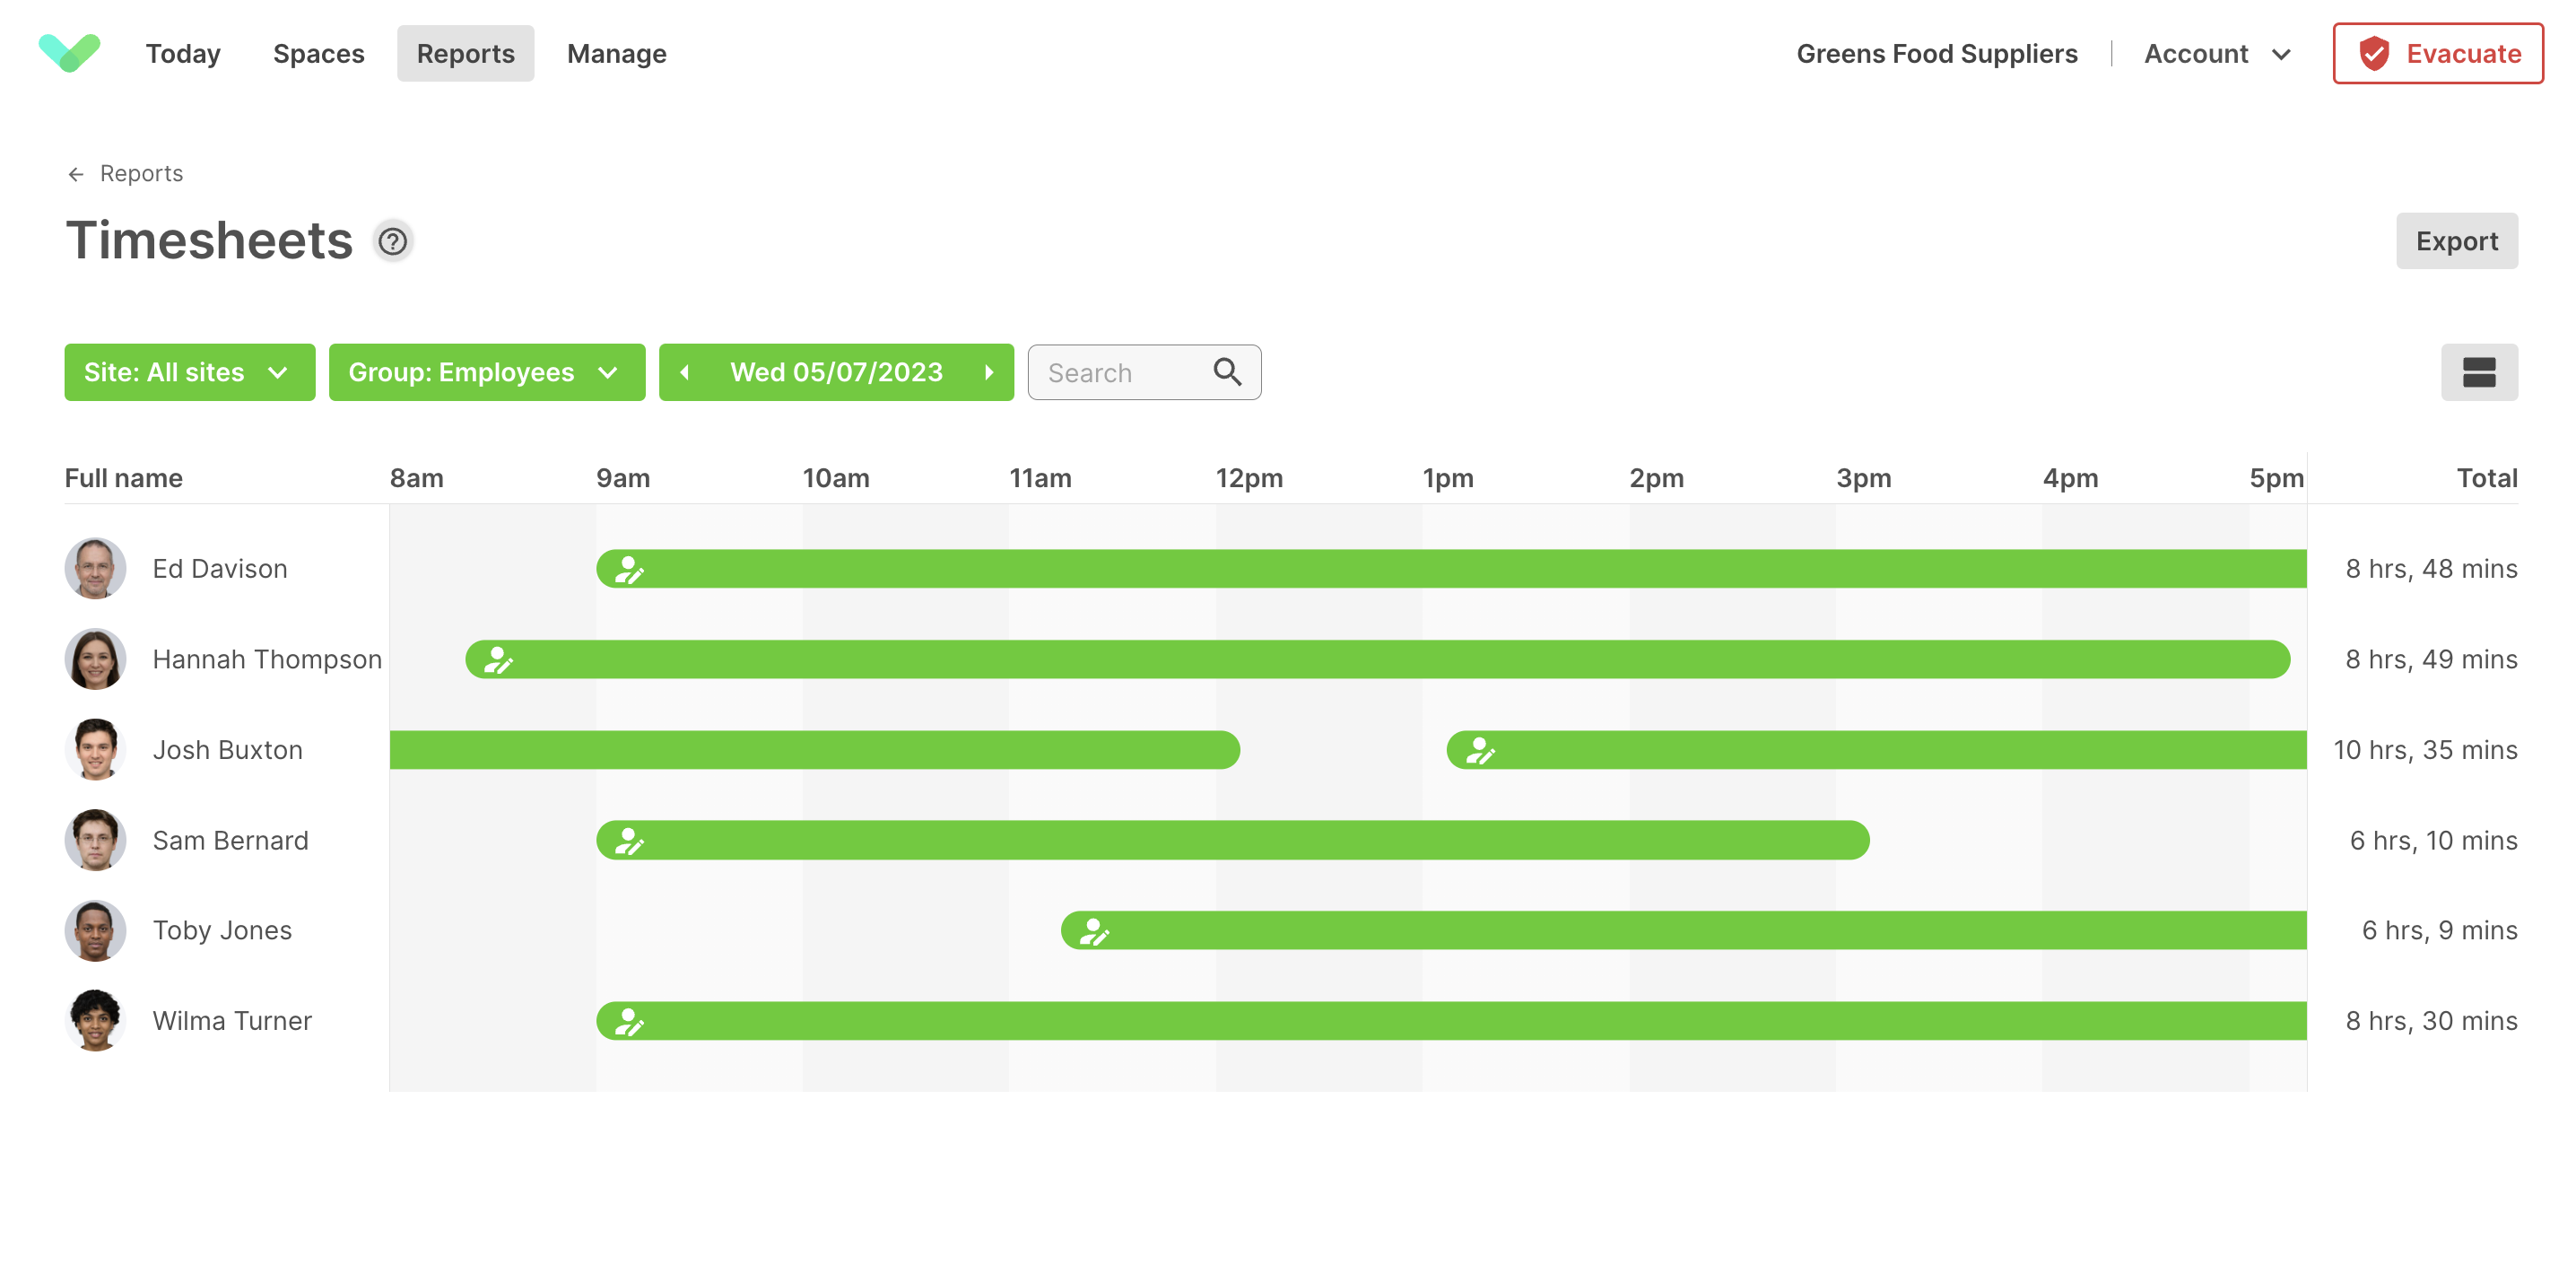
This view shows a list of group members with their time on site appearing next to them as green bars on a grid.
Filter options
Run your own reports using the filter options located at the top of the Timesheet.
| Filter name | Description |
|---|---|
| Site | Select which site to display |
| Group | Select which group to display |
| Date | Click the left and right arrows next to the date to toggle through the days, or click on the date to show a date picker |
| Activity (T&A Only) | Select which T&A statuses to display |
| Working hours (T&A Only) | Select which T&A working hours patterns to display |
| Search | Search for an individual by name |
Tip
The data displayed using the filters will be the data exported when you click Export
Activity toggle
Clicking the button below allows you to toggle between showing all members on the timesheet and only those with activity. The setting here will persist when exporting the data.
Editing / adding a sign in
To make sure your Timesheet report is accurate, you have the option to edit individual records (for example if a group member forgot to sign out). To view more details about a sign in record, hover over the green bar and the exact sign in and out times, duration of sign in, and details of any edit will be displayed. To edit a record, click on the green bar and a window will pop up allowing you to enter a sign in time, a sign out time and a reason.
Audit log
When you change a sign in record, your name, the current date and reason you provide is permanently saved against the sign in. An icon will appear on the green bar to show the record has been changed.
To manually add a missing sign in, click the plus button which appears when you hover your mouse over a row. You will be asked to provide the same information as when you edit a record.
Export
When clicking the Export button, the view presented will now show as follows. We have removed any options which can be configured on the timesheet itself, this includes the site and group filters, and, if Time & Attendance is enabled, the activity status and working hours pattern as well. This makes generating an export much simpler, as there are less options to configure.
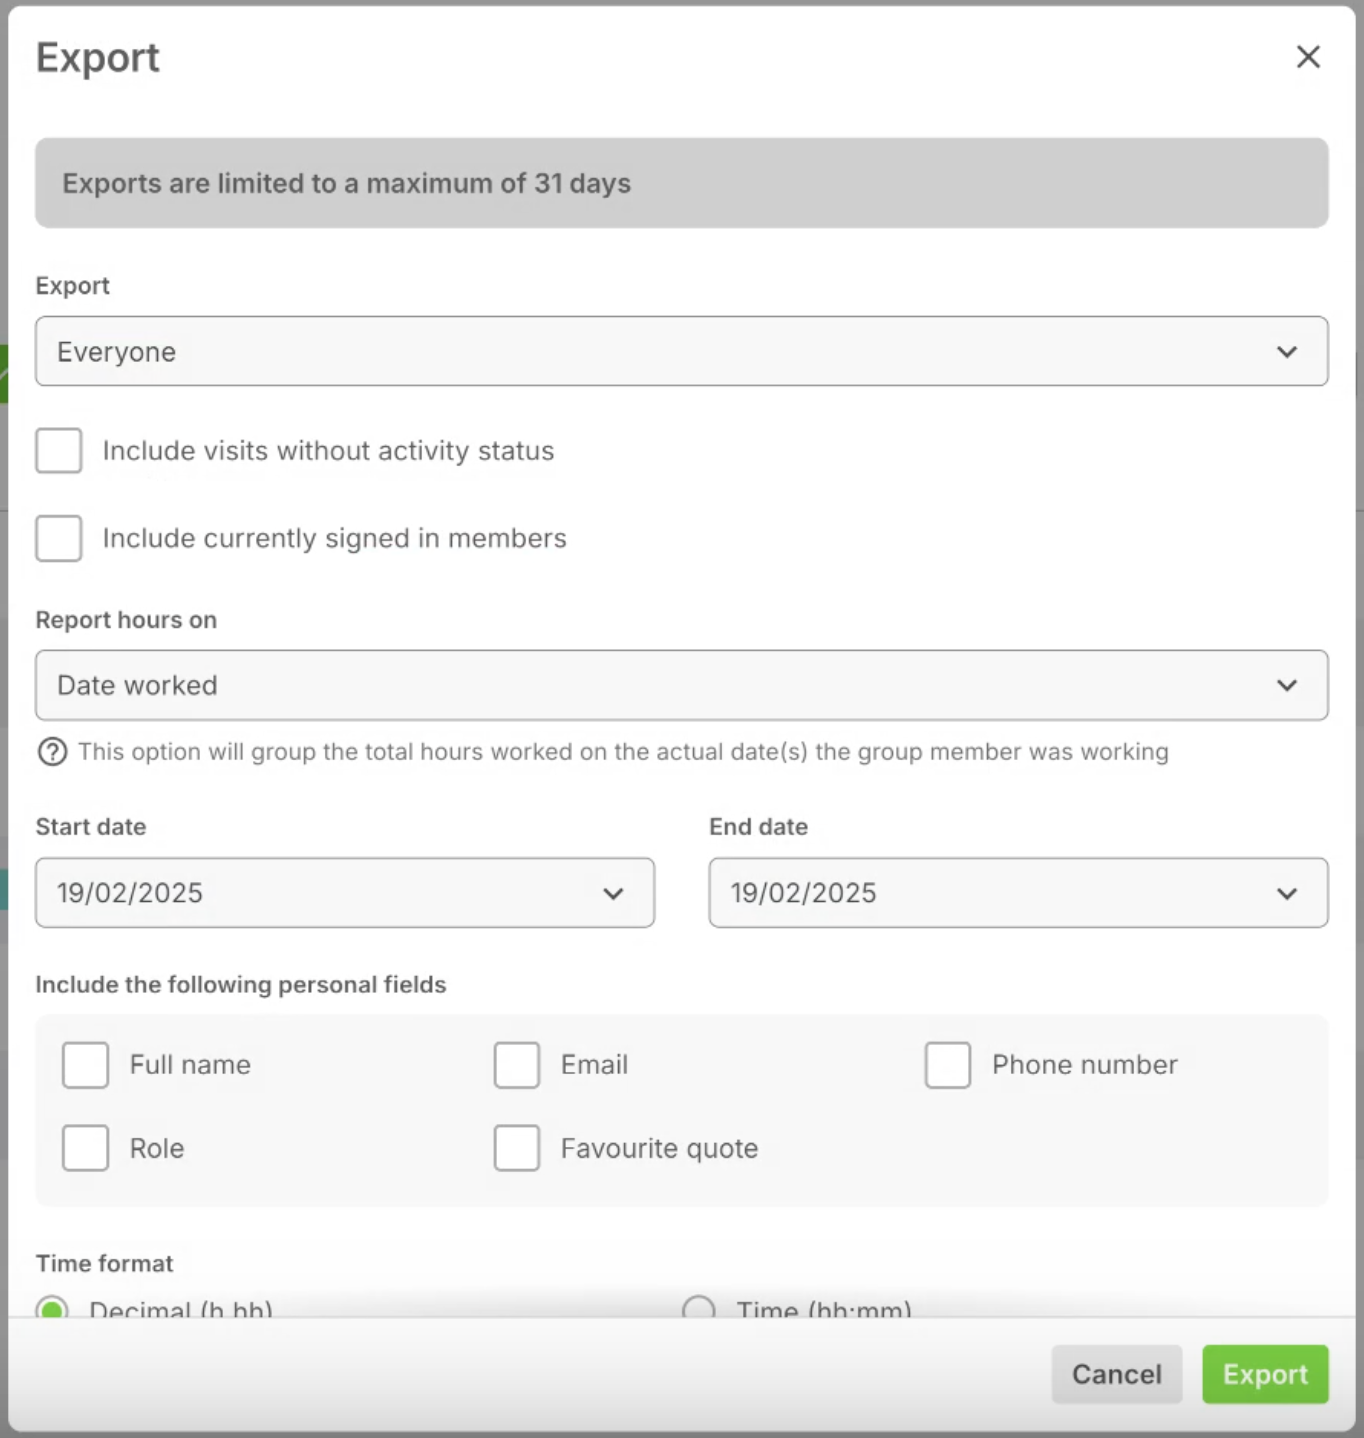
The Timesheet export will contain a row for each group member and a column for each day selected. This column will show the number of hours signed in. You will be asked to select a group, all sites or a single one, and if the export should include all members or only those with activity. Next, select if sign ins across more than one day should be grouped by day of sign in, or separate days. The report needs to have a start and end date no more than 31 days apart. Finally, select any personal fields you’d like to include in the report.
Time Format
If needed, you can change the time format for your export. By default, the time format will be Decimal (h.hh) but you can change this to Time (hh:mm) if this better suits your requirements.
Here is what each format would show for 1 hour and 30 minutes:
- Decimal: 1.50
- Time: 01:30

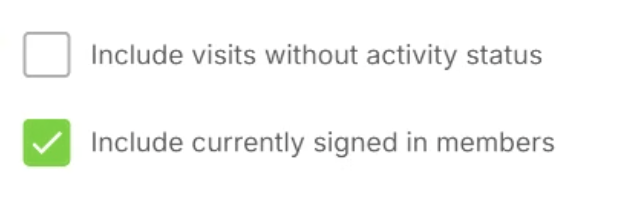
Exports and Active Visits.
If you would like to include any active visits in your export, simply select the checkbox to Include currently signed in members
Exporting Large Reports
When exporting larger reports, the exports will be processed in the background and you will be notified by email once it is completed, with a link to download the report.
Important
The maximum number of days that can exported is 31
Bookings
The bookings report allows you to view and export Spaces bookings helping to give you an insight into the utilisation of office space. You will only see this option if you have Spaces enabled for at least one site. If you don’t currently use Spaces you can read the full setup guide here.
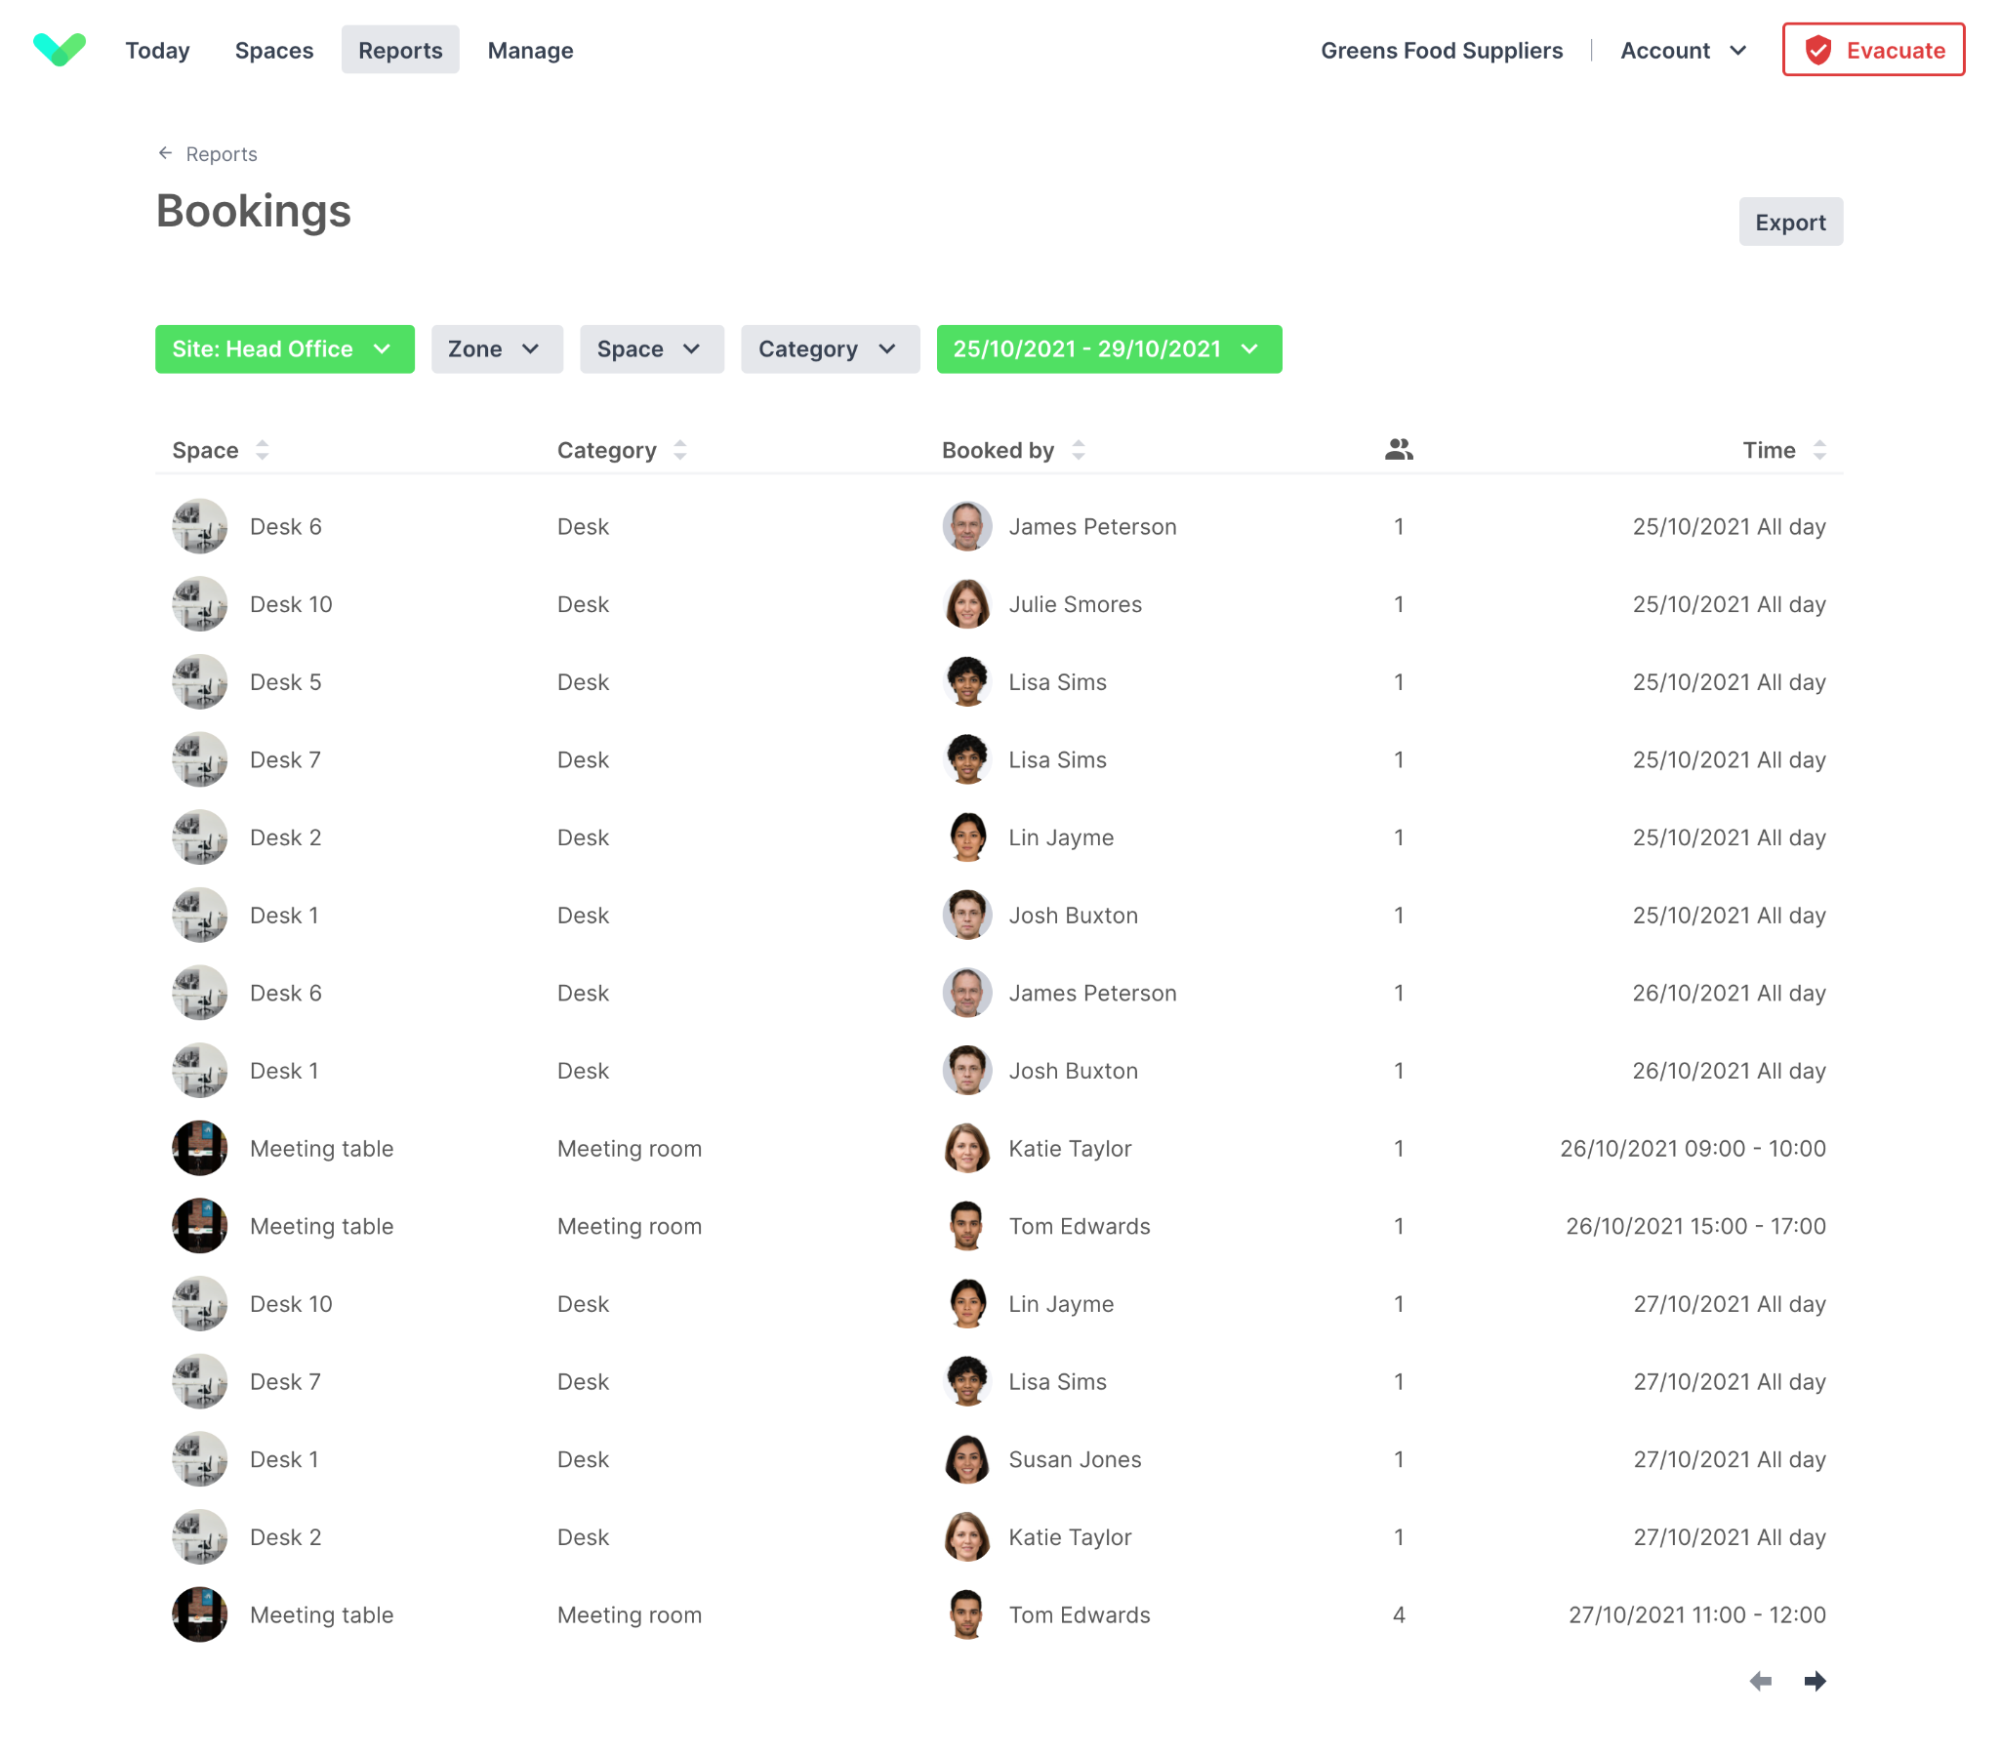
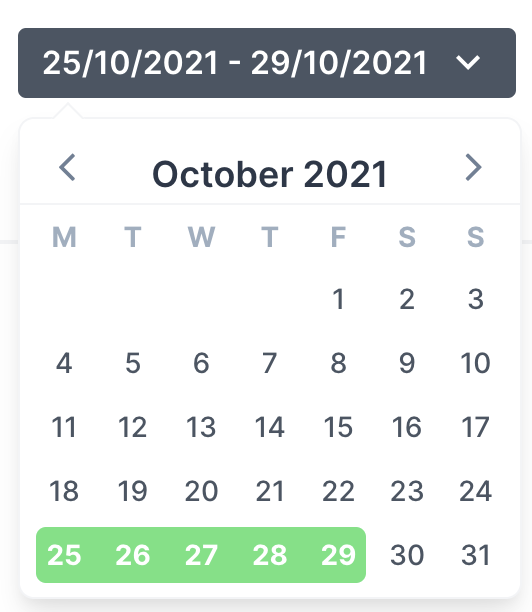
Opening the spaces booking report you’ll see an overview of all bookings for the month. You can use the Site dropdown to select the site you’d like to view the spaces bookings for. If you want to view a specific time period, click the date picker and select the timeframe. You can view bookings in the past, present, and future.
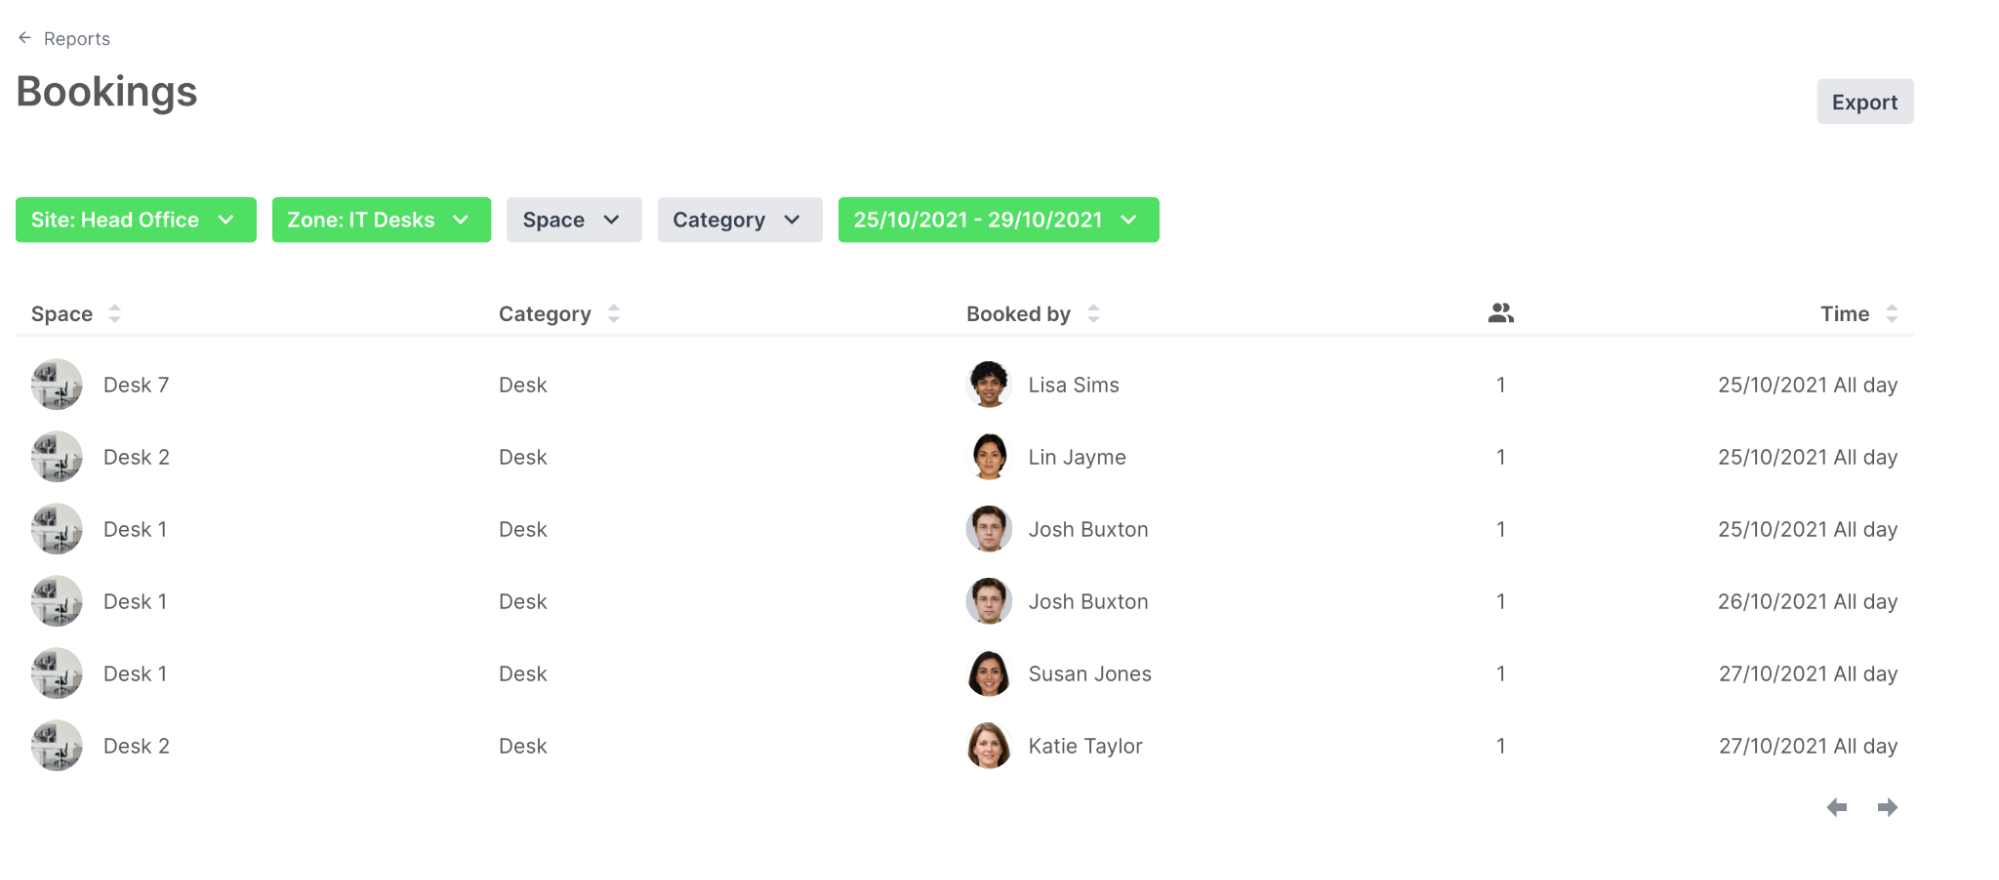
Use the Zone dropdown to filter the results by one of your zones. This can help you understand the utilisation of a floor or area of your site.
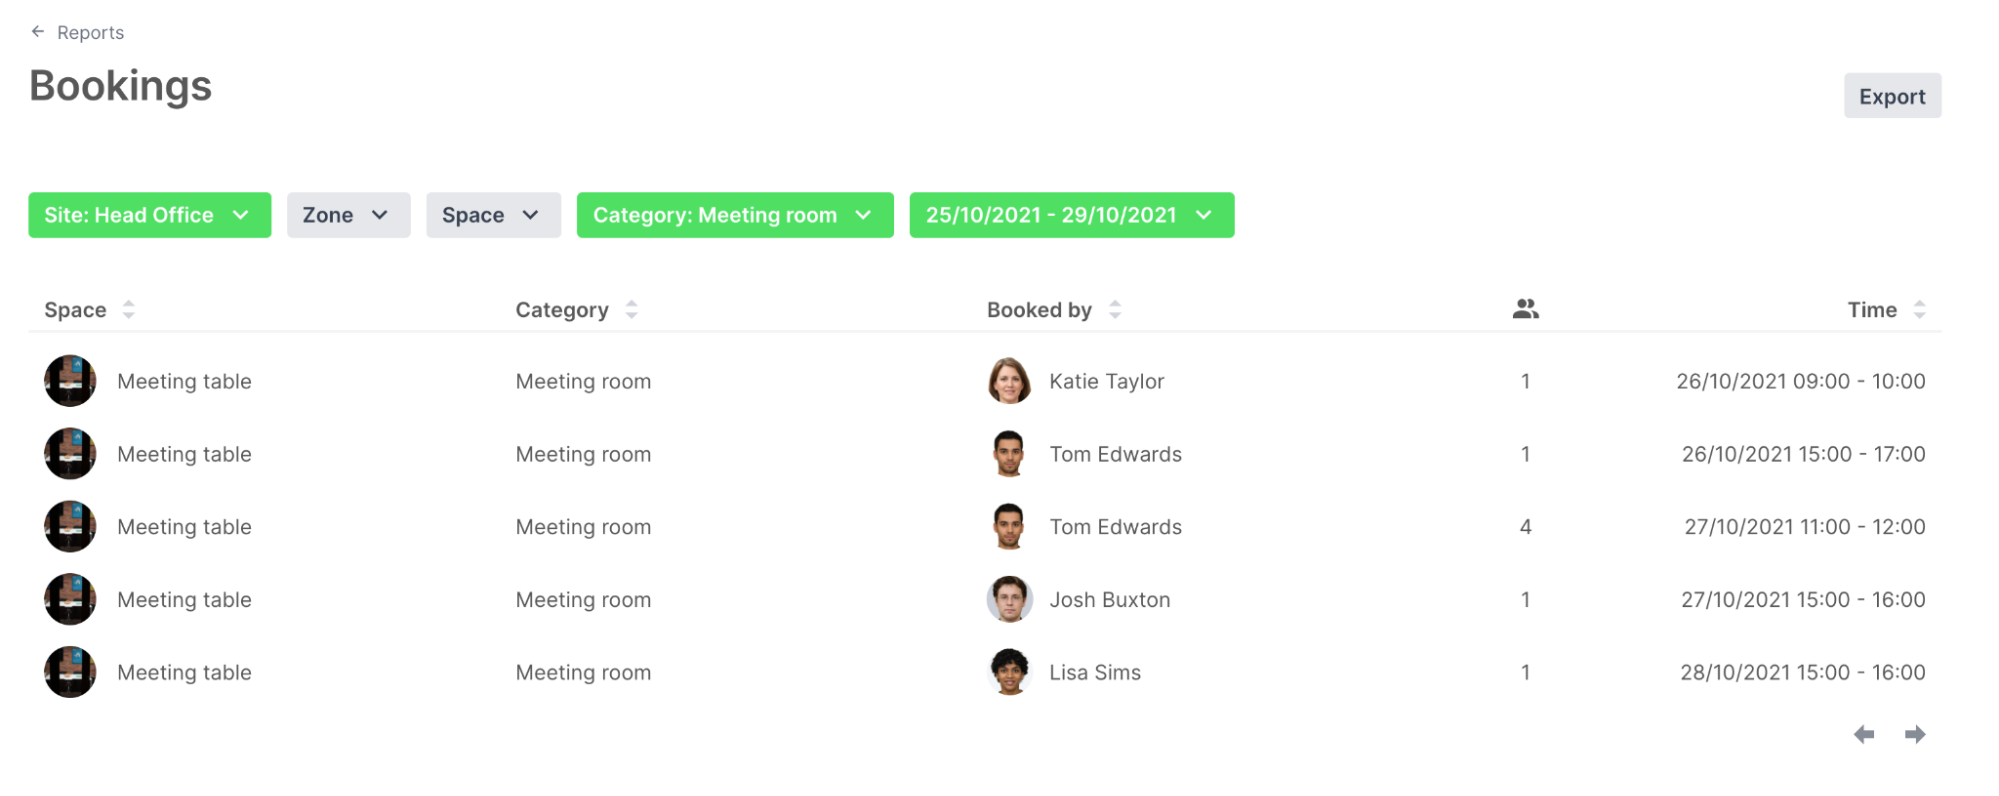
Use the Category dropdown to view all bookings for a specific category. This could be desks, meeting rooms, parking spaces, or any of the other spaces categories you have set up for your site.
Export
Once you’ve selected any site, zone, space, category, and timeframe filters you need, click the Export button to export the data. All data exported will be in CSV format.
Tip
Bookings exports will also include any of the notes recorded as part of the booking process.
Evacuations
The evacuations report section of the portal allows you to view all of your past evacuation reports in one place. You can see an overview of each report, when it was created, the duration, the result, and who started and completed the report. Click a report to view a more detailed report for that evacuation.

Important
Evacuations will only show in the Reports section of the portal if you have Shared Evacuation Reports enabled. To enable this go to Manage and scroll down to Sign In App+ and click Shared Evacuation Reports. Click here to read the full guide.
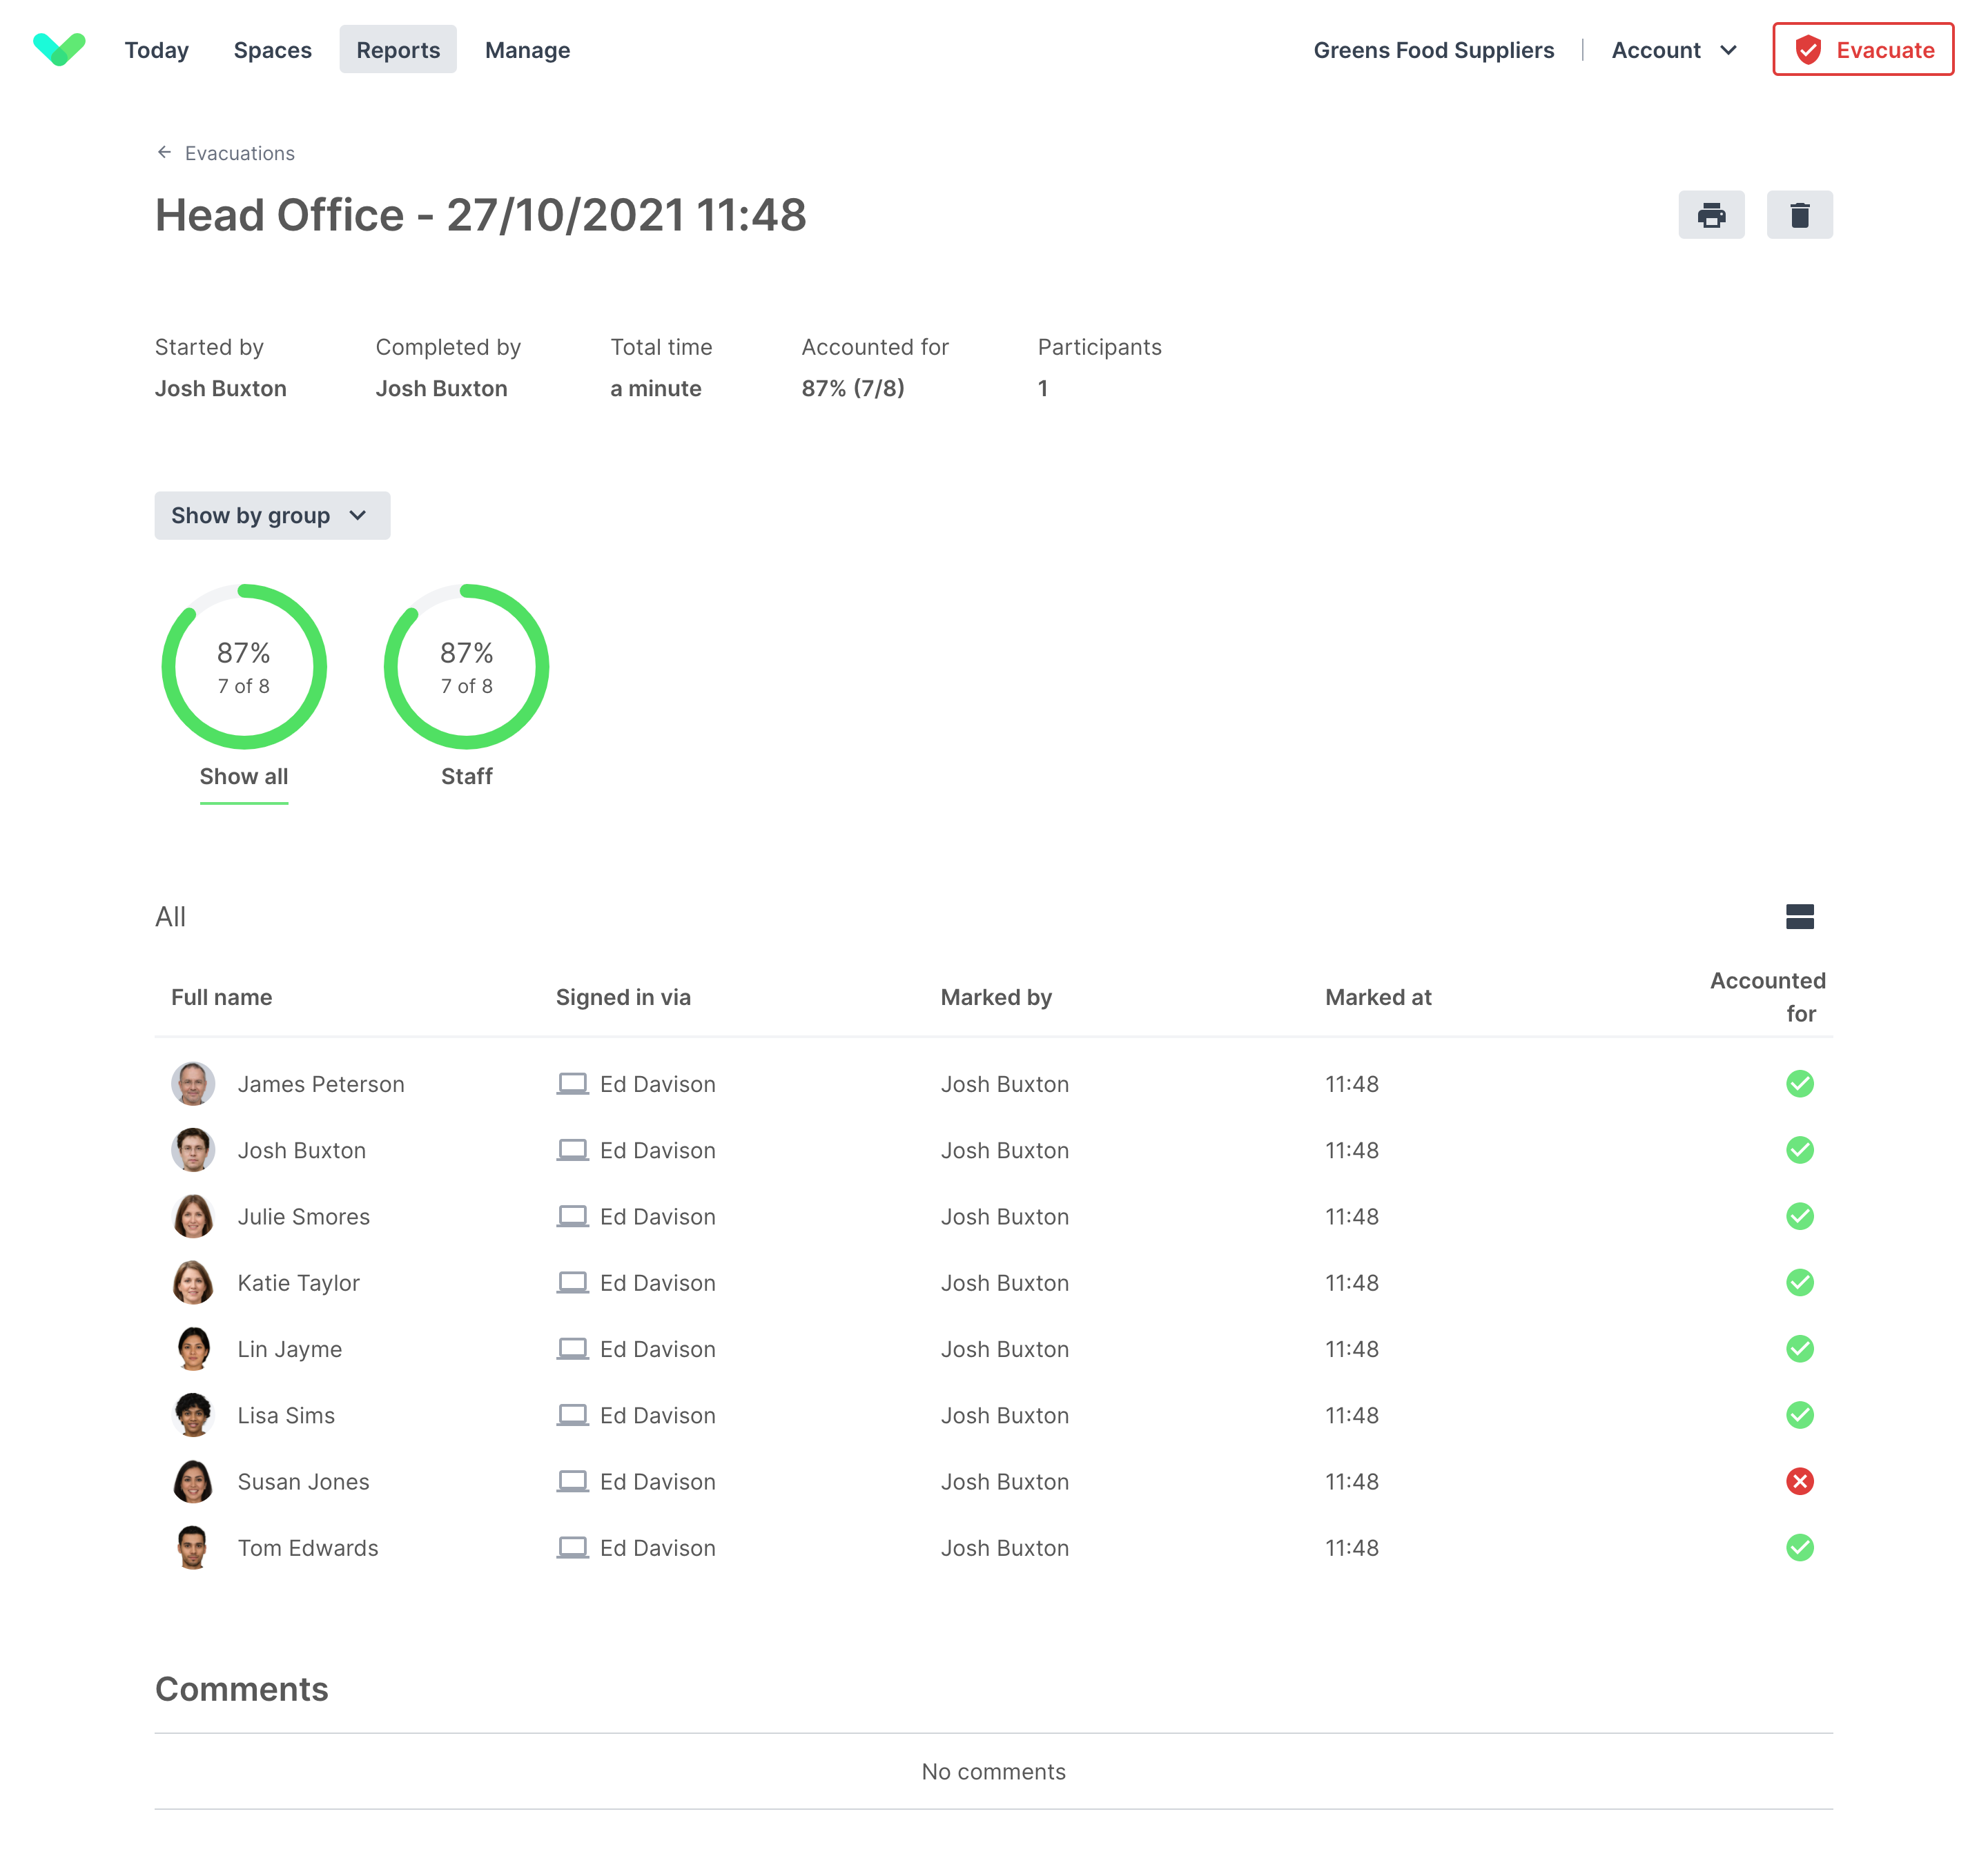
Once you’ve clicked into the evacuation report, you’ll see a visual representation of how many of the evacuees were accounted for. Below this there is a list of all evacuees and their status from the evacuation. A green tick shows they were accounted for, a red cross indicates they were not present, and grey question mark shows there was no action. You can filter the list by groups and evacuation points. Clicking the printer icon will give you the option to print or download the report.
