Manage
The Manage section of the portal is where you configure your account's settings, including managing sites, groups, events and portal users.
Manage sites
The manage site section allows you to manage your existing sites and add new ones if you have space available.
Configure site
The configure options are explained in the Configure site section of the user guide.
Tip
You can see which site you're currently on by looking for the 'Current site' label.
Remote site
You can manage your remote site from this screen. Remote sites allow your mobile workforce to sign in and record work hours from their mobile phone without appearing on a site's fire list. Once configured, you'll need to allow your companion app users to sign in from their mobile before they can use remote sites. Activate your remote site from the Sign In App+ section of the portal.
Important
If you have purchased additional site subscriptions, you can set up a new site quickly and easily by clicking the
Add site button to the right of your existing sites. Each site you create requires its own site subscription.
To order, contact the Sign In App team on support@signinapp.com.
Manage groups
The manage groups section allows you to set up new repeat visitors and show or hide groups from the app.
Manage / Edit / Add groups
Groups are explained in detail in the Groups section of the user guide.
Tip
Visitor groups allow you to customise the sign in experience for each different type of visitor, including different messages and custom fields.
Manage features
Features that allow you to customise your Sign In App experience even further.
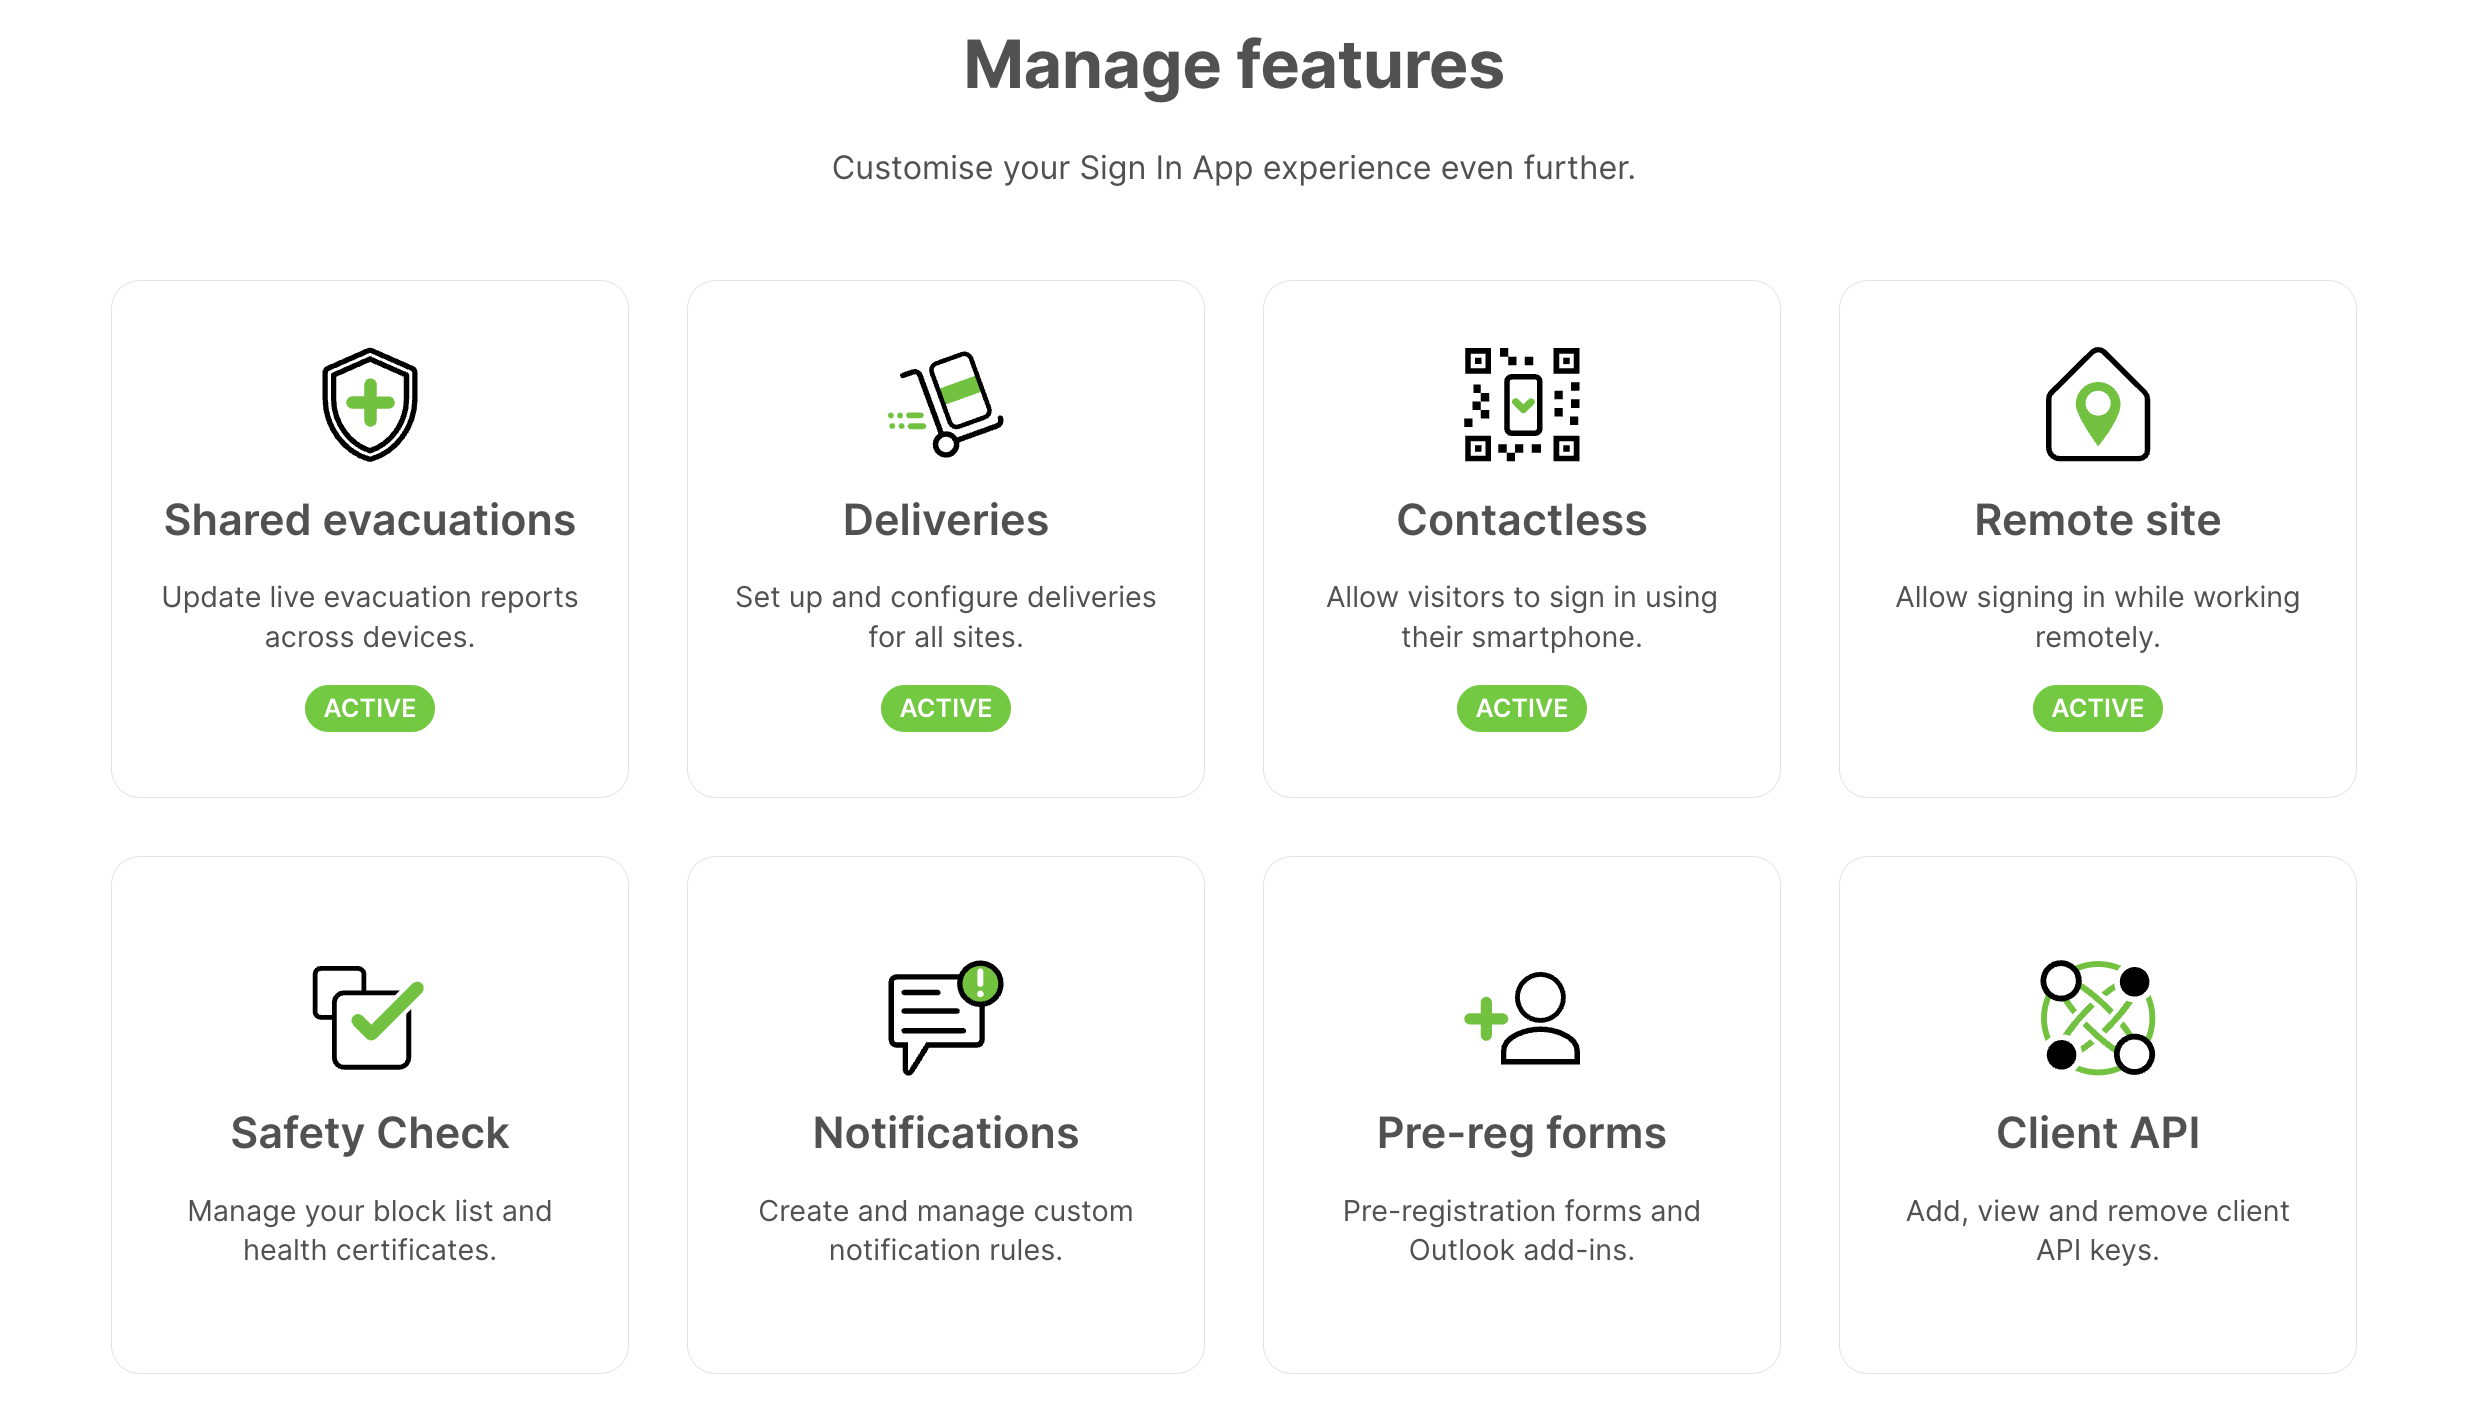
Shared evacuations
Shared evacuations alow you to join evacuations with colleagues and account for everyone on site in real-time across multiple devices, ensuring no one is left behind. Completed reports are then stored in the cloud so you can access anywhere anytime.
Deliveries
Streamlining your delivery processes by notifying members of your repeat visitors groups when a delivery arrives for them and securely recording a signature when the package is collected.
Contactless
Contactless allows visitors and staff to sign in without needing to touch the iPad, keeping everyone safe and collecting the important visitor information you need. From Manage features you can turn this feature on or off.
Remote site
Using Sign In App Companion you can sign into a remote site from anywhere in the world, meaning your hours are still monitored but you’re not listed on your site’s evacuation list.
Safety check
Safety check combines two features, health certificates and block list, to help ensure everyone signing in to your site meets the criteria you set.
Notifications
Here you can set up rules to send notifications by email, SMS, Slack or MS Teams when anyone signs in or out of a group.
Pre-reg forms
Forms allow you to create a shareable form so you can pre-register visitors without needing to be a portal user or have access to Sign In App Companion.
You can also use forms to integrate with Outlook.
Client API
Our client-side API allows developers to periodically pull data from Sign In App and push data triggered by events. This includes custom dashboards, business intelligence and integration with 3rd party applications.
Manage account
The manage account section allows you to configure global options related to your account. This includes your users, organisation name and logo, group notifications, 2FA and more.
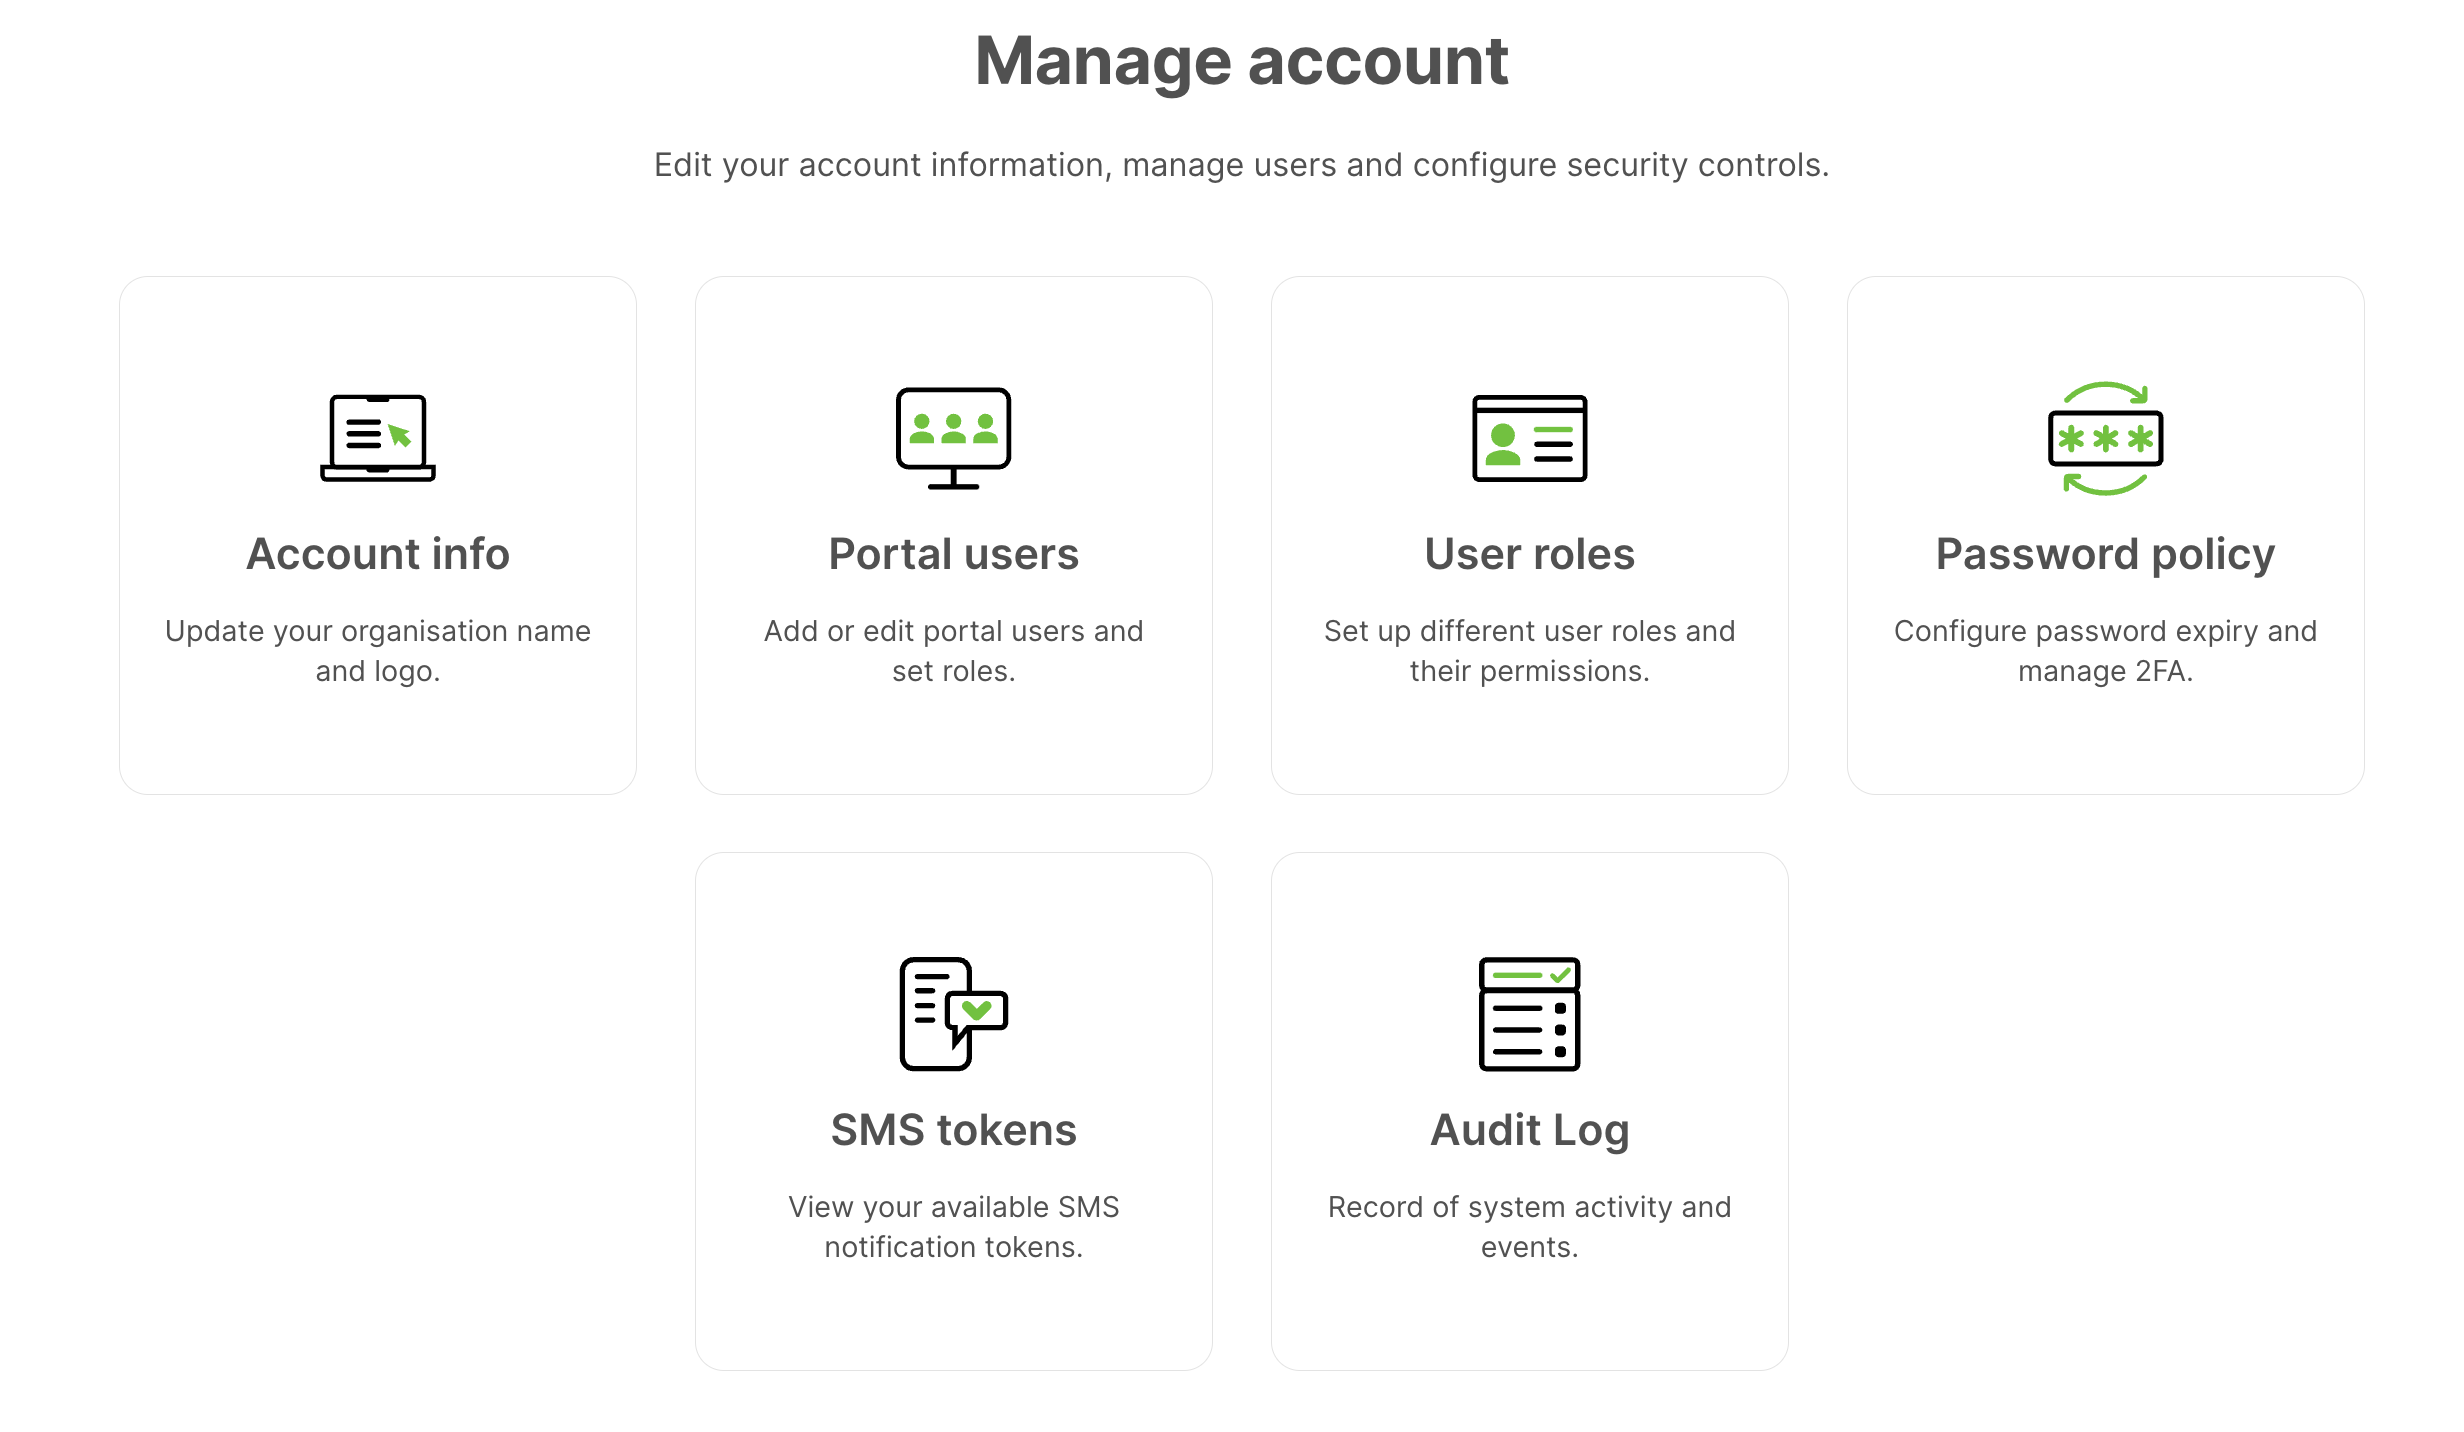
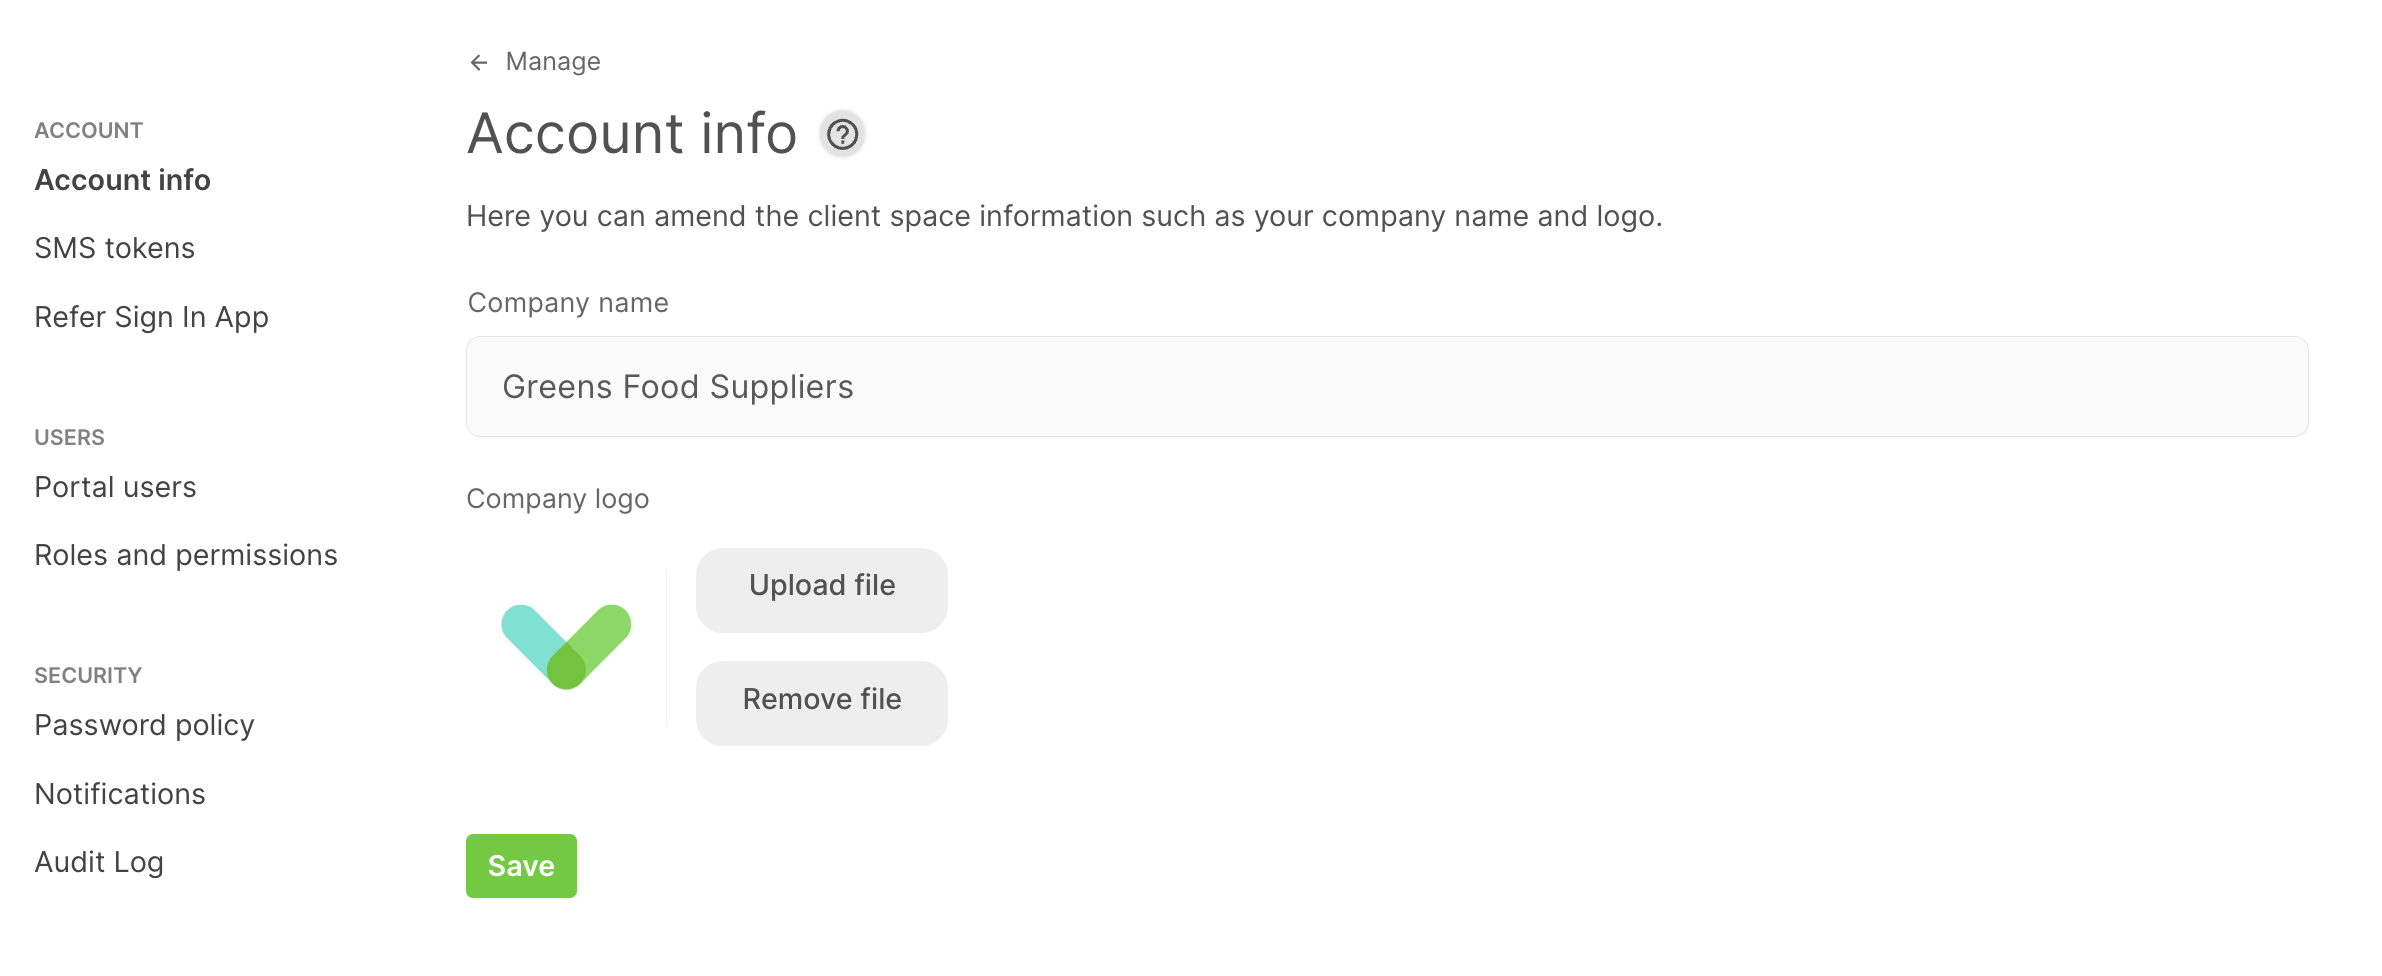
Account info
Update your organisation name and logo. The logo displayed here appears at the top of the Today screen across all sites and is printed on any visitor badges.
Portal users
From this screen, you can manage portal users on your account. When you click portal users, a list is displayed highlighting who is the primary contact for the account, plus any technical contacts you have set up.

Adding a new portal user
To add a new portal user, click Add new at the bottom of the list and add the new user’s name. It’s important the email address is valid and can receive emails, next select which sites they should have access to, their user role, and if they should be a technical contact or not. Click Save and they will be sent an email with a link to set their password.
Changing your primary contact
Your primary contact is the user who will be asked to review and accept terms and conditions for the organisation.
Please ensure the primary contact is correct and up to date. To change the primary user click the crown icon next to the user and then click Change to primary.
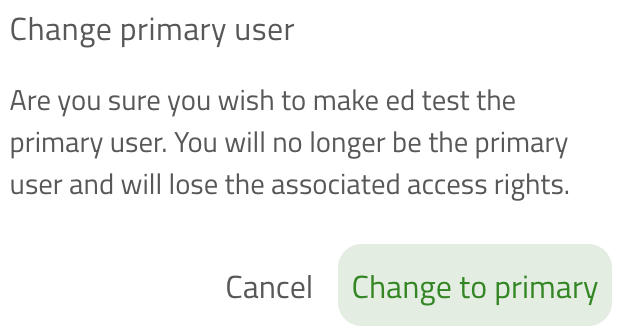
Warning
The primary user can only be changed by the existing primary user. If you are unable to access the existing primary user's account, please contact support@signinapp.com.
Updating your technical contacts
Technical contacts are notified when a device goes offline and when it comes back online. To make sure notifications go to the correct individuals,
check and update your technical contacts often. To set a portal user as a technical contact, first click the edit
icon to the right of their name and scroll to the bottom and tick the box next to Technical contact then click Save.

Tip
With integrated groups, technical contacts are also notified if the connection between Sign In App and Azure AD or Google breaks. The email includes a link to the group in the Sign In App portal, from there you can fix the broken group.
Tip
If you're not receiving offline emails it might be because the device has status alerts turned off. To check this go to Manage > Sites > Select site > Devices and then click the pencil button to edit the device and check Send status alerts is toggled on.
Editing a portal user
To make changes to a user click the pencil icon to the right of their name. From here you can change their name, site access and user role.
Site access - Site access can be found on the edit user window and allows you to control which sites each user can view.
Role - You can change each user's role level by selecting from the drop down list on the edit window. The two options are
Administratorwhich is full admin access, andStandard userswhich is read only access to visitor lists and does not include the Manage page.Delete user - To delete a portal user, click the bin icon and then click
Deleteto confirm. You can't undo this action.
Important
Changing your password is now done from the My profile section of the portal. To access this click the profile icon at the top right of the screen.
Password policy
This is where you can manage the password policy for portal users on the Sign In App account.
Passwords expire
By default passwords don't expire, edit this so they expire after 30, 60 or 90 days. Portal users will then be prompted to change their password after time period you select.
Force re-authentication
If a portal user doesn't log out they won't be prompted to re-enter their password and enter their two factor authentication code. From here you can force re-authentication after 30, 60 or 90 days.
Force two factor authentication
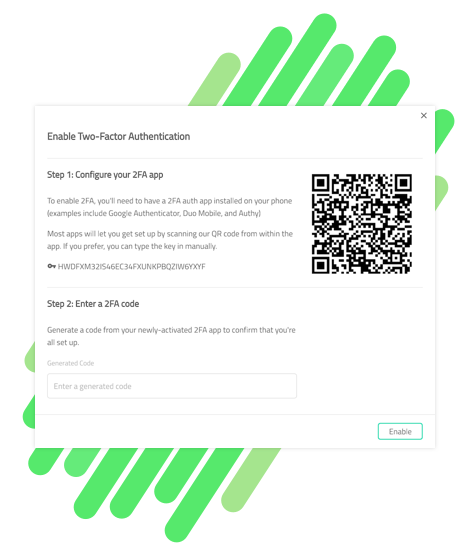
Toggling on force two factor authentication means that all portal users will be prompted to set up two factor authentication using an authenticator app such as Google authenticator.
You can read a bit more about two factor authentication here.
Prevent recently used passwords
Toggling this on will prevent portal users changing their password to any of their previous 3 most recent passwords.
User roles
Roles and permissions allow you to view and configure the permissions of your portal user roles. There are two default roles, standard and administrator. Administrators have full portal access, including sites, and events. Standard users have access to the Today, Evacuation list and Reports sections of the portal, but not to Manage. You can view the exact permissions available for standard users and administrators from this section of the portal.
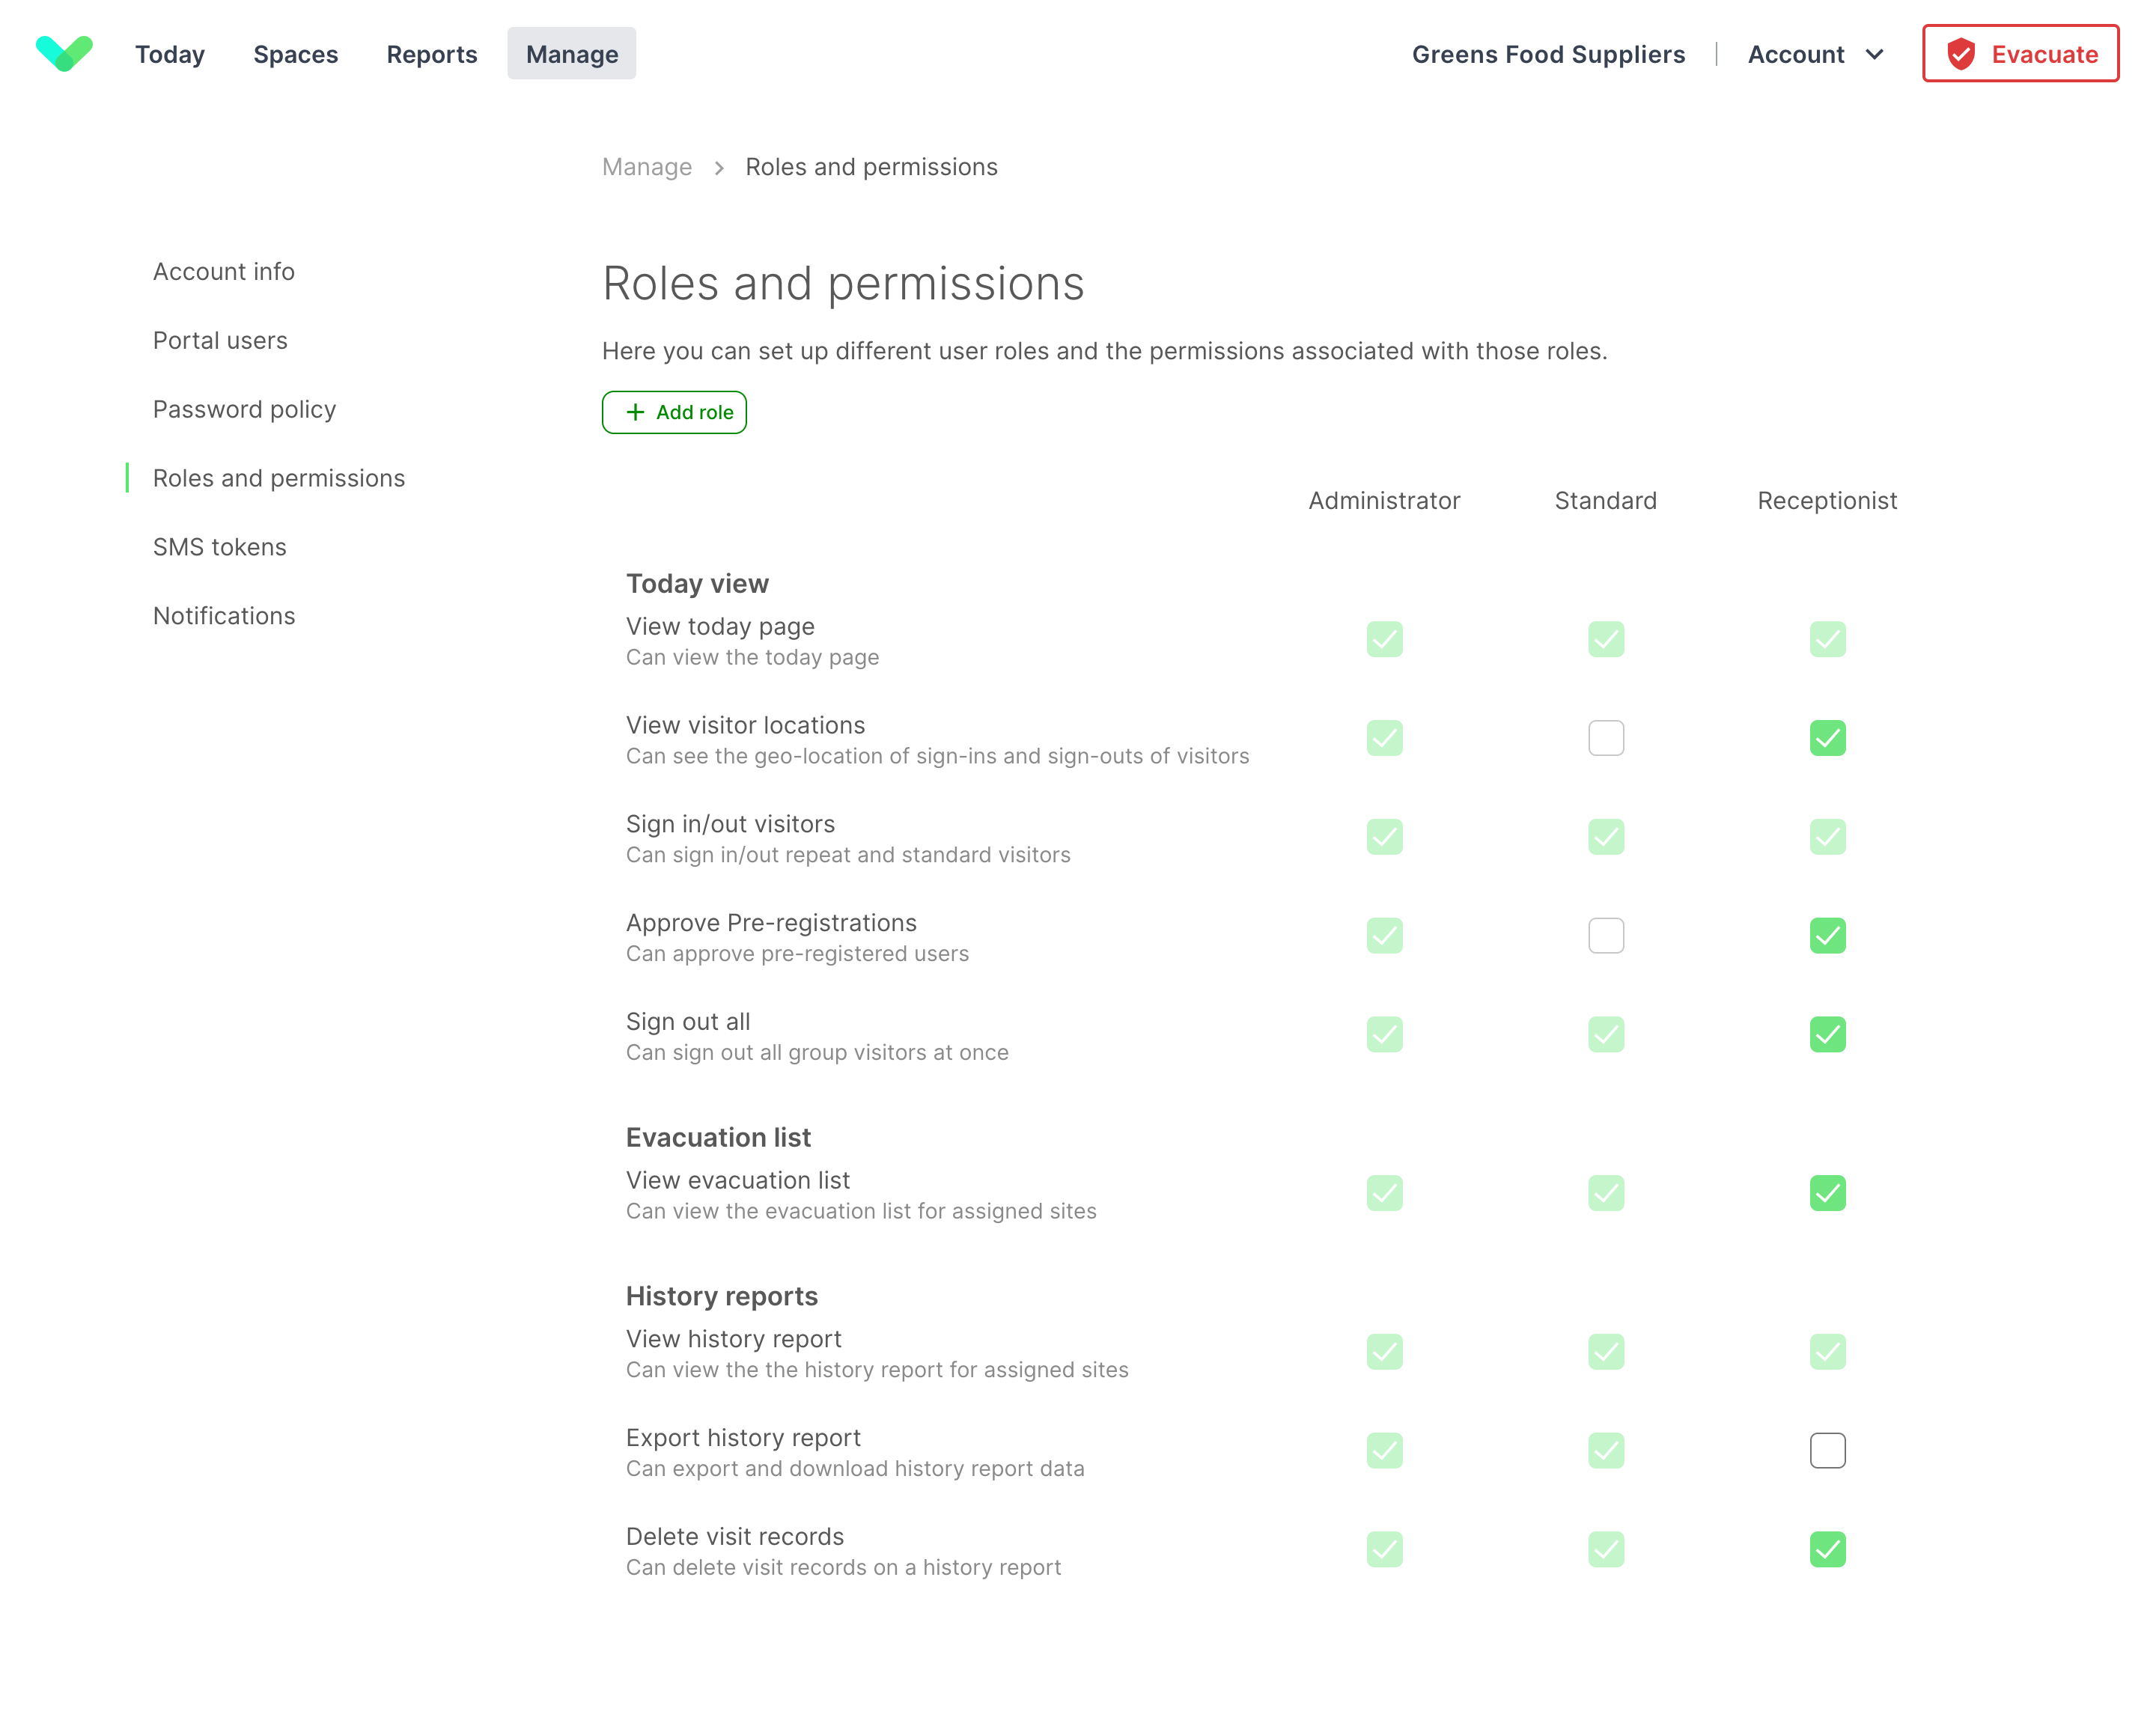
In addition to default portal user roles, you can create custom roles giving you granular control over the access portal users have. To create a new role click ‘Add role’ and then provide a name. Then select the permissions you need for the role, they will be saved as they’re added.
Tip
When created the new role will have no permissions enabled, but by clicking copy you can duplicate either a default or custom role to give you a base level of permissions you can further edit.
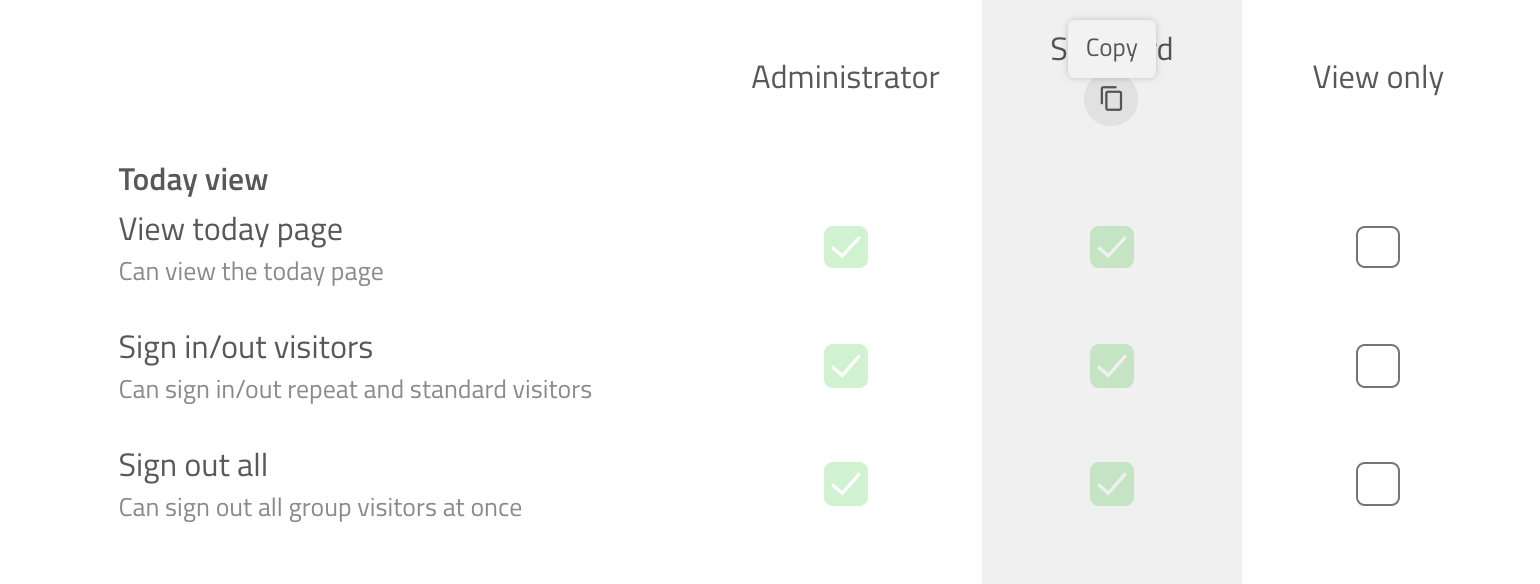
Once the custom role has been created you can navigate to the portal users tab to assign the role.
Important
When deleting a custom role ensure there are no portal users assigned to this role.
SMS tokens
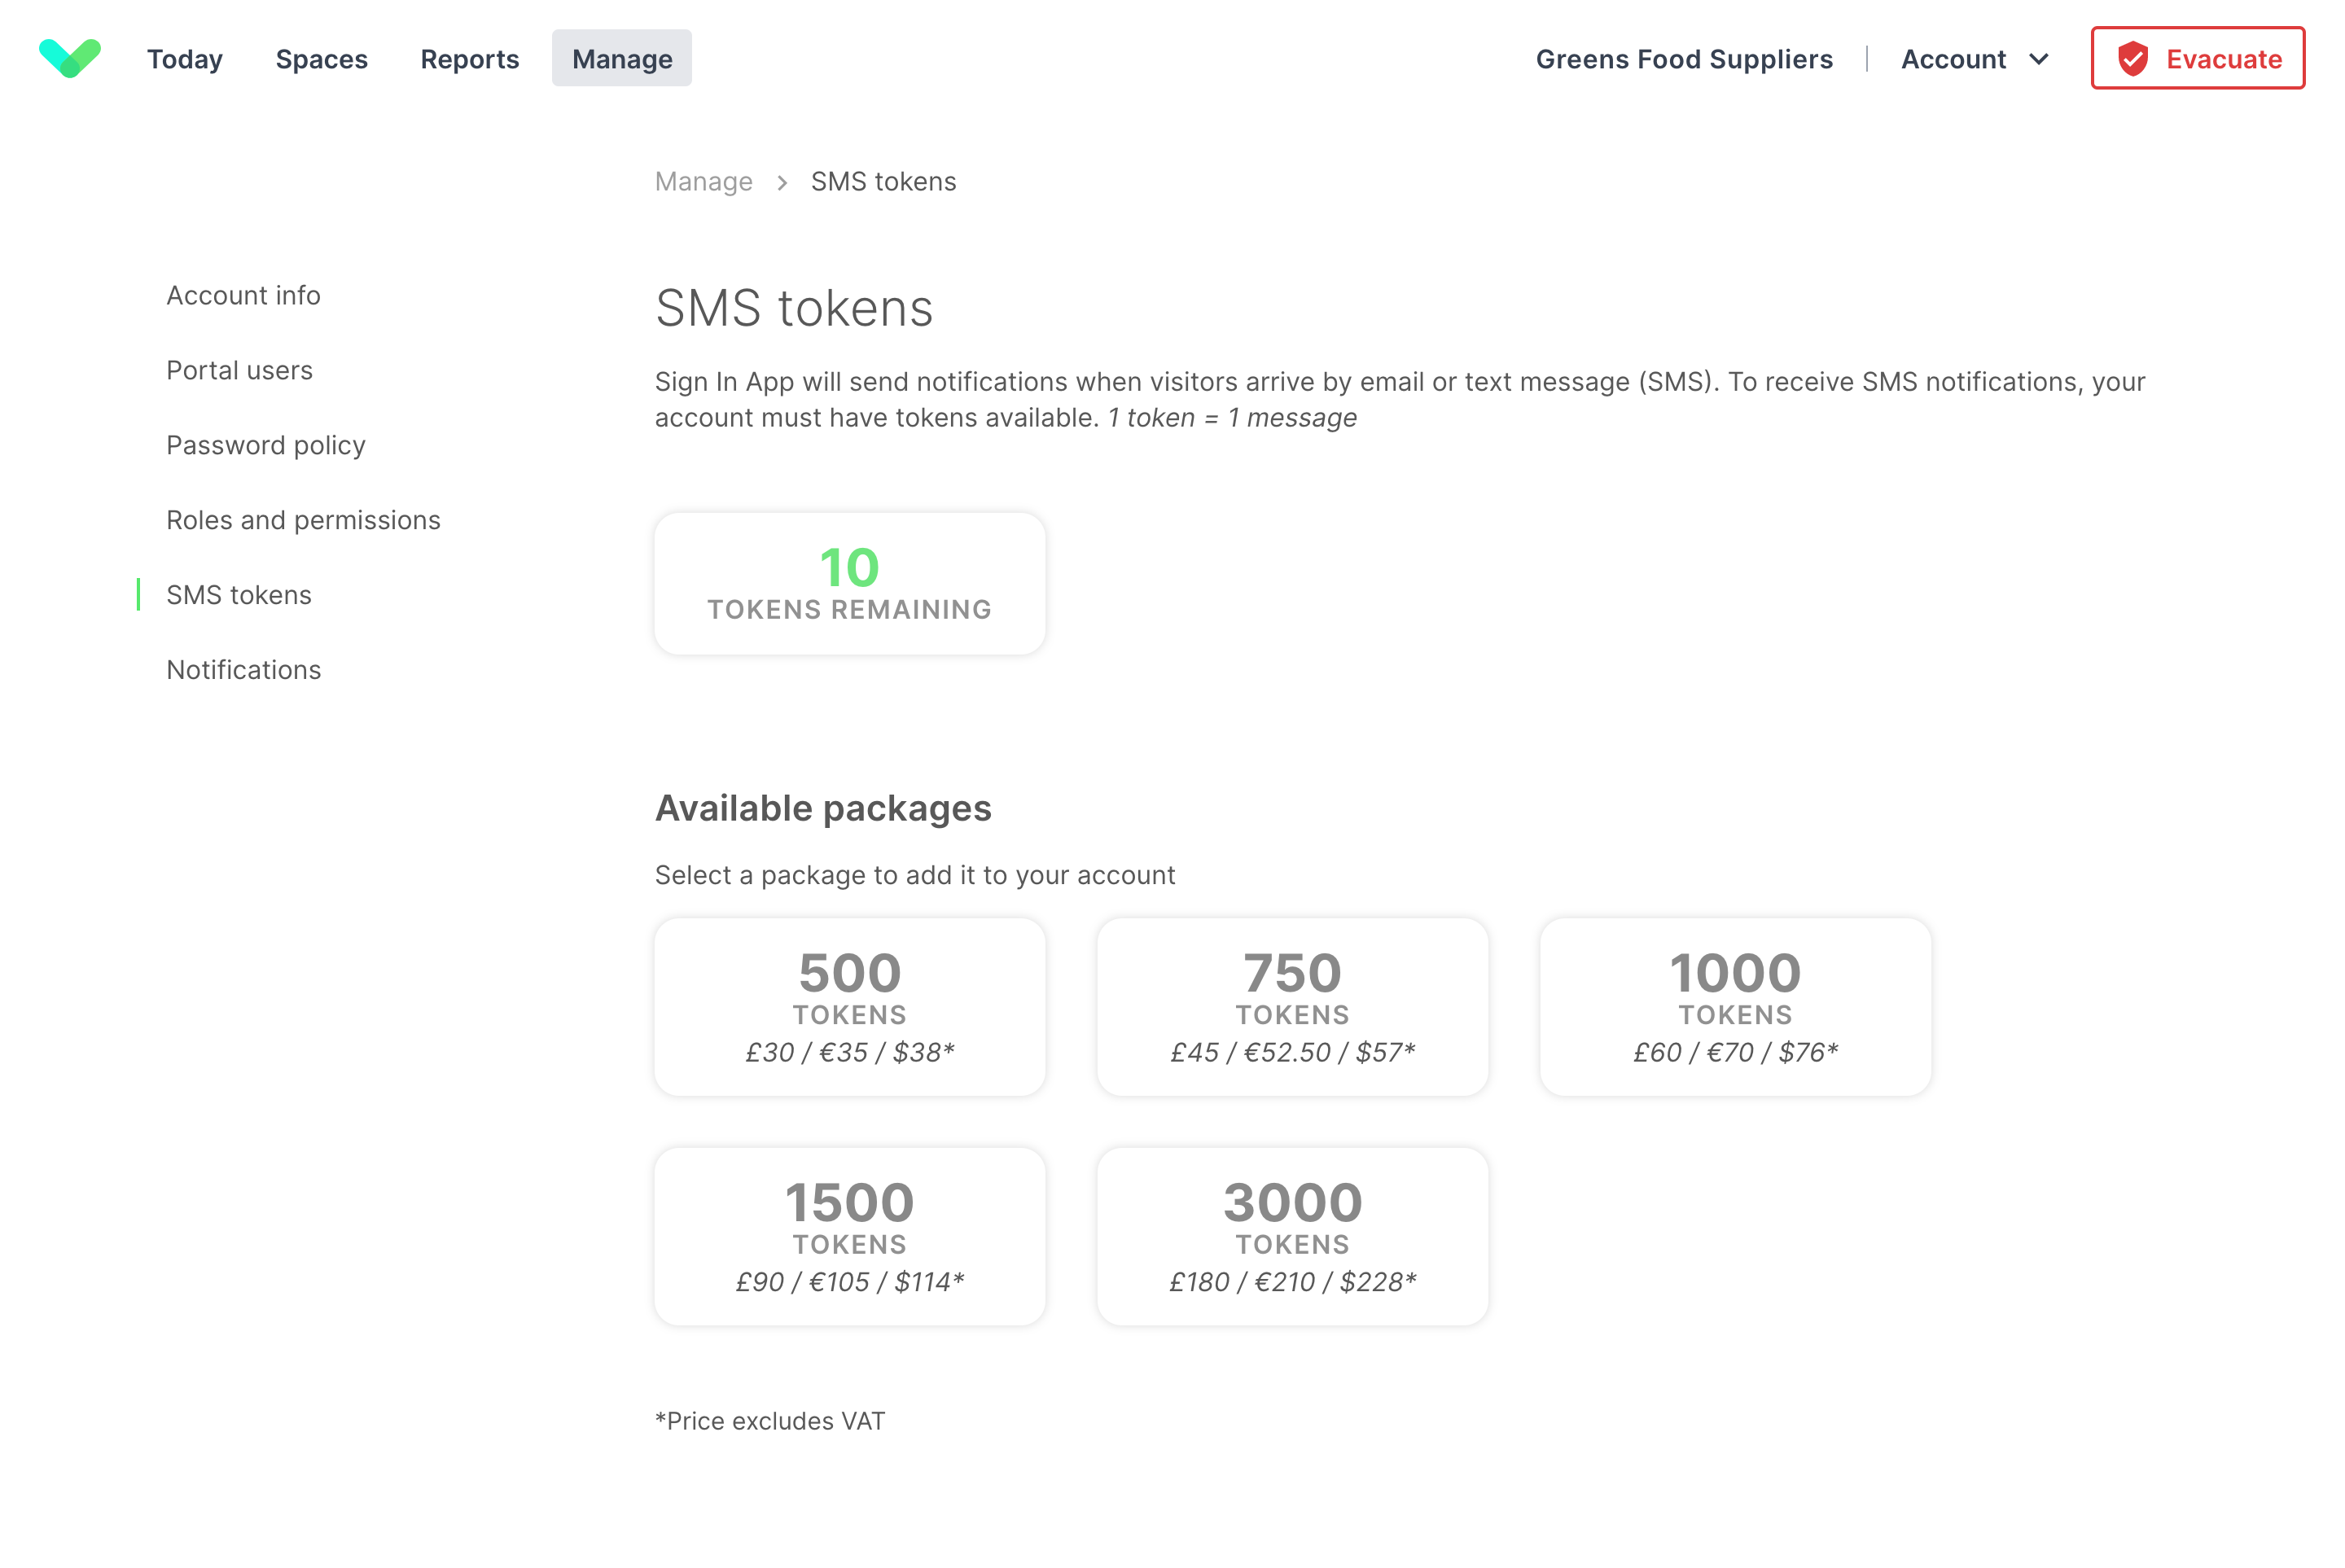
Sign In App can send notifications when visitors arrive by email or text message. To receive SMS notifications, your Account must have credits available. To purchase additional SMS tokens select this option and choose the SMS bundle you require.
Important
When you are running low on credits the primary account holder will be emailed. Once you run out of credits, SMS notifications will stop. You can check the number of credits you have any time from this screen, including any recently purchased but pending.
Audit log
The audit log allows you to view when changes were made in your Sign In App account and who made those changes. To access the Audit log, head to Manage and then scroll down to the bottom of the page and under Manage account click Audit log.
Filtering results
You can filter the results of the audit using the date, user, and action selection options.

Date range
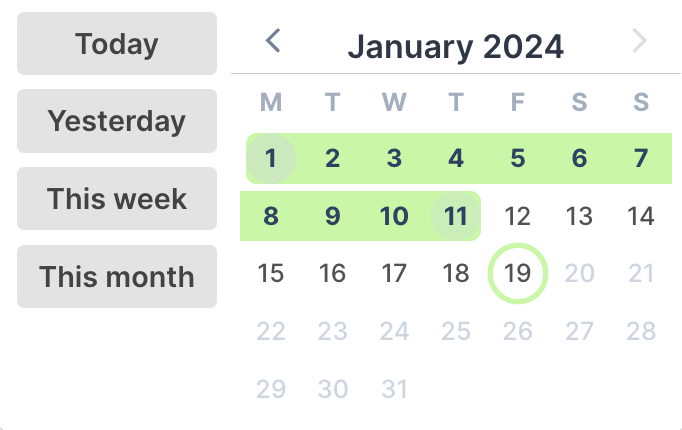
When you open the Audit log, it will default to today’s date. Click the date dropdown to change the date. Click once to select the start date and click again to select the end date. Use the left and right arrows to move between months. You can also click the preset options on the left to view Today, Yesterday, This week, and This month.
Important
You can view a maximum of 31 days in the audit log at one time.
User selection
Click the User button to filter the audit log results by specific portal users. The user will also be displayed when viewing the audit log without filtering for a specific user.
Tip
If the user is Unknown, this action was completed by the system. For example, if you have an integrated group and members are deleted because they’ve been removed from the 3rd party system, the user will show as Unknown.
Action
Creation - The creation of data, including members, groups, and sites
Update - The updating of settings or permissions
Deletion - The deletion of data, including members, groups, sites, and sign in history
Import - The importing of data, including members and pre-registrations
Export - The exporting of data, including reports and members
Sign out all - Using the Sign out all option on the Today screen
Expanding records
If you’d like to view additional details for an audit log record, you can click the record and it will expand showing more information. In the example below, we can see the action was an update to the group Companion app permissions.

Permissions
The Audit log permission is enabled for all Administrators and is not included in the Standard user permission level. You can add or remove the Audit log permission from any custom user roles by going to Manage > Manage account > User roles. Click here to read more about managing roles & permissions.

Important
The audit log shows information for all sites in your Sign In App account. Portal users with access to a subset of your sites will be able to see audit log records that may relate to sites they don’t have access to.

