Rejected sign in
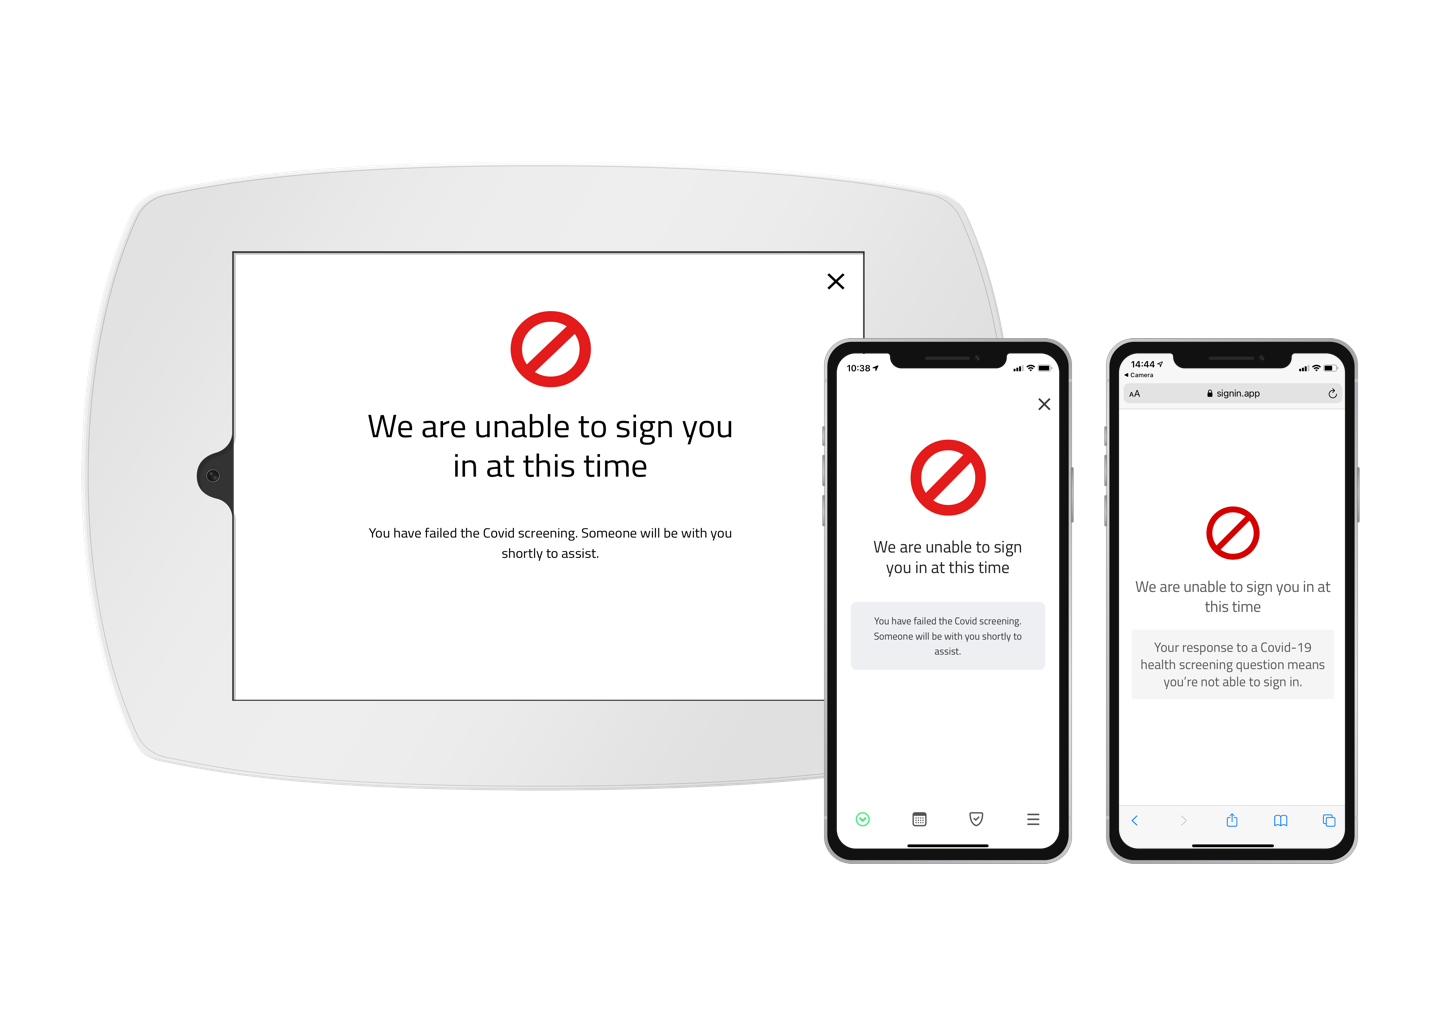
Now more than ever it’s important to have control over who is allowed to sign in on site, with rejected sign ins you can block a visitor sign in depending on the response to a custom field. This is particularly useful for Covid-19 health screening questionnaires where certain responses mean it might be unsafe to continue any further. This how-to-guide will walk through the set up for a rejected sign in on a custom field and how to notify the right people in this scenario.
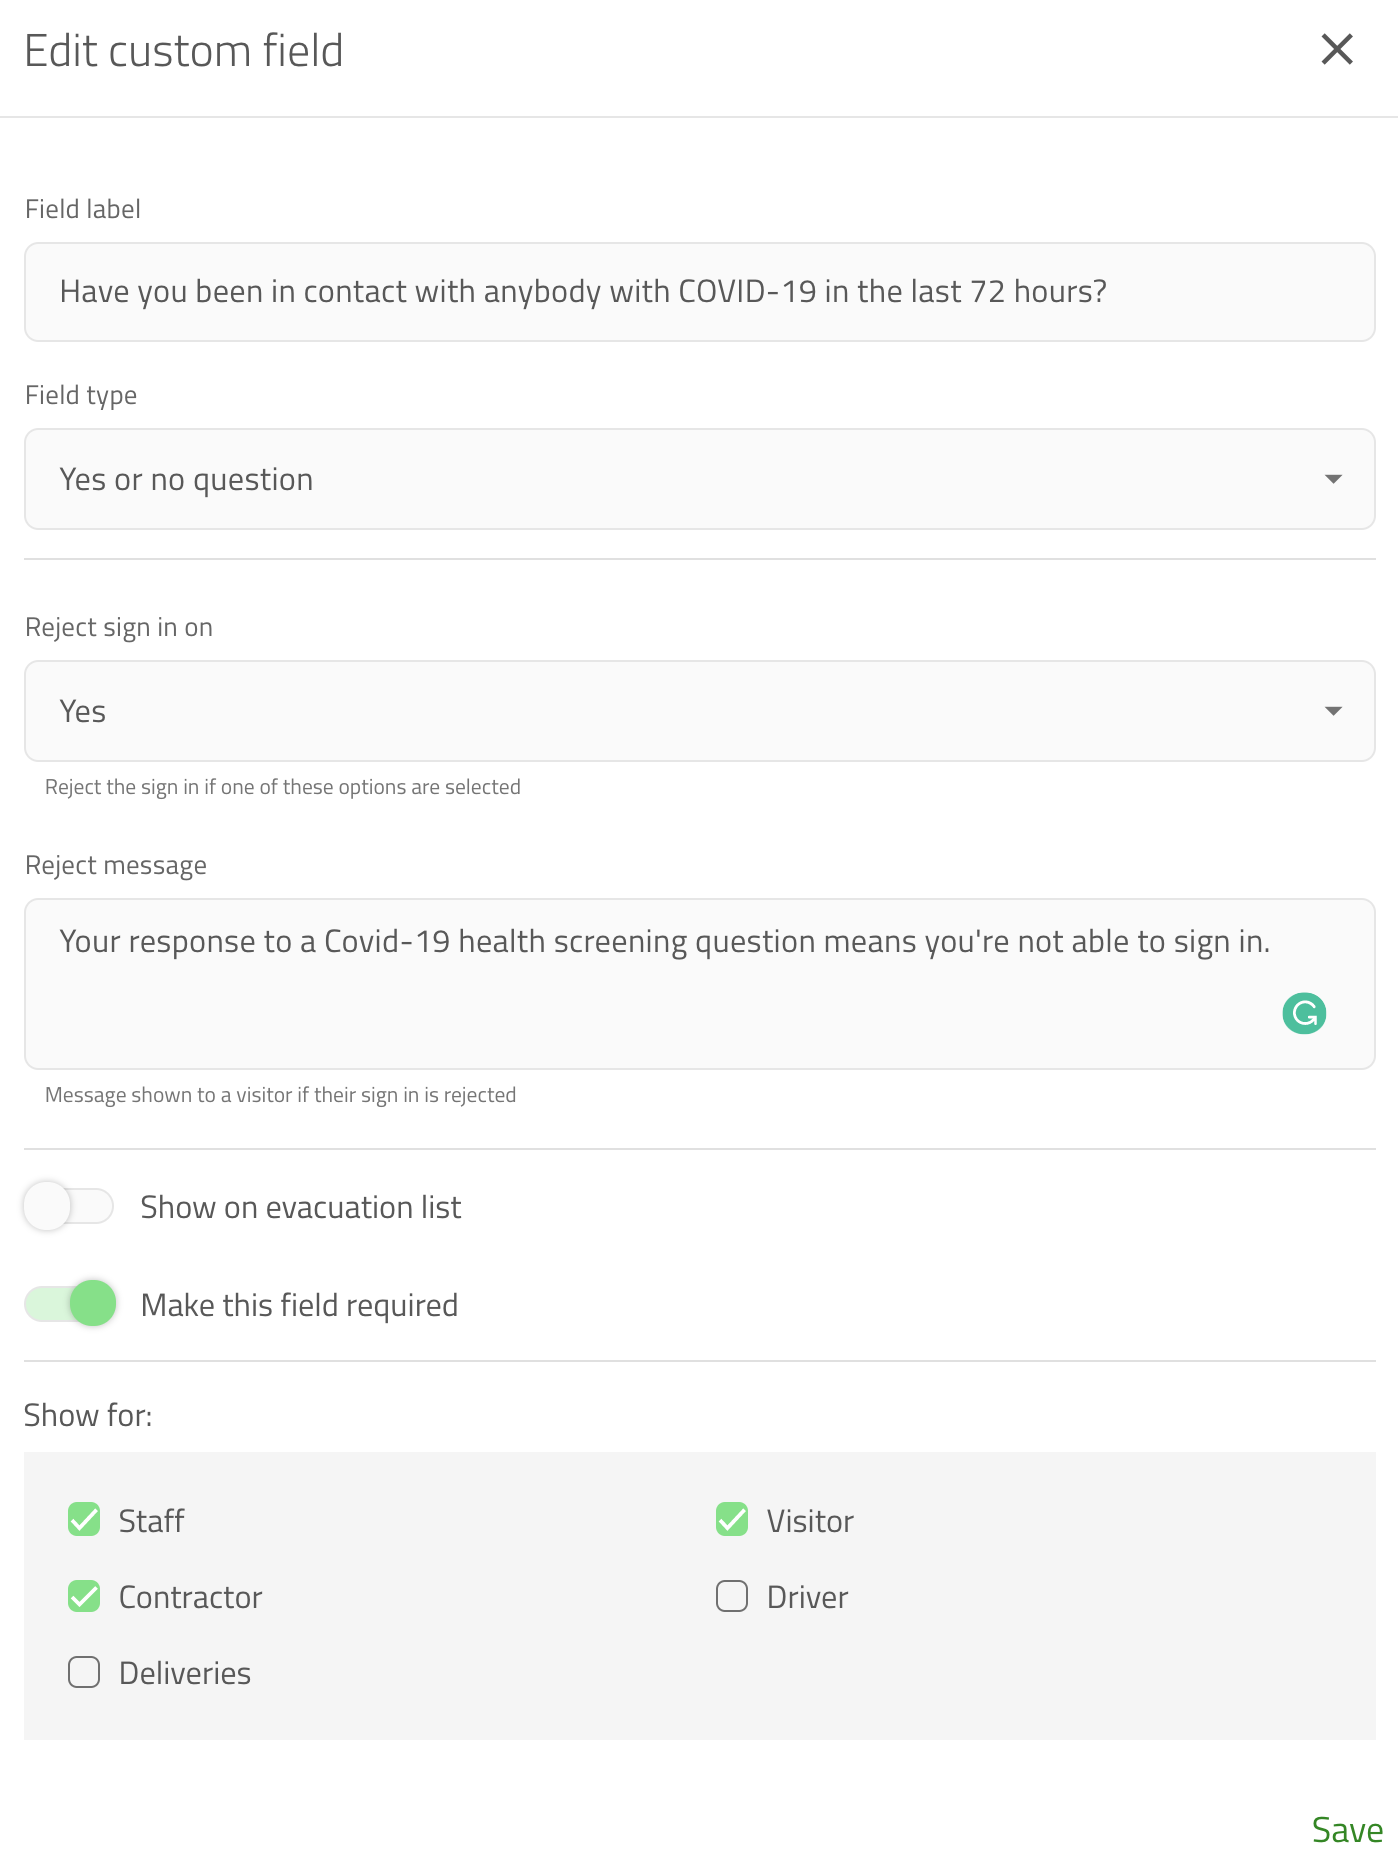
To get started you need to create a new custom field or edit an existing one. From the online management portal, navigate to Manage > Sites > Select the site > Custom fields and either edit an existing field or click Add new to create one. Rejected sign ins can be added to Dropdown and Yes or no question field types. When adding a dropdown or yes or no question, click the Reject sign in on dropdown and select Yes, No, or one of the dropdown options.
Rejected sign in message
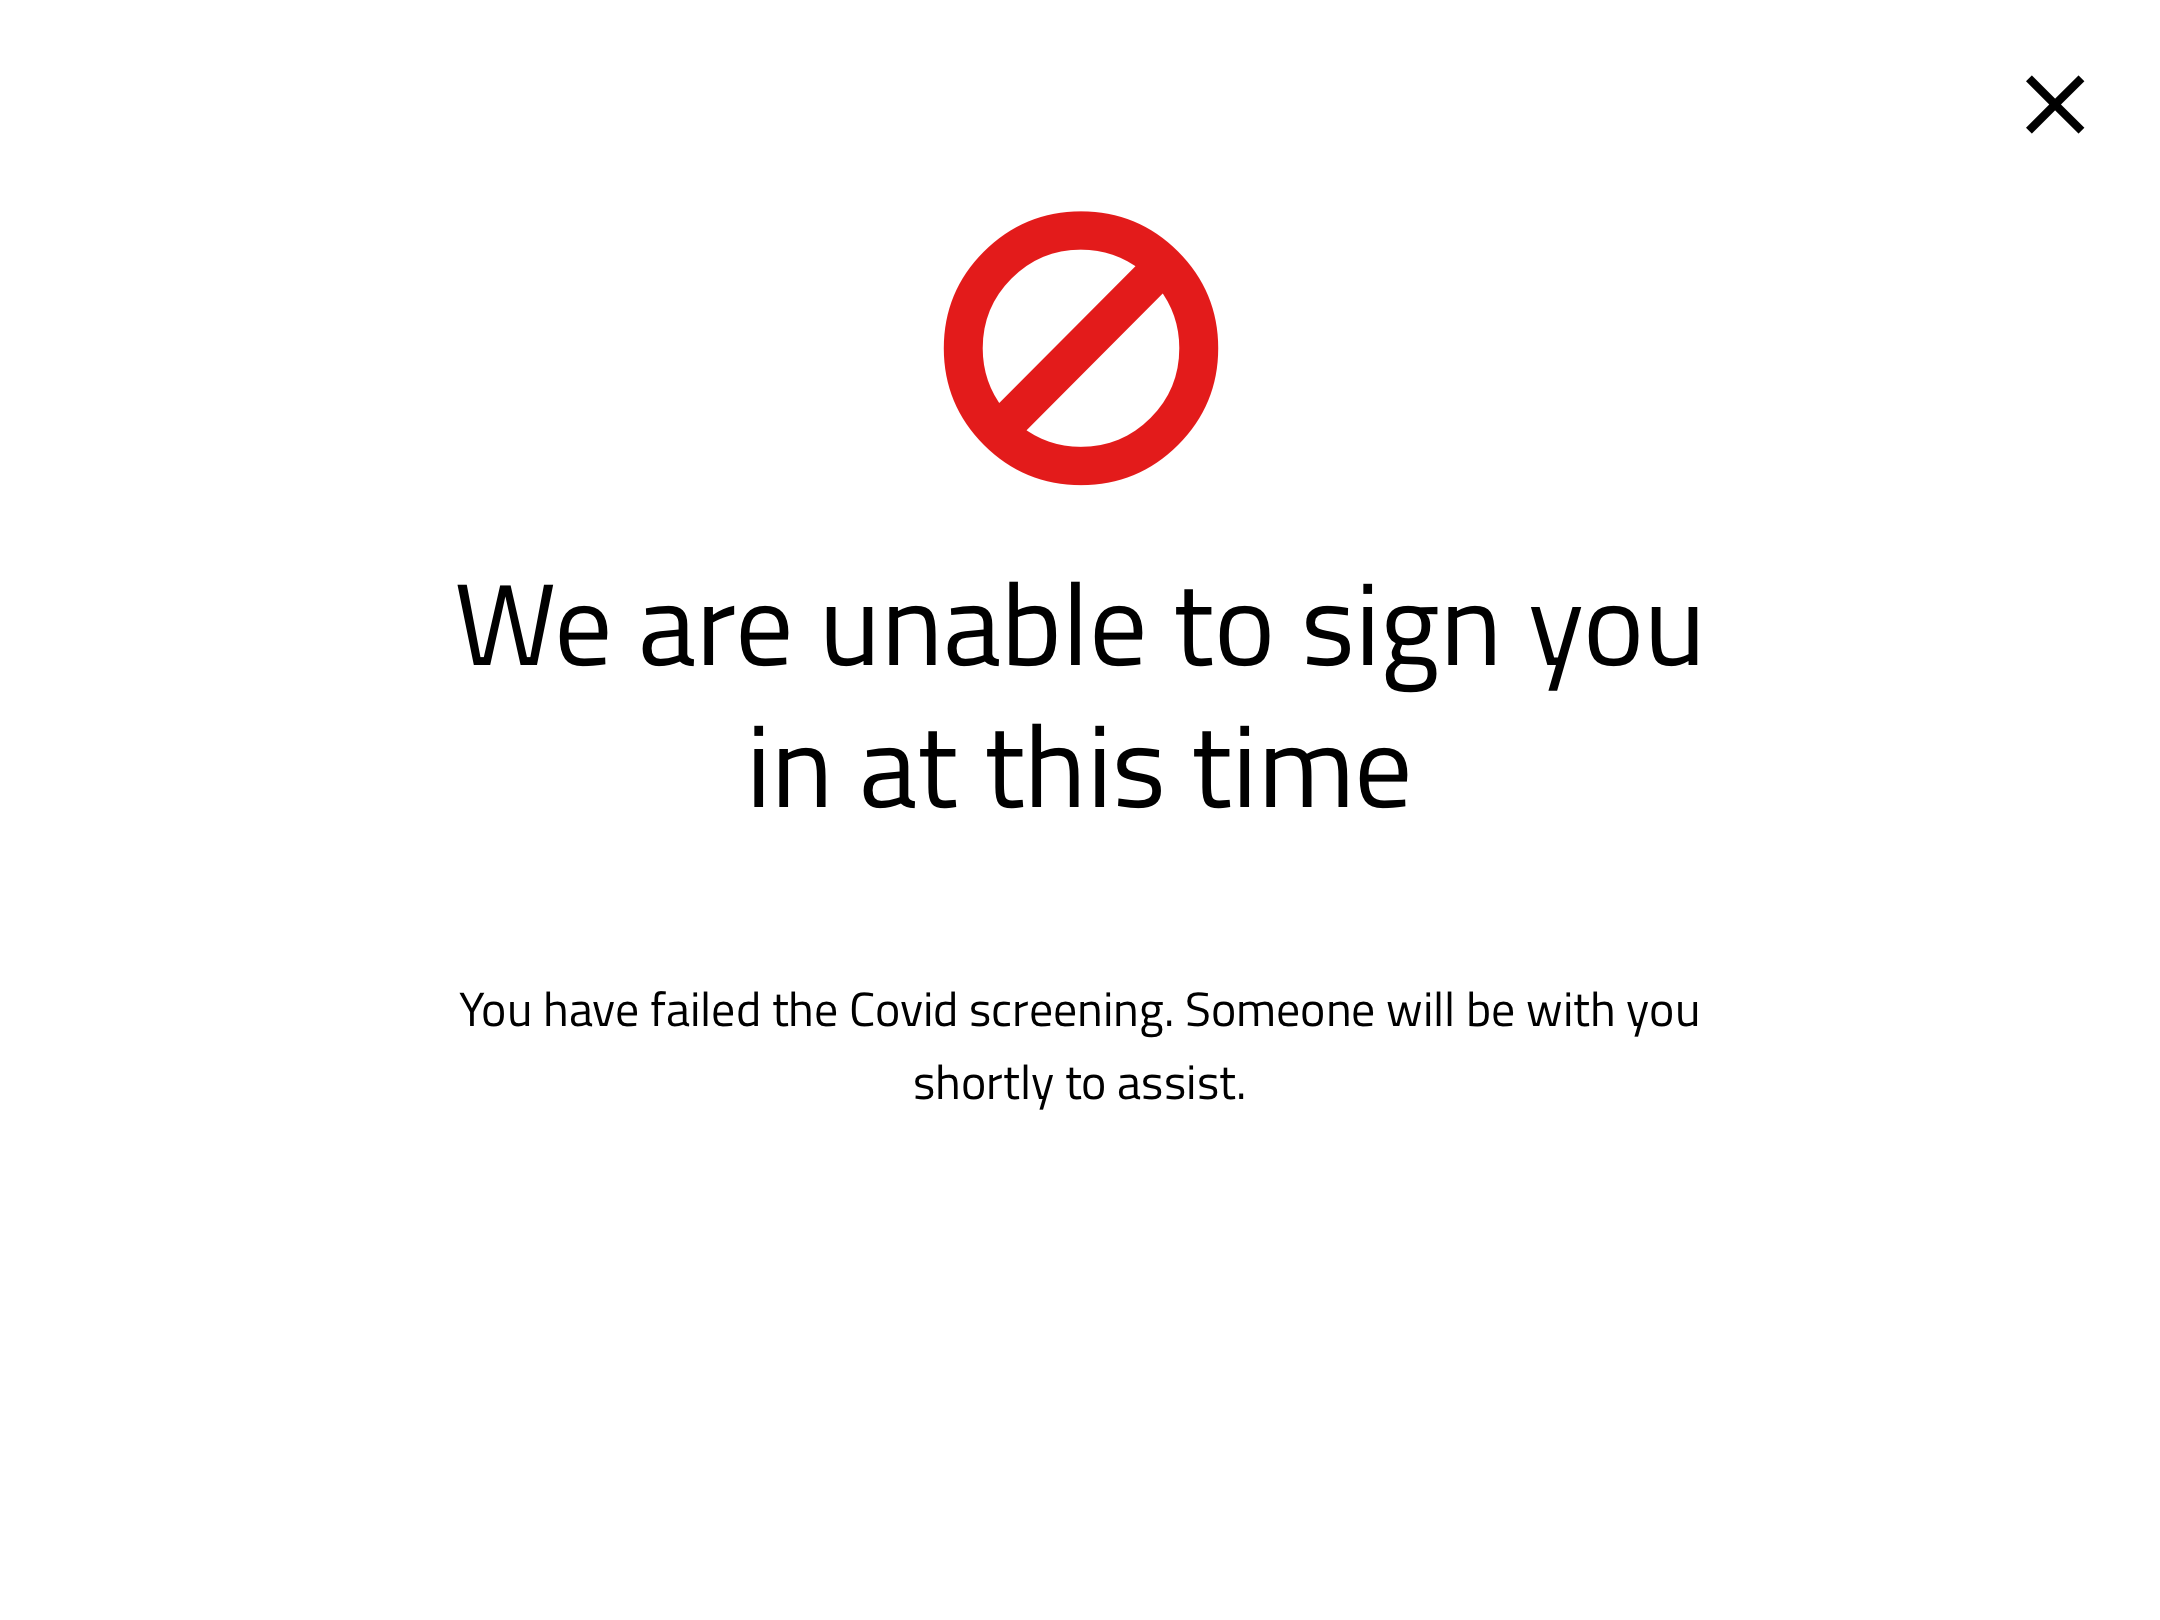
When a sign in is rejected it's important to convey why this has happened. You can add a message to the screen from the Reject message box. This message will be the same across the iPad app, contactless sign-in, and sign in app companion.
Rejected sign in notifications
As well as letting a visitor know they're not able to sign in, it is important to make all relevant team members aware. Through email, SMS, Slack and MS Teams you can notify the right people that a rejected sign in has been recorded.
Host notifications
When a visitor’s sign in is rejected you might want to make their host aware. You need to ensure that host notifications are configured for the group that contains your hosts. Go to Manage > Groups Select your host group > Notifications and set When a visitor signs in to Notify their host and select how you’d like the notification to be delivered.
Important
Depending on how the visitor is signing in, their sign in might be rejected before they’ve provided the information on who they’re visiting. For this reason we recommend adding the custom field where the visitor specifies the host before any custom fields set up to reject a sign in.
You can configure this by going to Manage > Sites > Select site > Custom fields and using the 3 horizontal lines to reorder the custom fields.
Group notifications
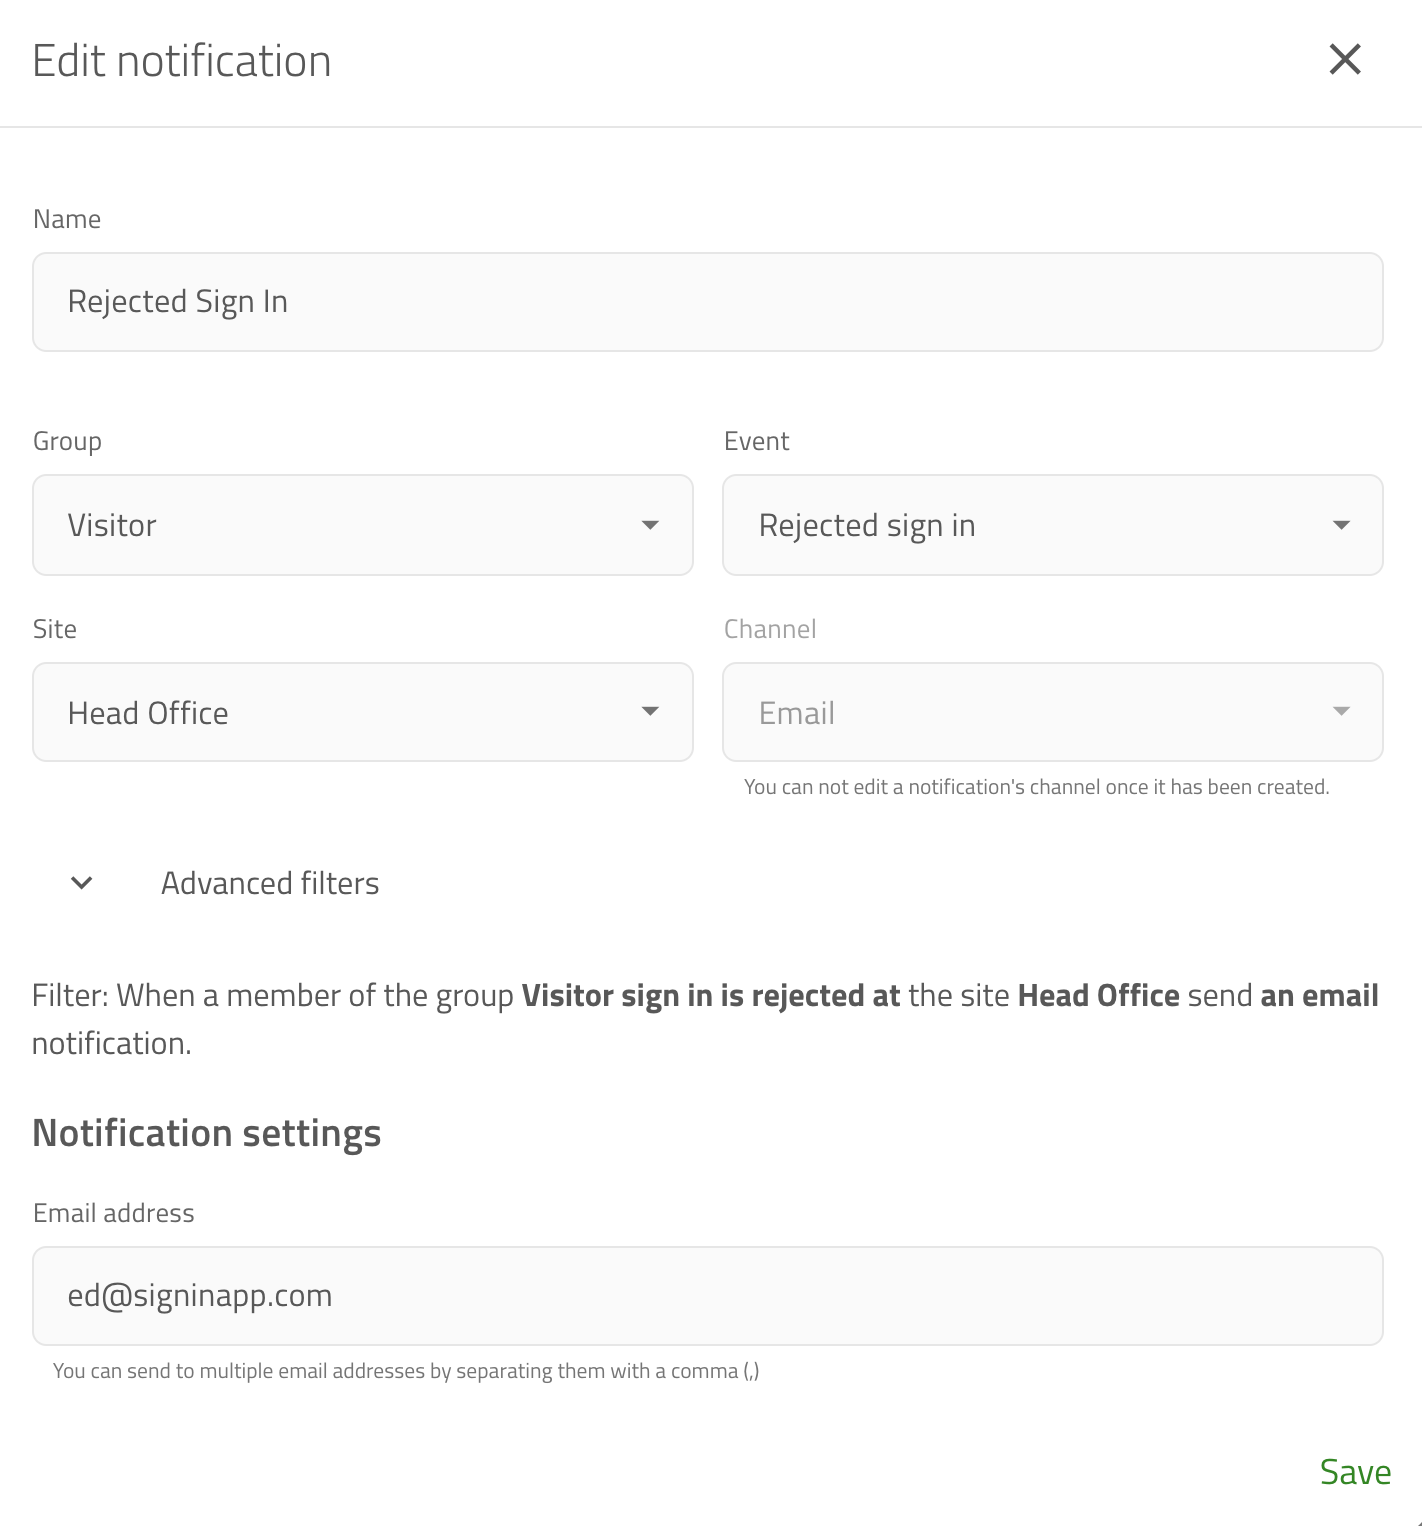
Group notifications allow you notify anyone else who needs to be aware in the case of a rejected sign in. To set this up go to Manage and then scroll down and click Notifications and set up a notification where the Event is a Rejected sign in.
Tip
To read the full how-to-guide on group notification click here
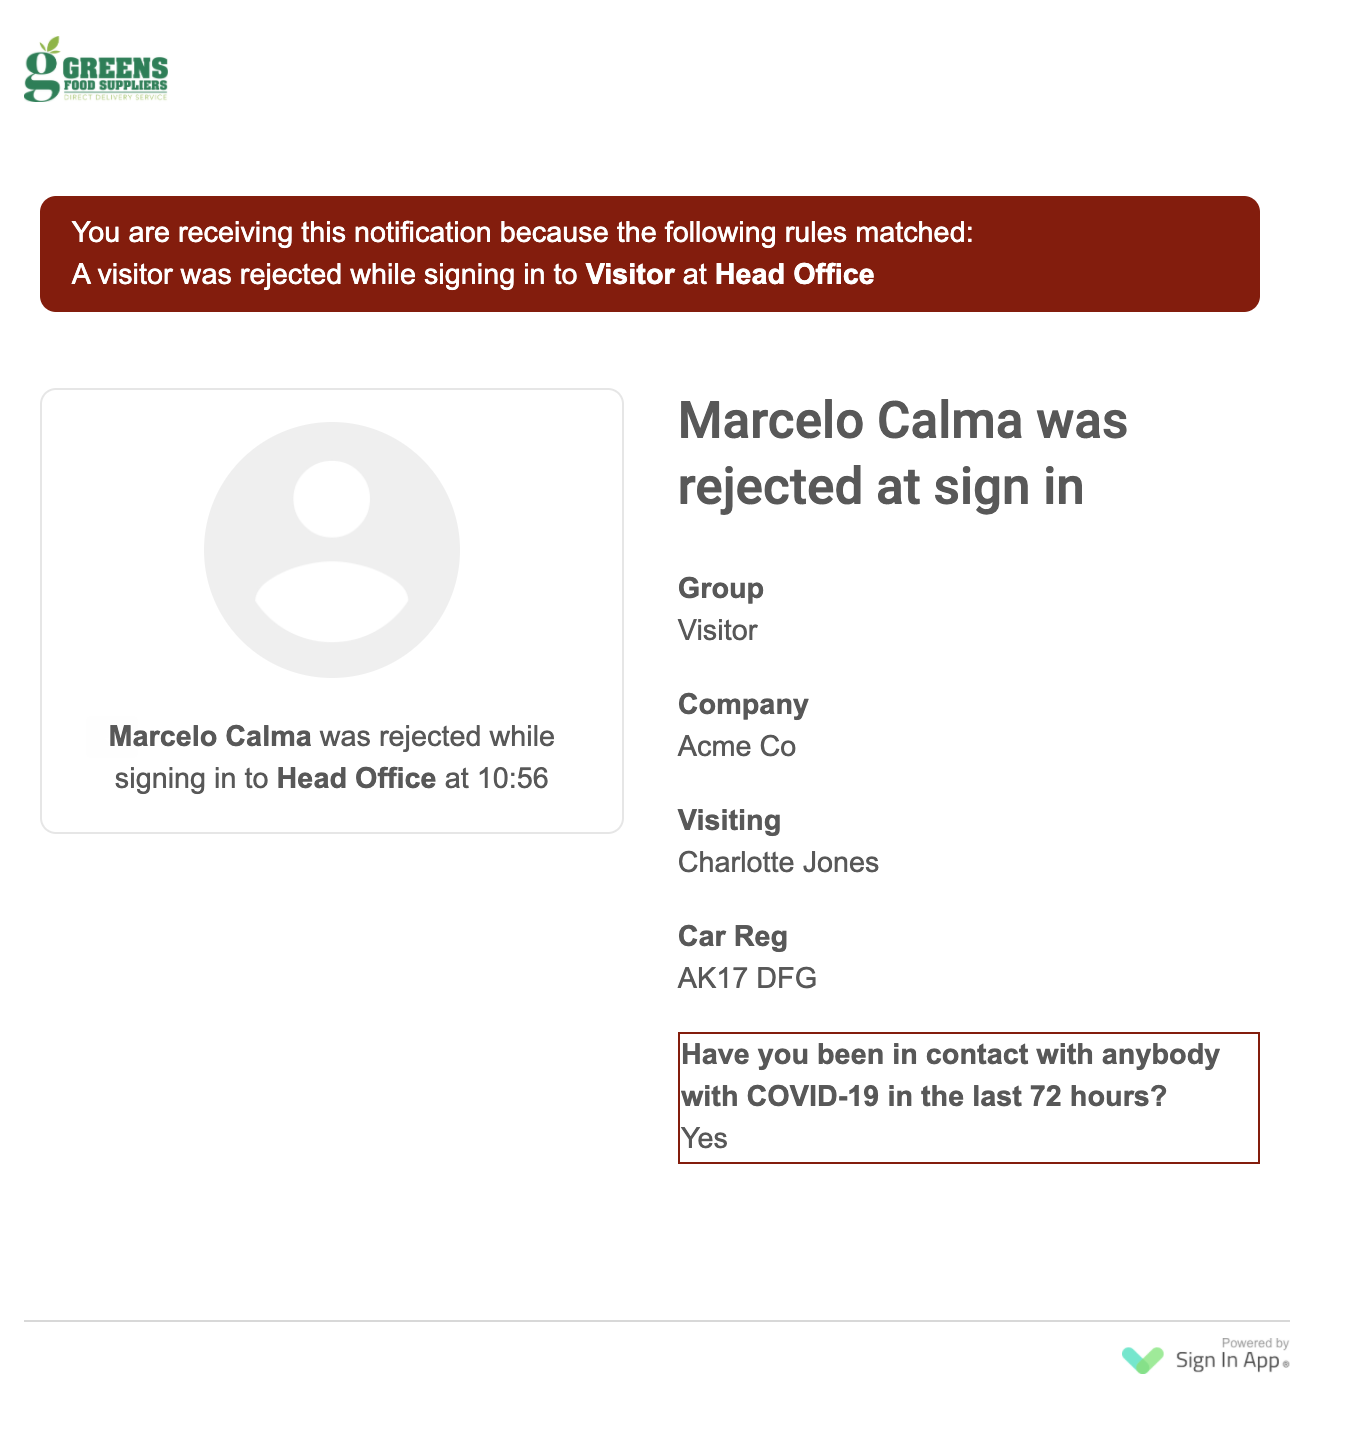
Rejected sign in notifications will highlight the field that caused the sign in to be rejected. This helps you to quickly identify why a visitor has had their sign in rejected.
Rejected sign in records
To keep your visitor history accurate, Sign In App records the rejected sign in to the history section of the online management portal. To view this go to Reports > History and rejected sign ins will be highlighted in red to make it clear who didn't meet the requirements to come on site.

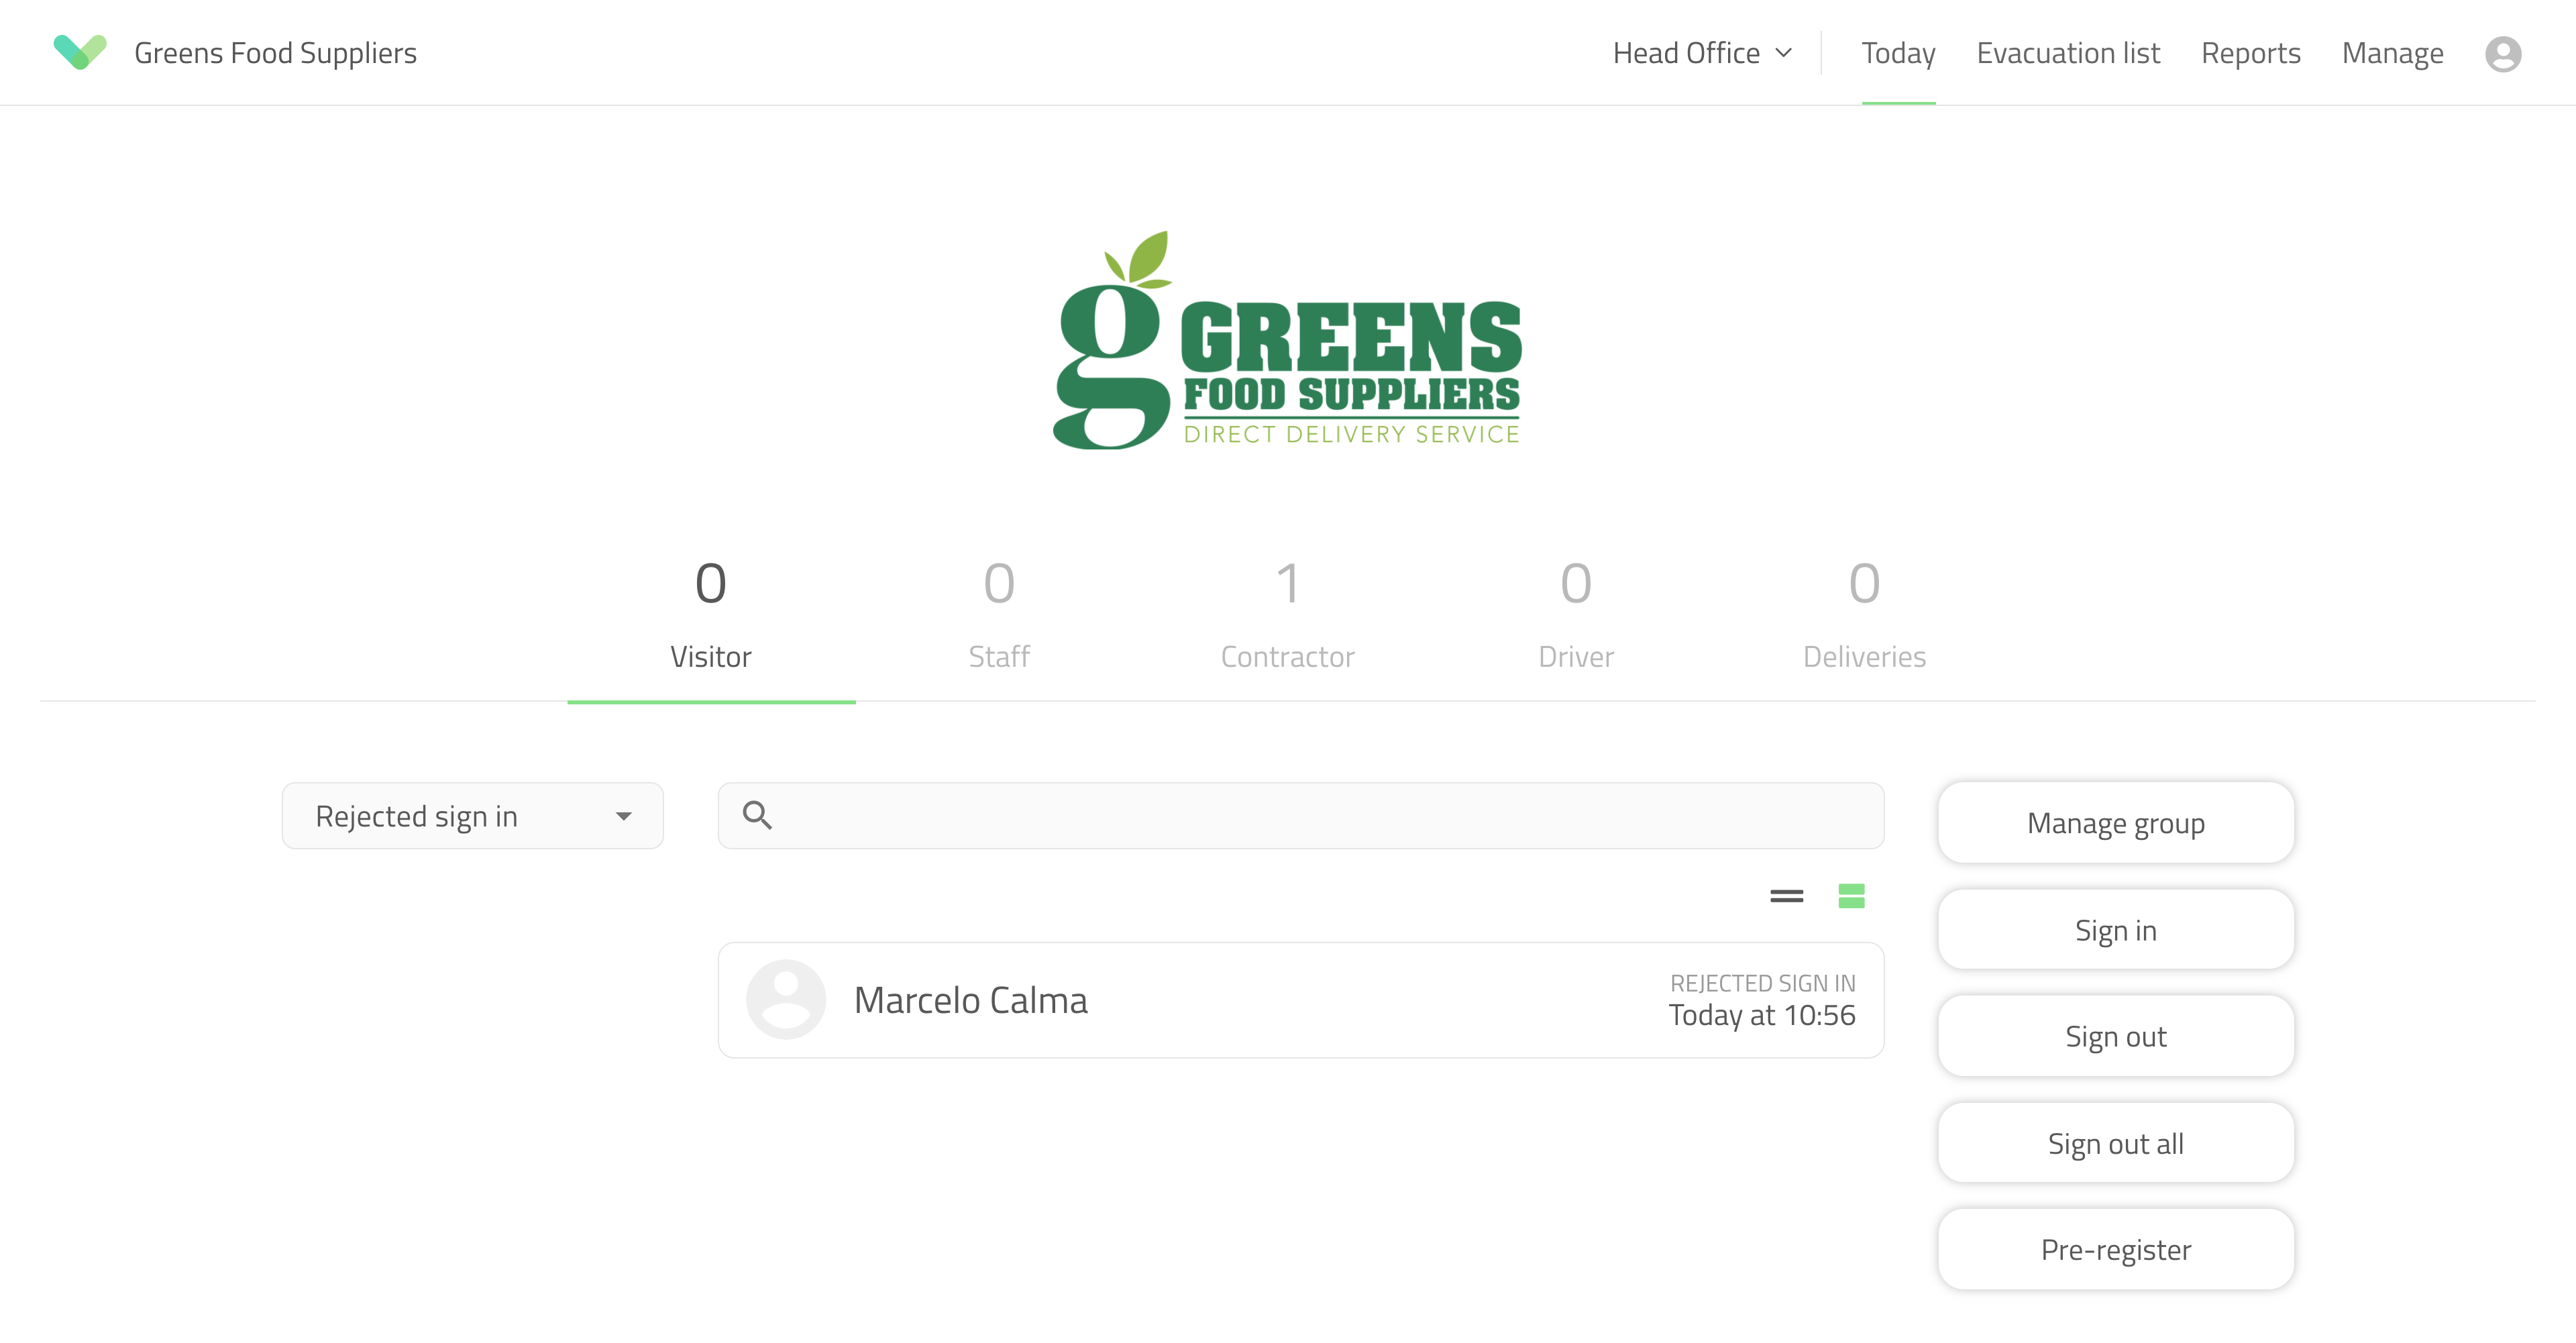
You can also view rejected sign ins from the Today screen of the portal, select the relevant group and then from the dropdown on the left select Rejected sign in. You can click into the rejected sign in to check the responses to the custom fields.
We hope you've found this guide useful but if you have any questions around Rejected sign ins or any Sign In App feature, please contact our support team at support@signinapp.com.

