Events
Sign In App Events is a powerful feature that allows you to easily sign in attendees or capture attendee data at your next event. You can create as many timed events as you need, making them ideal for hosting everything from an open day to a multi-day exhibition.
Events are designed to work in a similar way to a regular site, giving you the ability to customise the sign in experience and manage data retention options.
Comply with the GDPR for visitor privacy, monitor attendence, print attendee badges and provide a streamlined sign in experience with Sign In App Events.
Creating an event
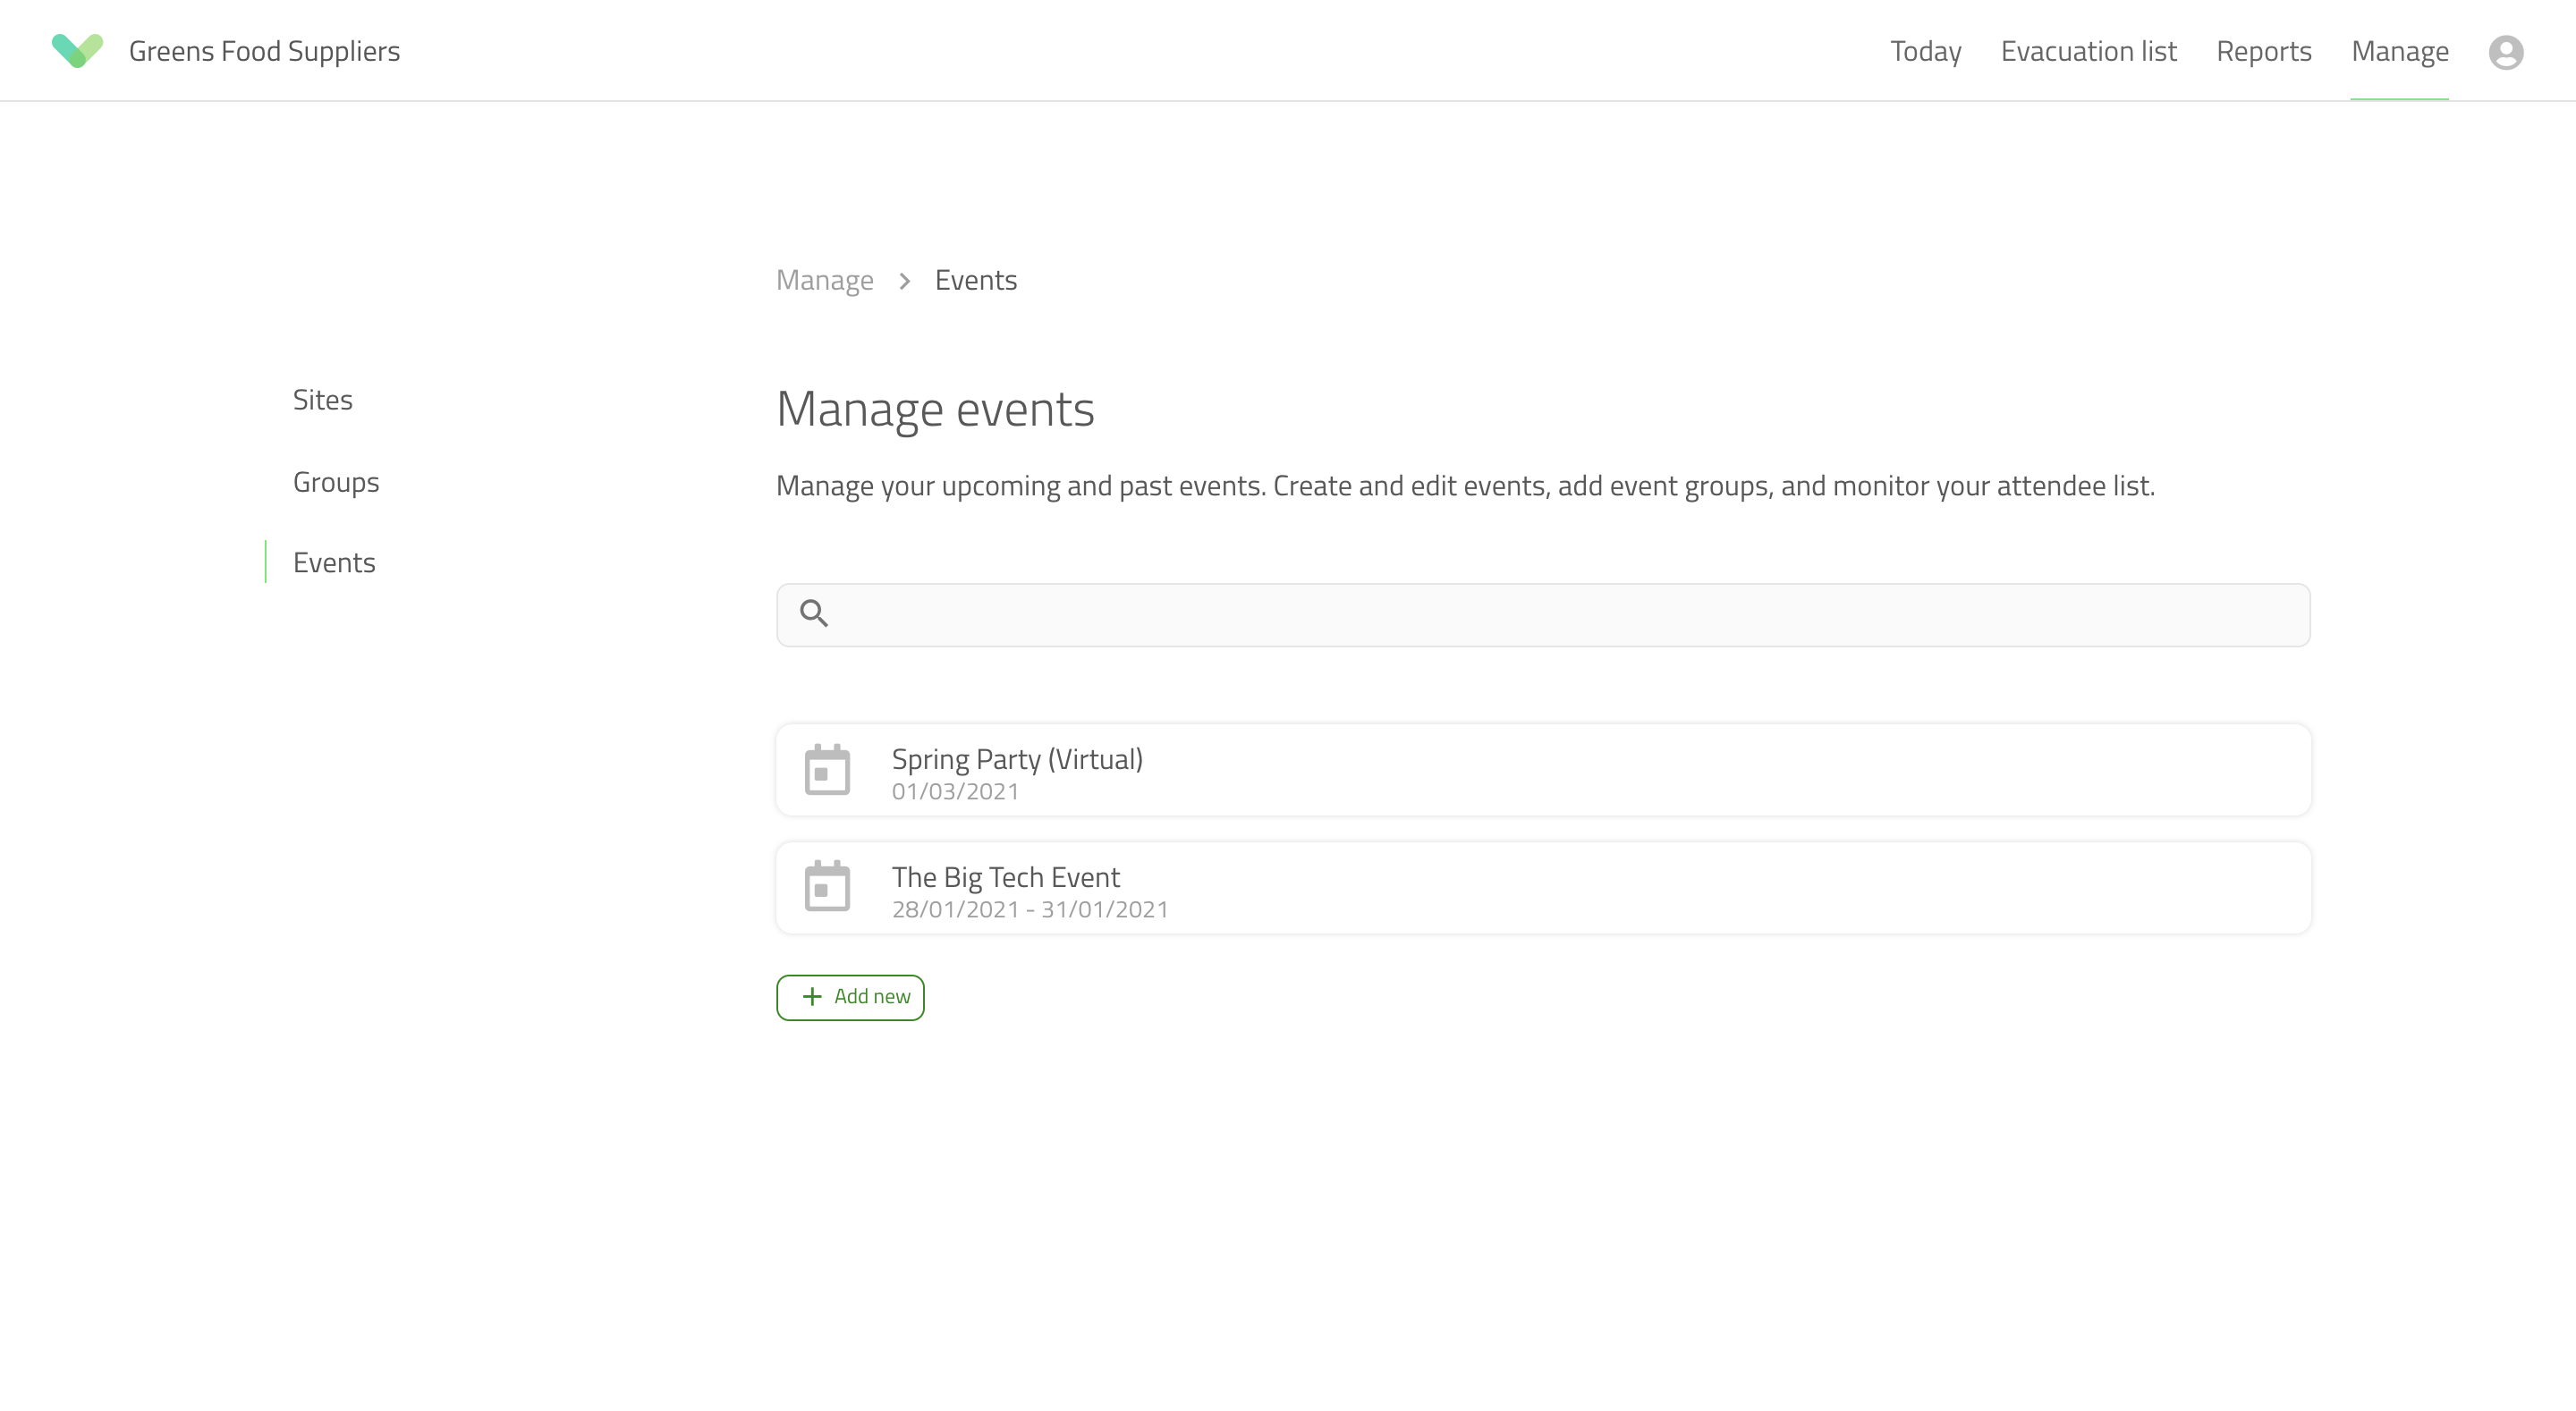
You can create an event from the Sign In App Portal. Simply click on Manage > Events and click Add event to create your first event. Enter a relevant name to help identify this event at a later date.
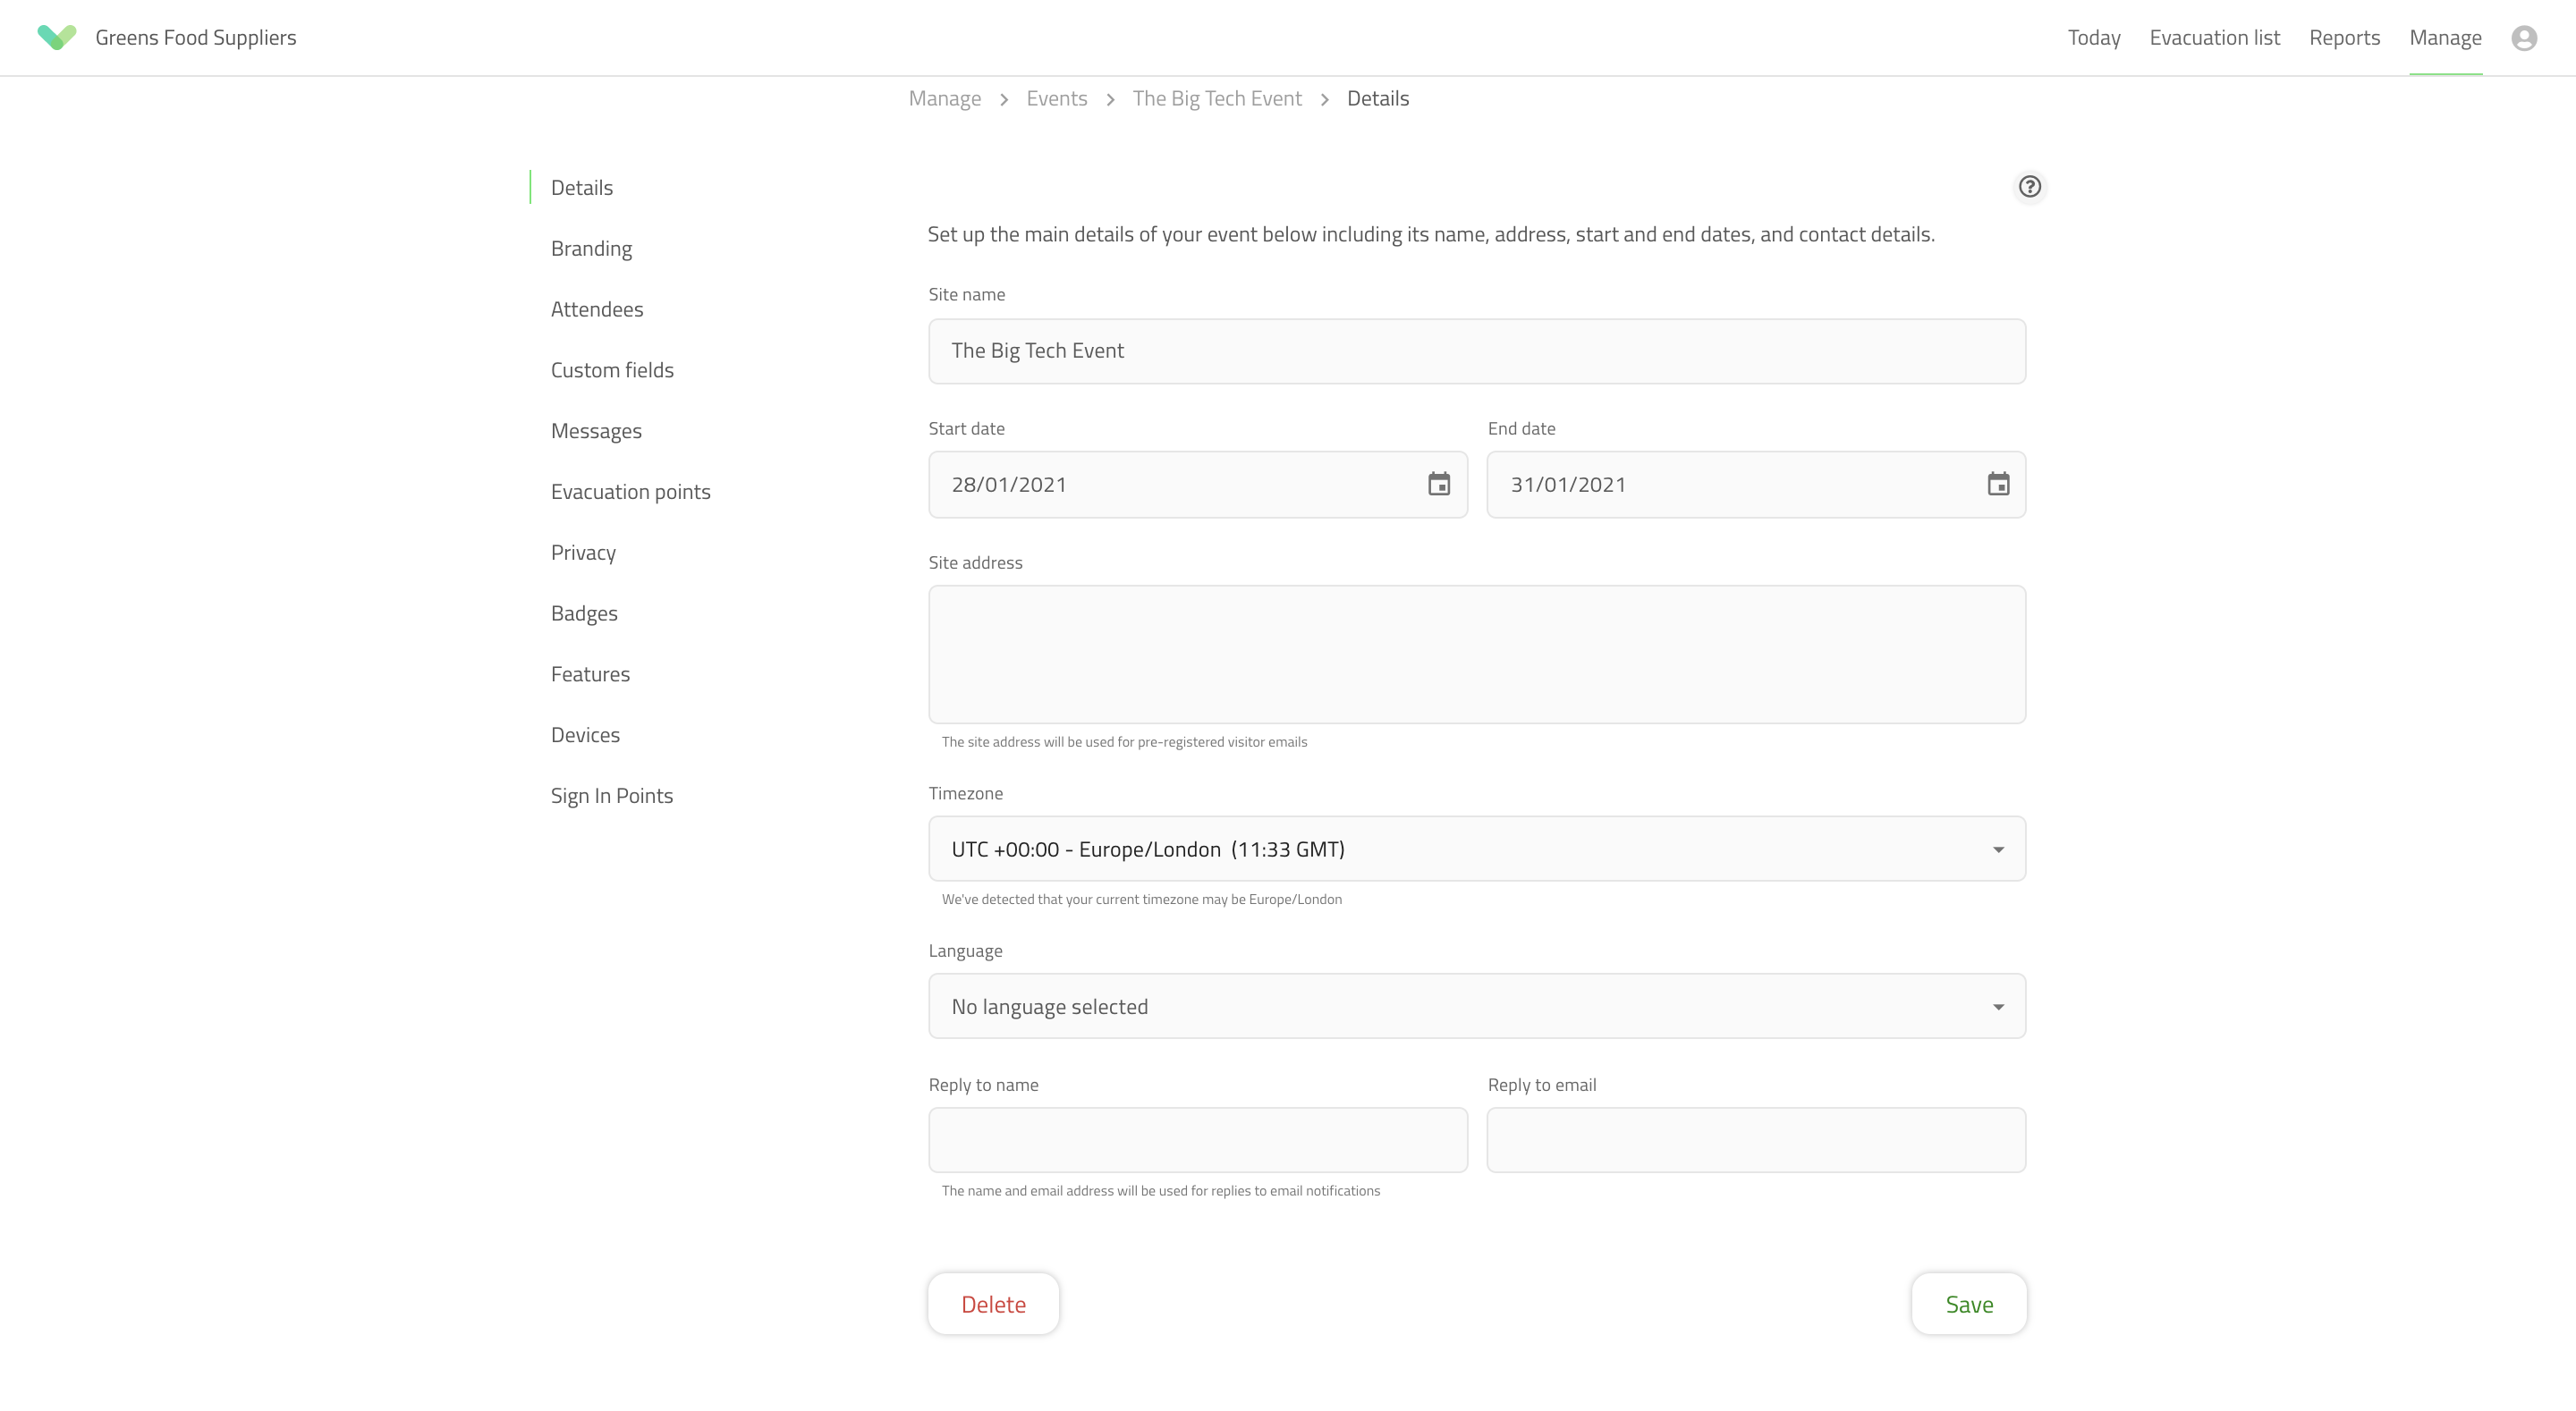
Start and end dates
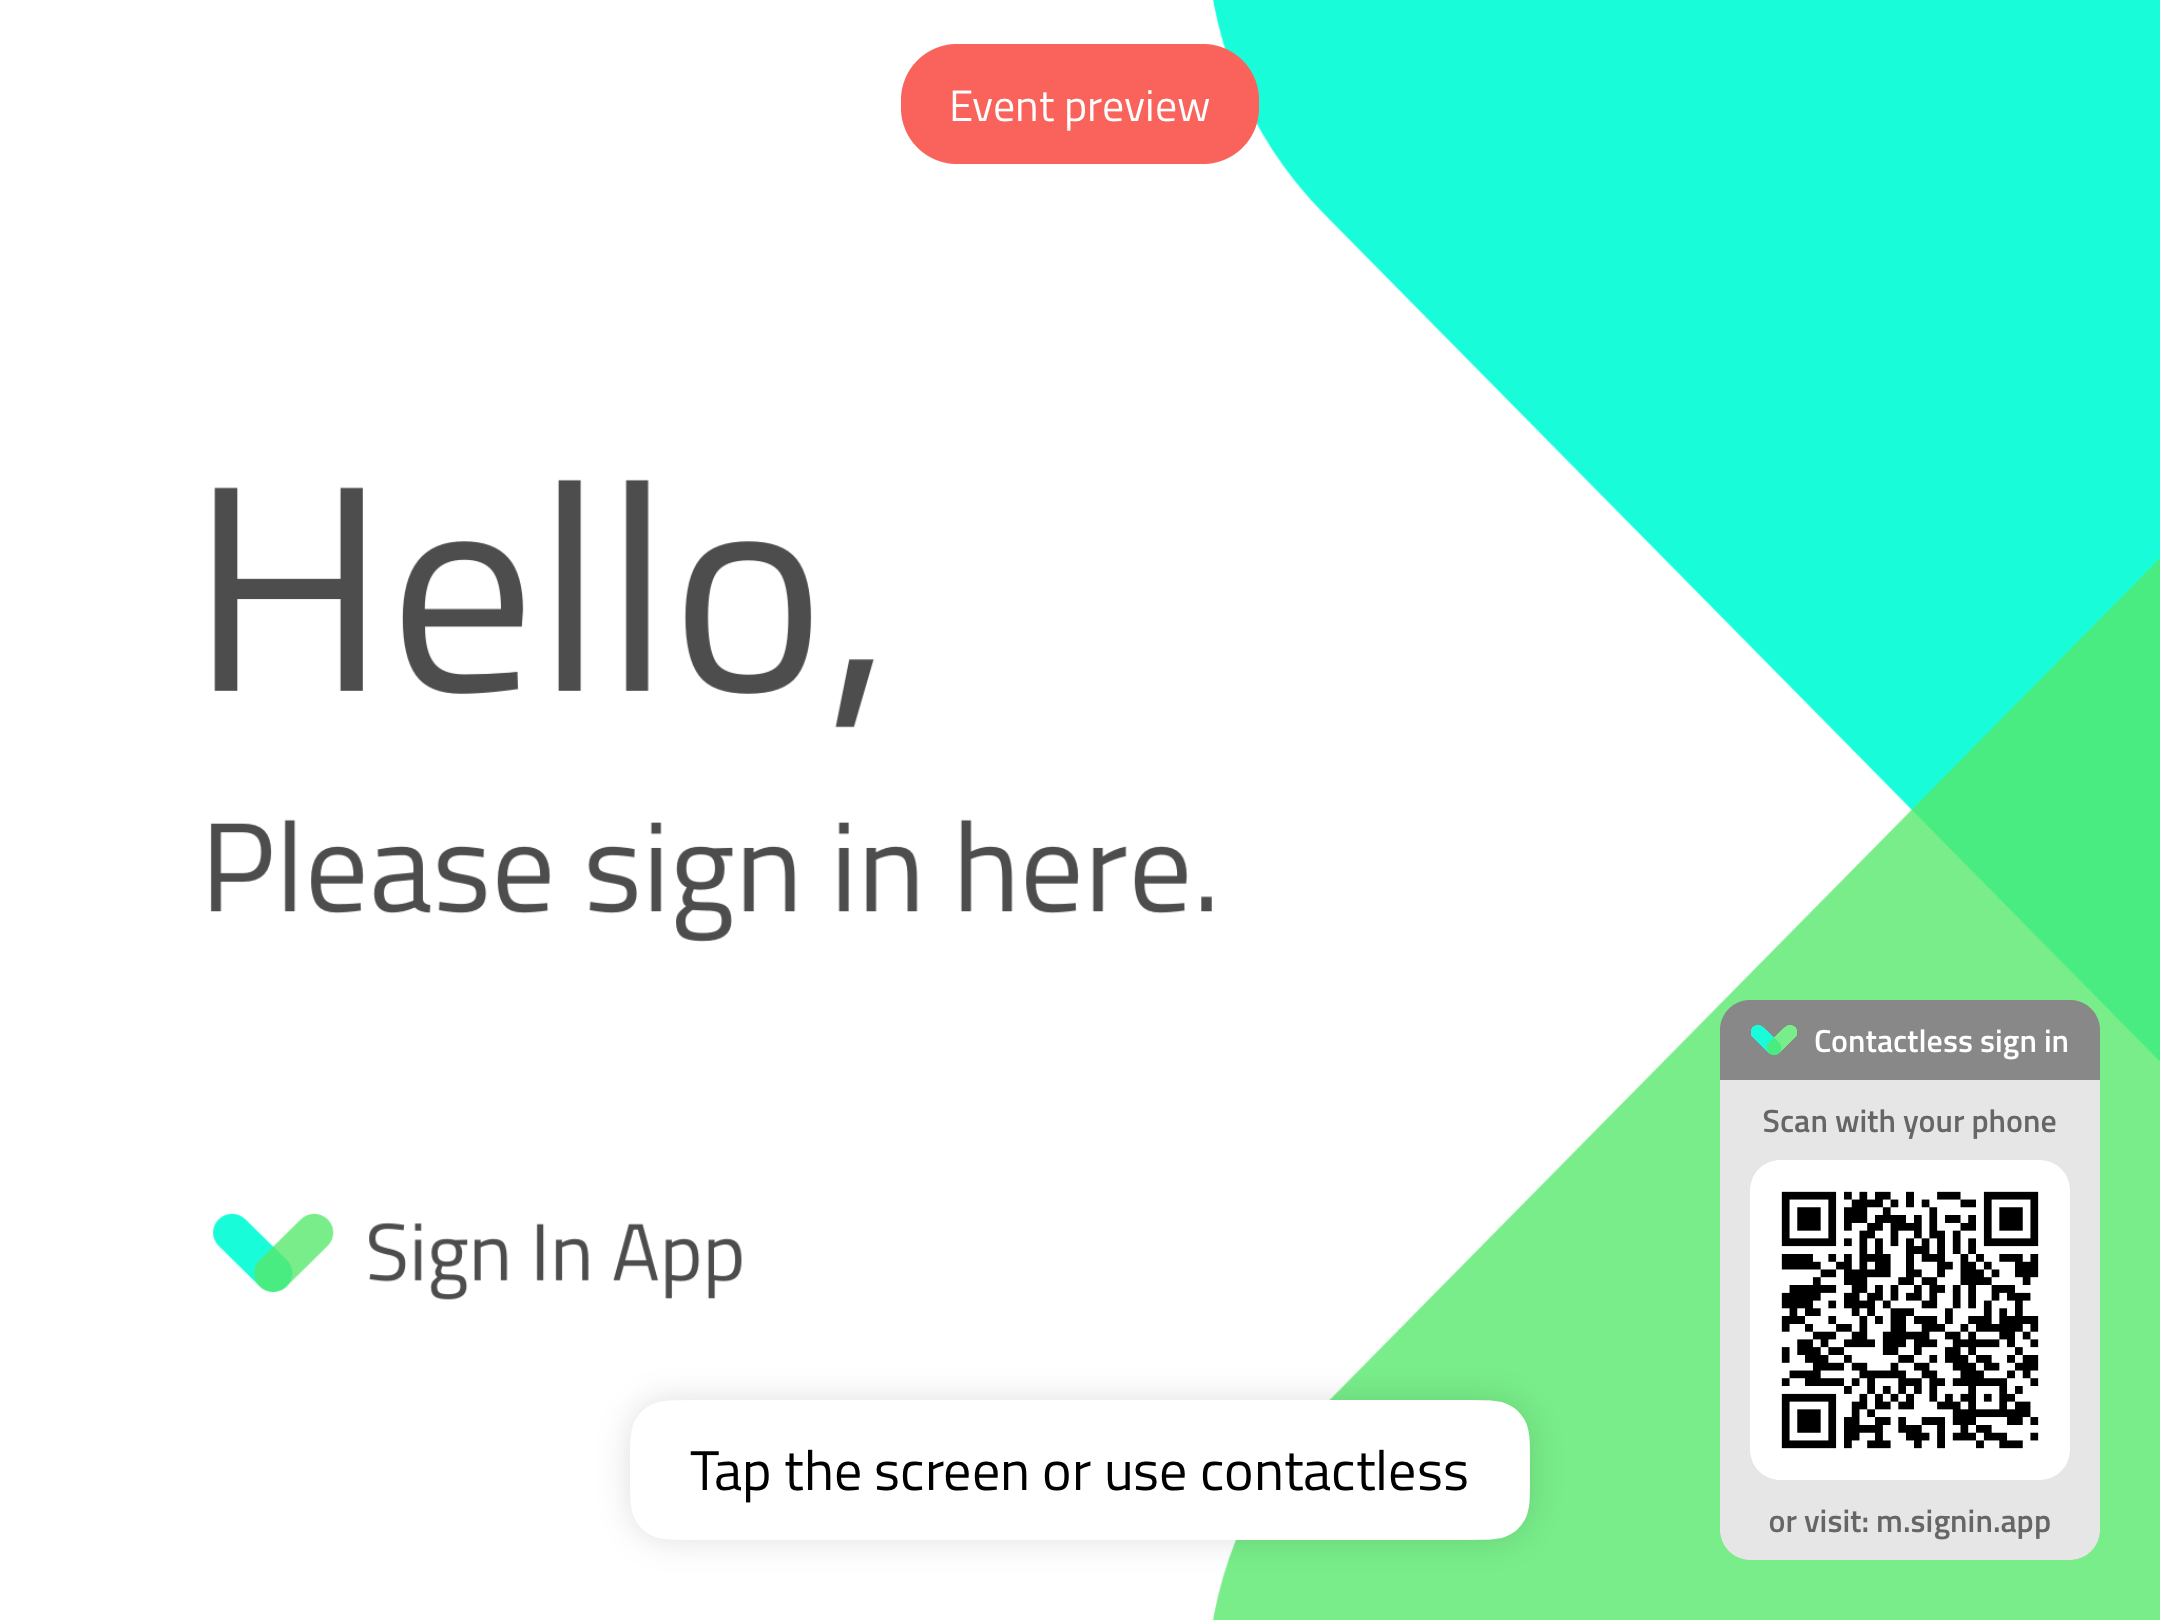
Sign In App Events require a start and end date. For one-day events, select the same date for both fields. You can connect an iPad prior to an event starting and run the application in 'preview mode' to configure and test the sign in process. Once an event has ended, you won't be able to sign people in but you will still have access to the attendee data from the online portal.
Maximum duration
Events have a maximum duration of 7 days. For sites that are more permanent, an additional site subscription can be purchased.
Once your Event has been created, you can manage the Event by going to Manage > Events > Select event, you will then see customisation options such as Groups, Custom Fields and Devices.
Attendees
To Pre-register an attendee, go to Manage > Events > Select event > Attendees and then Add attendee. If you’d like them to receive an email then tick send email at the bottom of the pop-up window. This will send them an email invitation with a QR code, the event address and any additional information.
Import
To pre-register multiple people from a file, select the Import tab. Follow the step by step instructions, downloading the template and making changes before re-uploading as a CSV file. If you'd like each pre-registered guest to receive an email invitation, tick Send email invitation before clicking Pre-register at the bottom of the window.
Tip
If you have a large number of people coming to an event it’s much quicker to import them!
Customise the invitation
The email invitation will include your logo, the Event address (if populated) and a QR code for easy sign in (if enabled). You can customise the wording of the invitation from the group options. Click Manage > Events > Select event > Attendees and then select Edit group and change the content found in Pre-registration email message.
Event Groups
When you create a new Event, a group called Attendees is created by default. You can edit and customise this group or add additional groups for exhibitors or different types of attendees by pressing the drop down menu titled Attendees on the event page.
Configuration
Just like Sites, you can customise every aspect of the sign in experience from the Edit Event screen. This includes the Branding image that welcomes your guests, as well as the Custom fields and Messages that are completed or agreed to by your attendees. From these screens you can control the Privacy options and edit Features such as visitor photos and QR code support. You can even design attendee Badges specific for this Event using badge builder.
For more information on Site configuration options, click here.
Devices
To start welcoming guests, an iPad needs to be connected to your Event. To do this, select Devices from the Edit Event screen and click Connect. A 7-digit code will be generated which you will need to enter into Sign In App on iPad.
Connecting a device
An iPad can only be connected to one Site or Event at a time. If the iPad is already connected to a Site or Event, first tap Remove device from site in the Config > Options menu before connecting the Device to an Event.
Site switcher
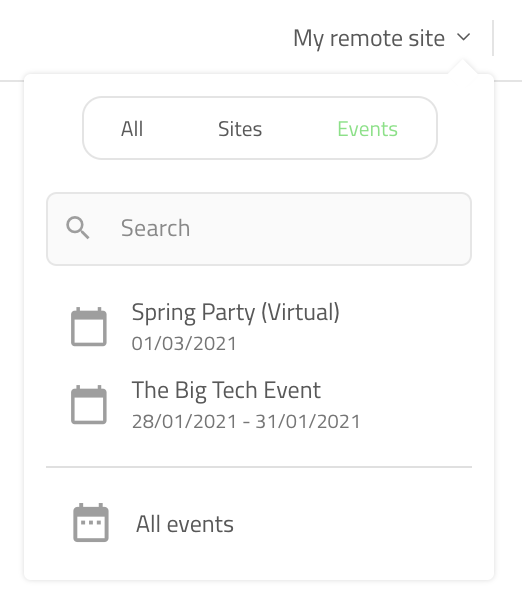
Once you've finished setting up your Event, you can view and pre-register Attendees by switching from your Site to the new Event. To switch to your event, navigate to the Today tab the portal and click the current Site name to the left of Today. A drop down will appear that lists your Sites and Events. Click your Event name to switch.
The iPad app
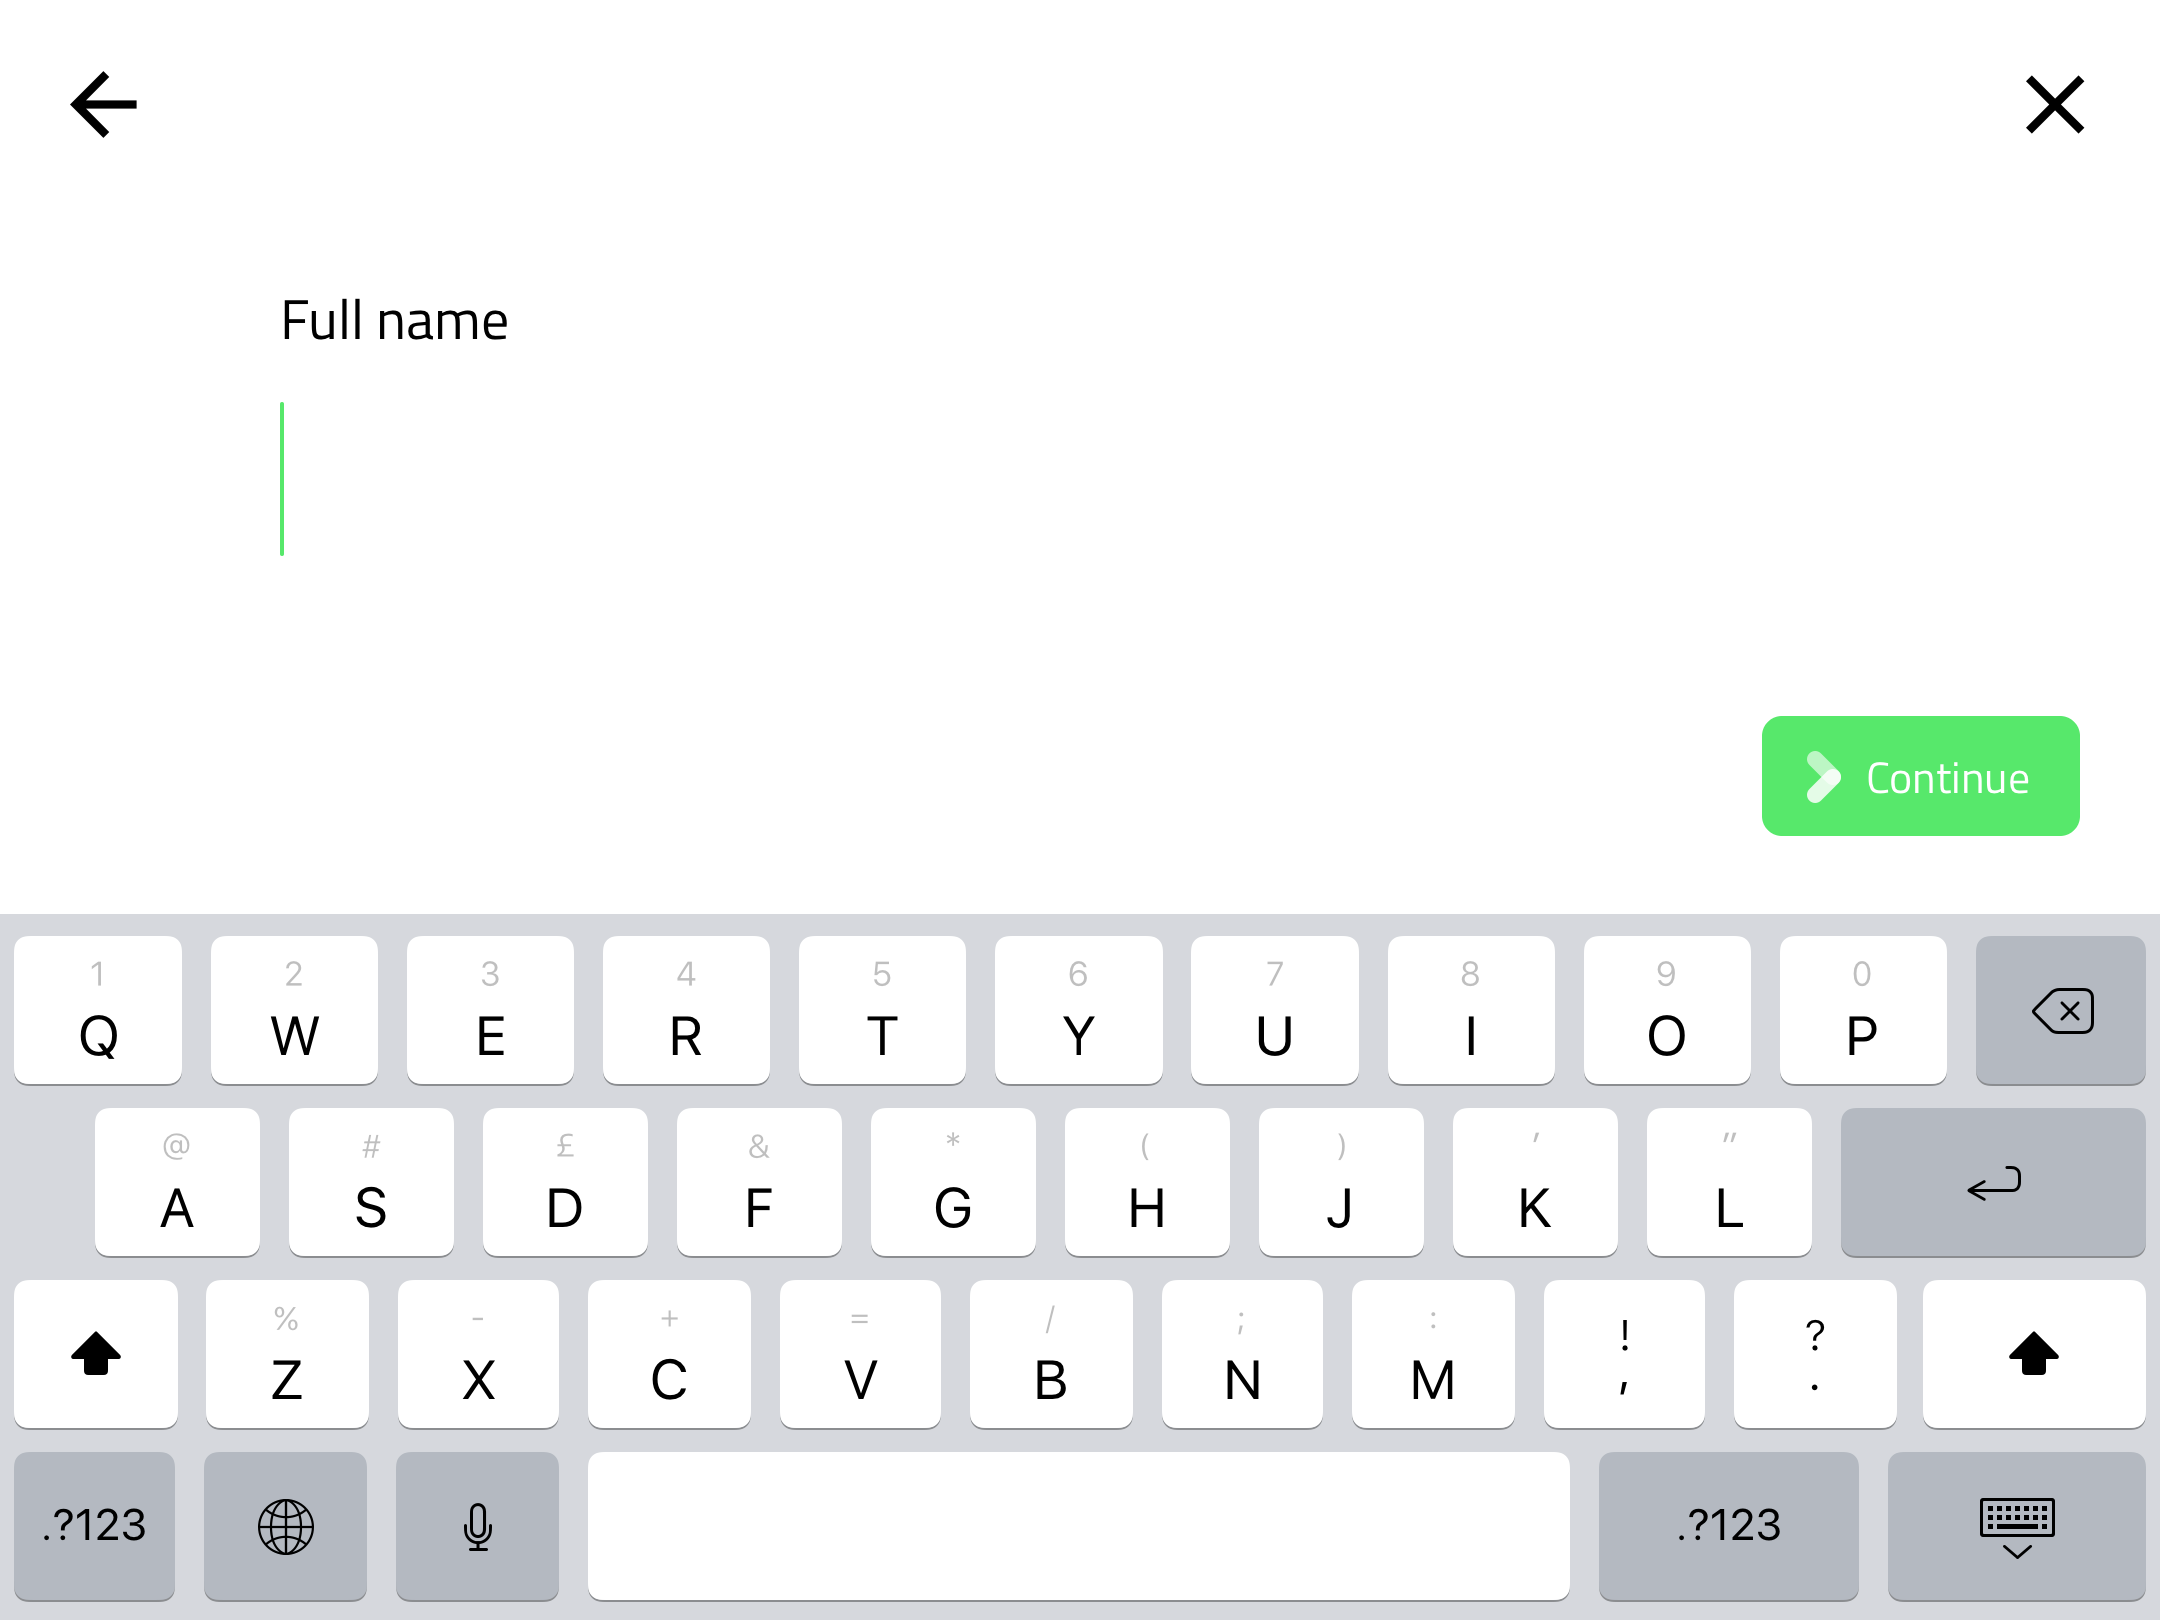
When arriving at your Event (or stand), the visitor experience has been streamlined to make it even easier to sign in. If there's only one Event Group, tapping the screen takes the attendee straight to the details page where they can start entering their details. If they're a pre-registered guest they can find their details quickly as they start typing their name.
Scanning a QR code
For Events, the QR button isn't displayed on the welcome screen, however the camera starts scanning as soon as the screen is tapped. This is to maximise the screen space available for branding and make the process more intuitive for guests who might not know to tap the QR button immediately.
Signing out
Because most attendees are registering their details or attendance to print a badge, signing out is handled a different way for Events. After tapping the screen and typing their name, the option to sign out appears on the right hand side.
Reporting
When hosting an Event it's important to know who attended and who didn't. After you've switched to your Event using the site switcher, the History tab shows a breakdown day by day of your attendees and allows you to export the data as required.
Attendees
To see a list of attendees for your event, click the History tab. The options on the left will be updated to show;
- Day X - a page for each day of the Event listing its attendees
- Non-attendees - a list of all pre-registered attendees who haven't signed in
- Search - search for an individual attendee
Exporting data
To export data, click Export attended or Export non-attended from the options on the right side of the History tab. The data will be downloaded in CSV format which you can open in Excel or any spreadsheet editor.
Deleting an event
You can delete an Event at any time. To delete an Event, go to Manage > Events > Select event > Details and then click Delete. You will be asked to confirm you wish to delete the Event.
Warning
Deleting an Event destroys all related data including pre-registrations and attendee data. Please only delete an Event if you wish to remove all records of the Event. There is no limit to the number of Events you create so you don't need to delete Events after they've finished.
We hope you've found this guide useful but if you have any questions around Events or any Sign In App feature, please contact our support team at support@signinapp.com.

