Custom translations
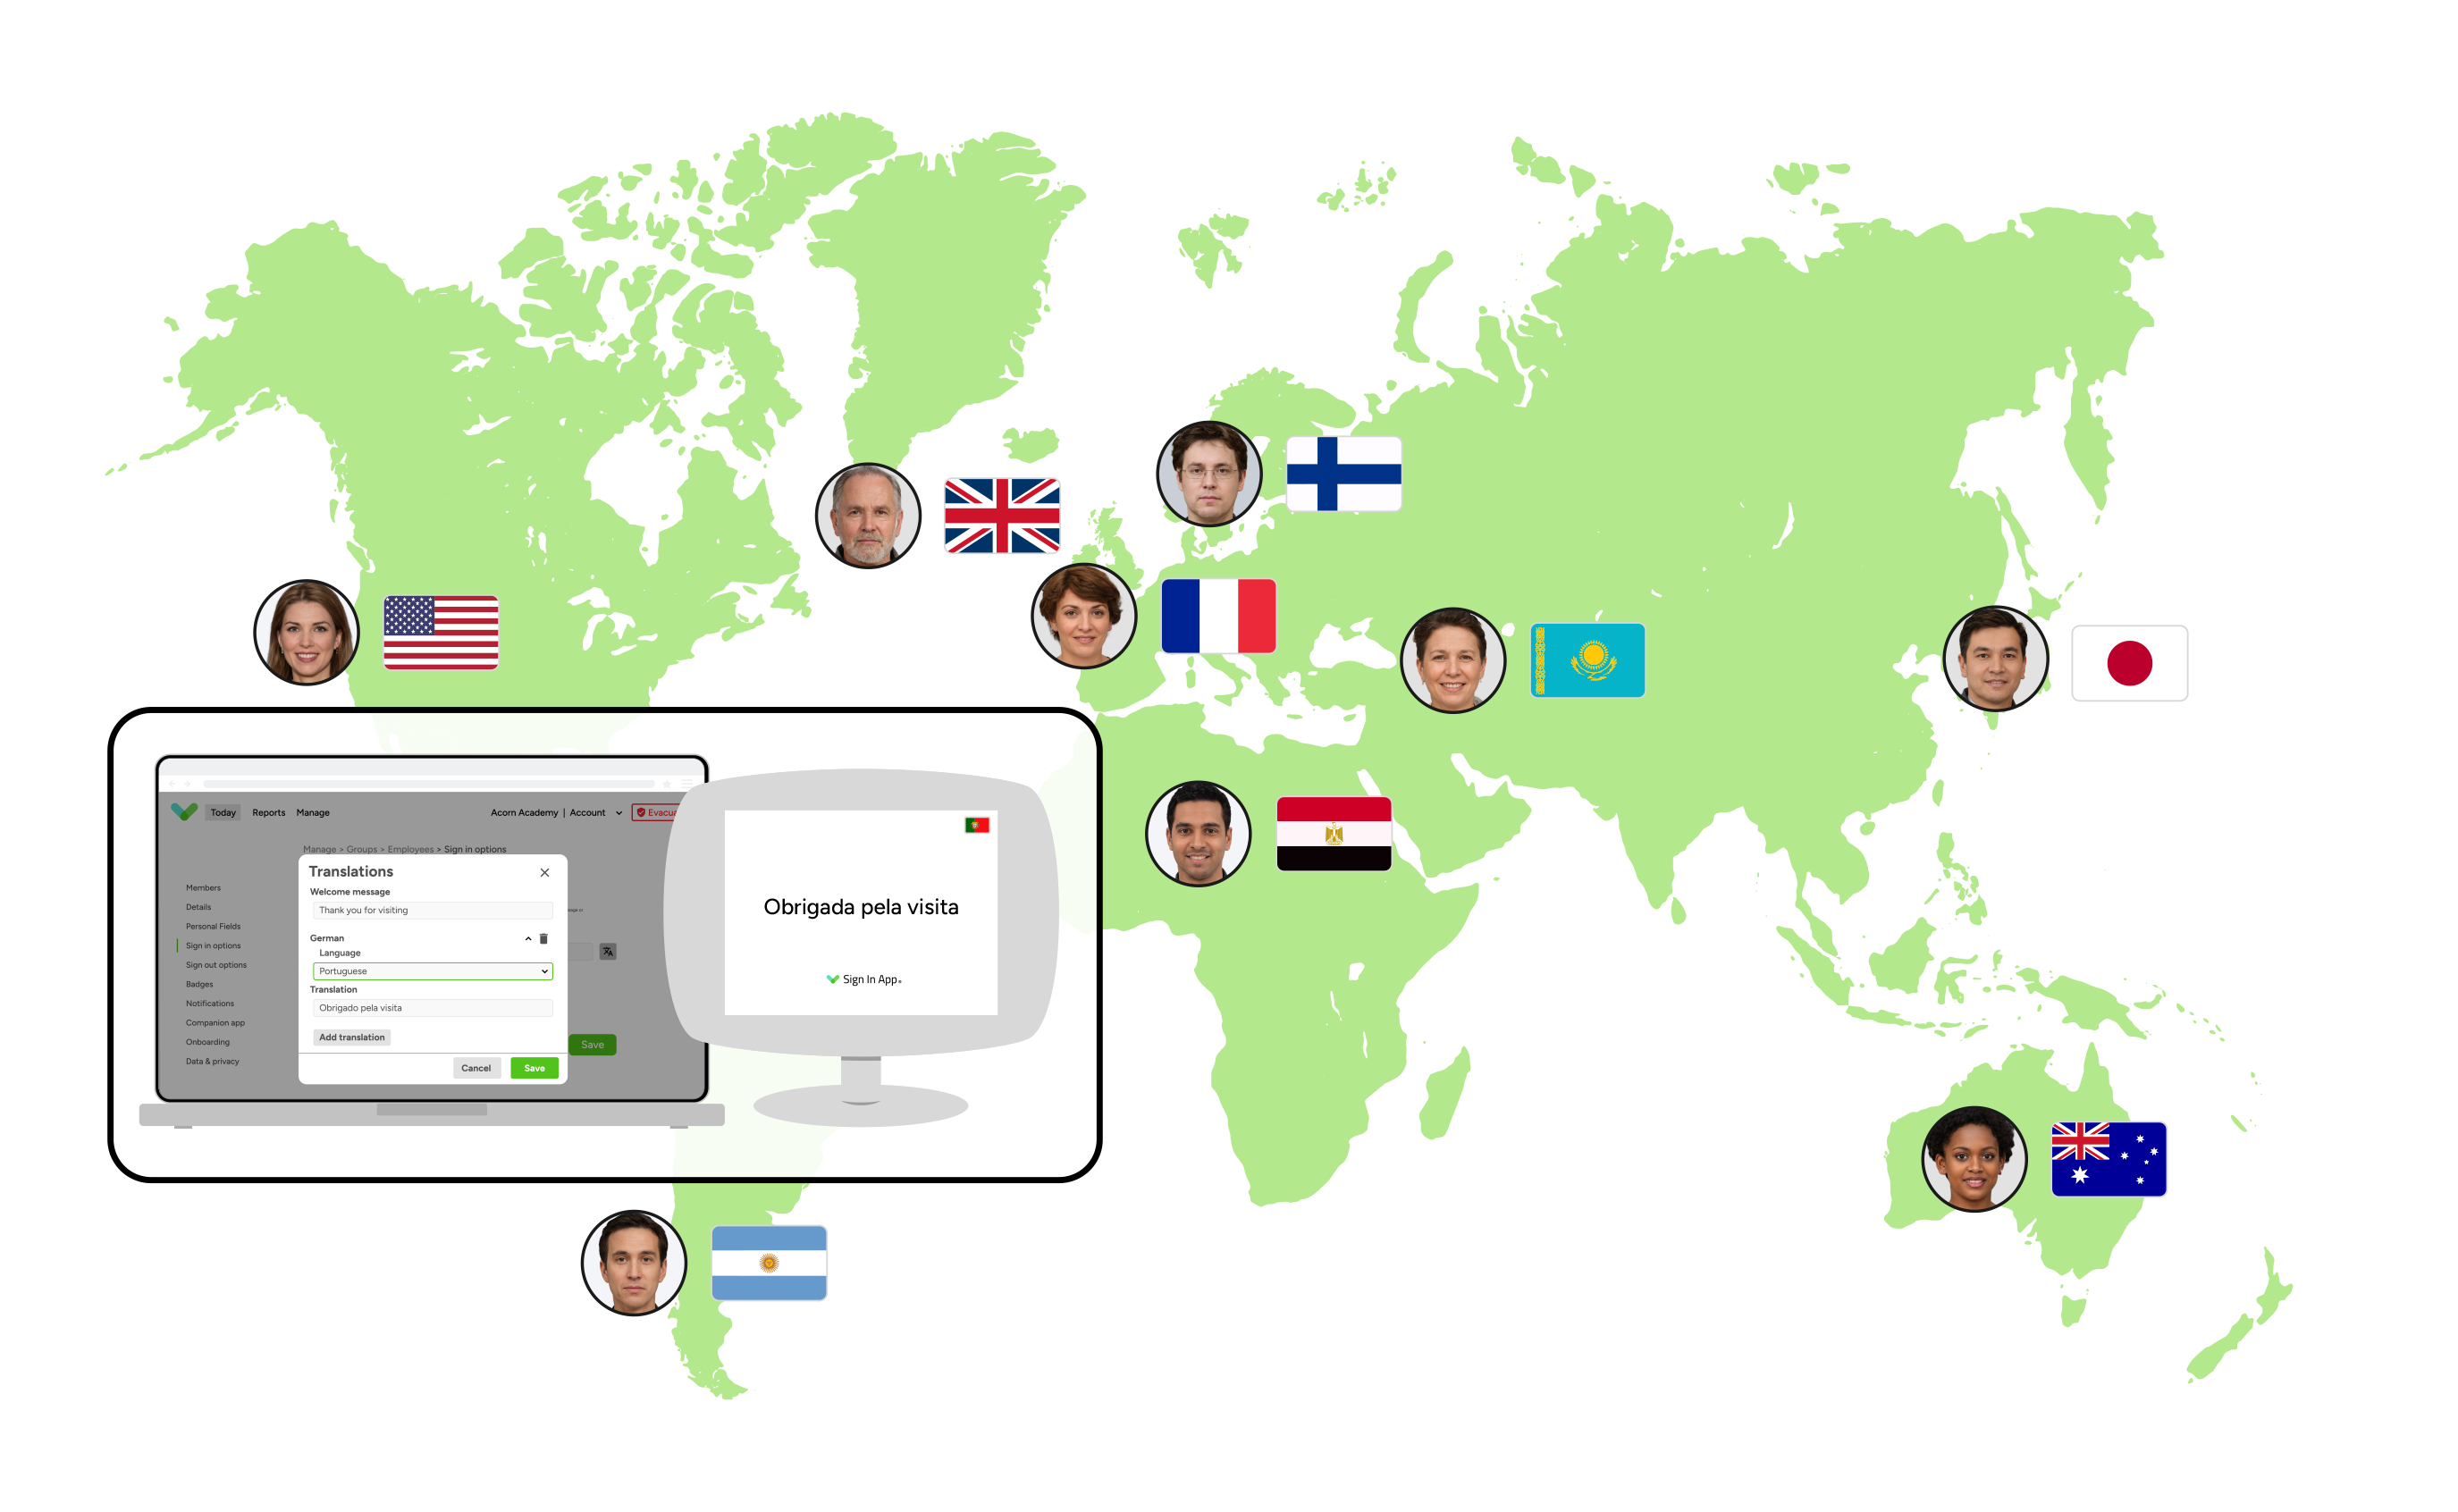
The Sign In App offers support for over 25 languages, enabling visitors to sign in using their preferred language. This comprehensive language support extends to all system fields, buttons, and messages, ensuring a fully localised experience. With Custom translations, you have the flexibility to provide personalized translations for messages, custom fields, welcome messages, and group names. This feature ensures that the information presented to visitors during the sign-in process is easily comprehensible to them.
Set up
In this guide, we will walk you through the setup process for translating custom fields, messages, and group names. Additionally, we’ll outline the steps a visitor needs to follow to sign in using their language of choice.
Custom fields
Custom fields allow you to present a series of questions / fields as part of the sign in process. To set up Custom translations for Custom fields head to Manage > Sites > Select site > Custom fields, either edit an existing field or click Add new and then click Add translation. You then need to select from the Language dropdown the language you’re adding a translation for and in the Field label box add the translated value. Repeat this process for each language you’d like to translate.
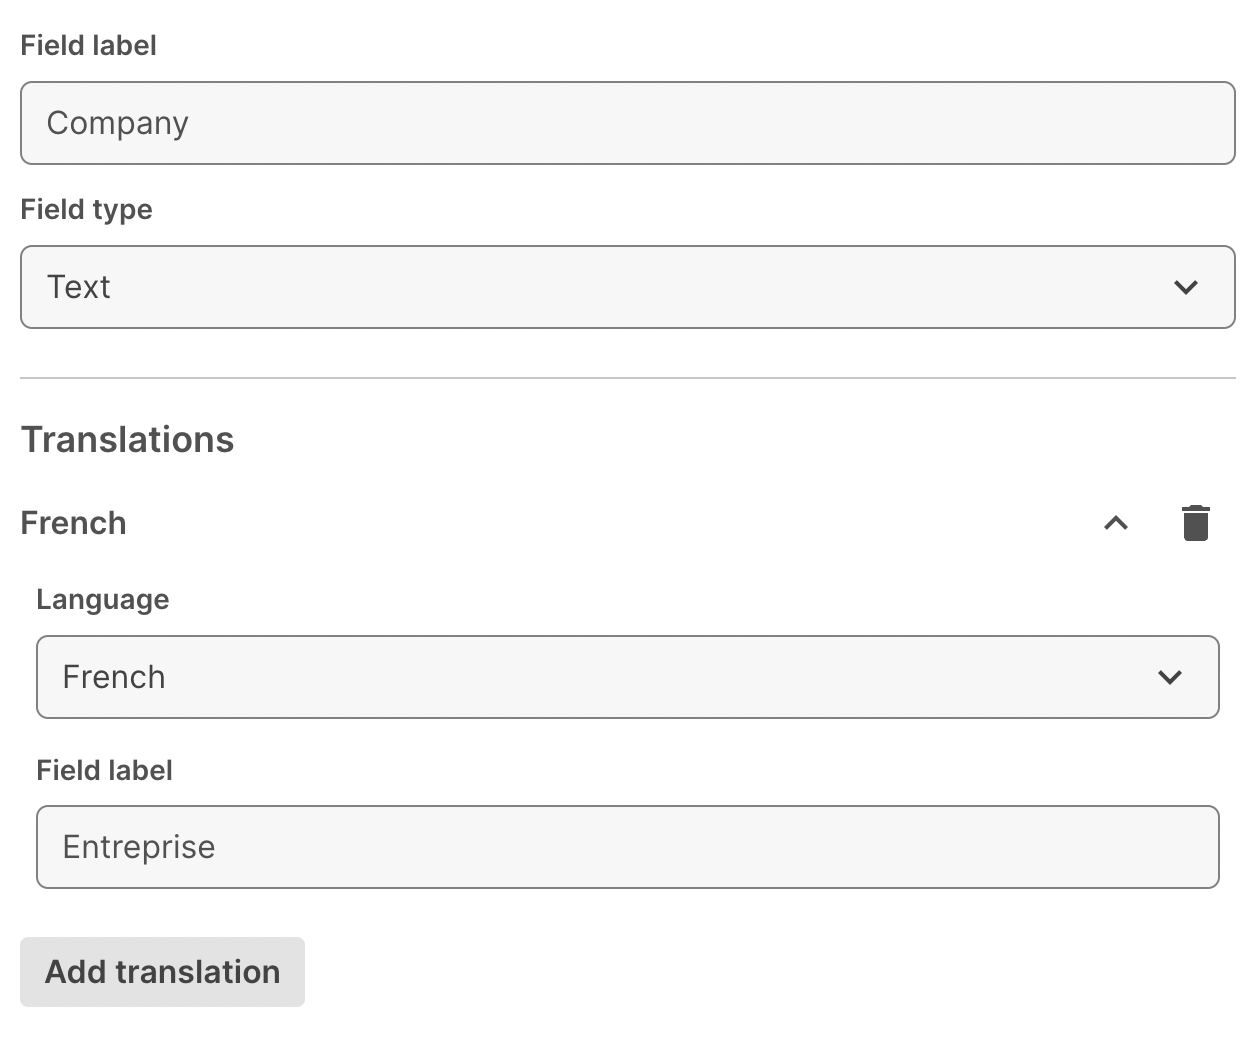
Click Save at the bottom to complete the set up.
Messages
Messages allow you to present longer form agreements and policies that visitors can agree to as part of the sign in process. To set up Custom translations for Messages head to Manage > Sites > Select site > Messages, either edit an existing message or click Add new, and then click Add translation. In the example below, we’ve got a Health & Safety agreement with a PDF attachment.
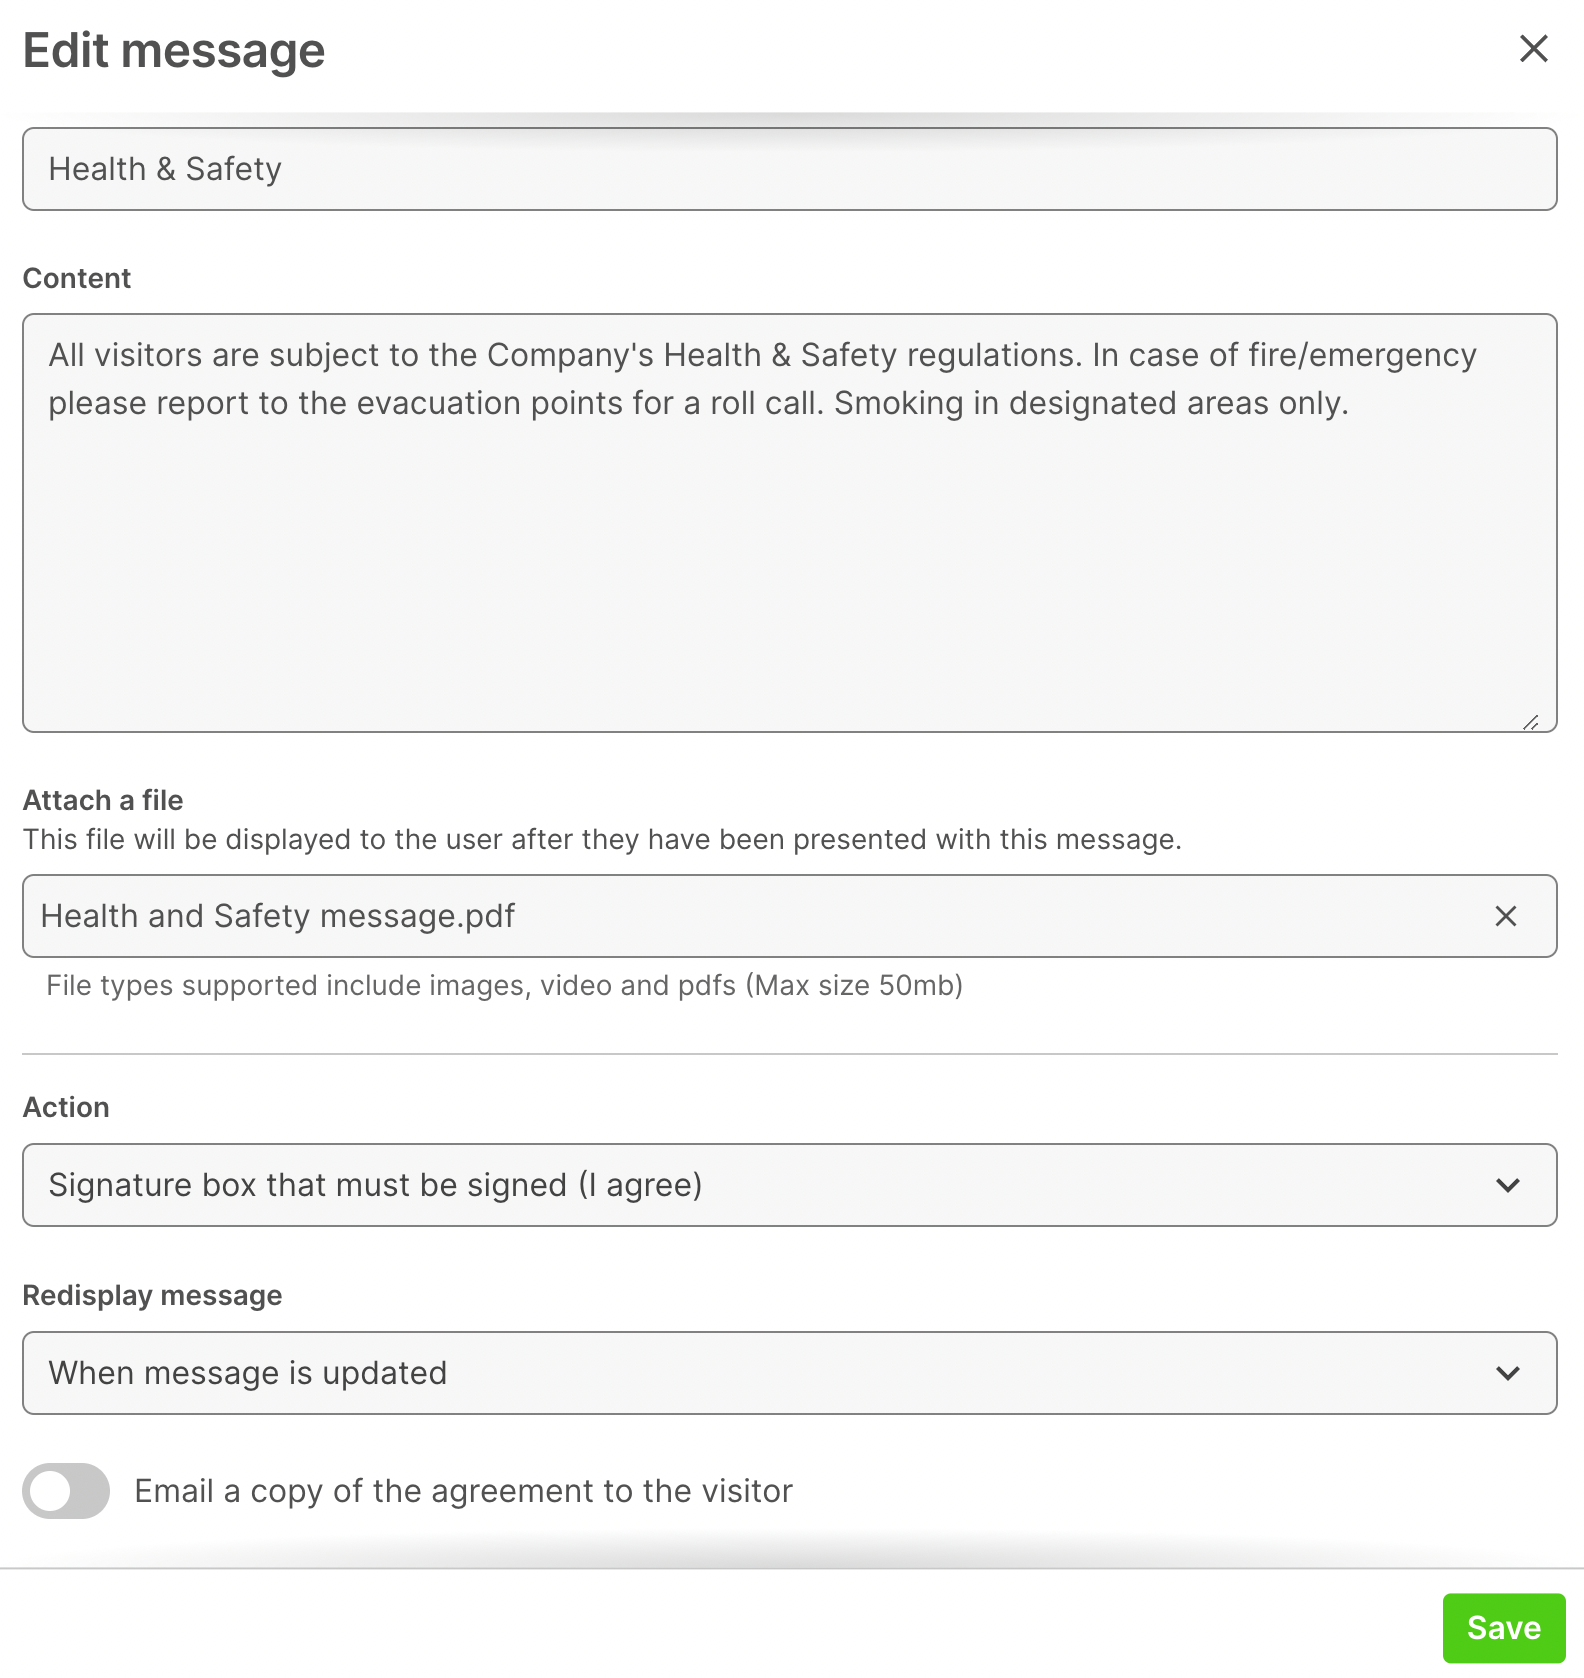
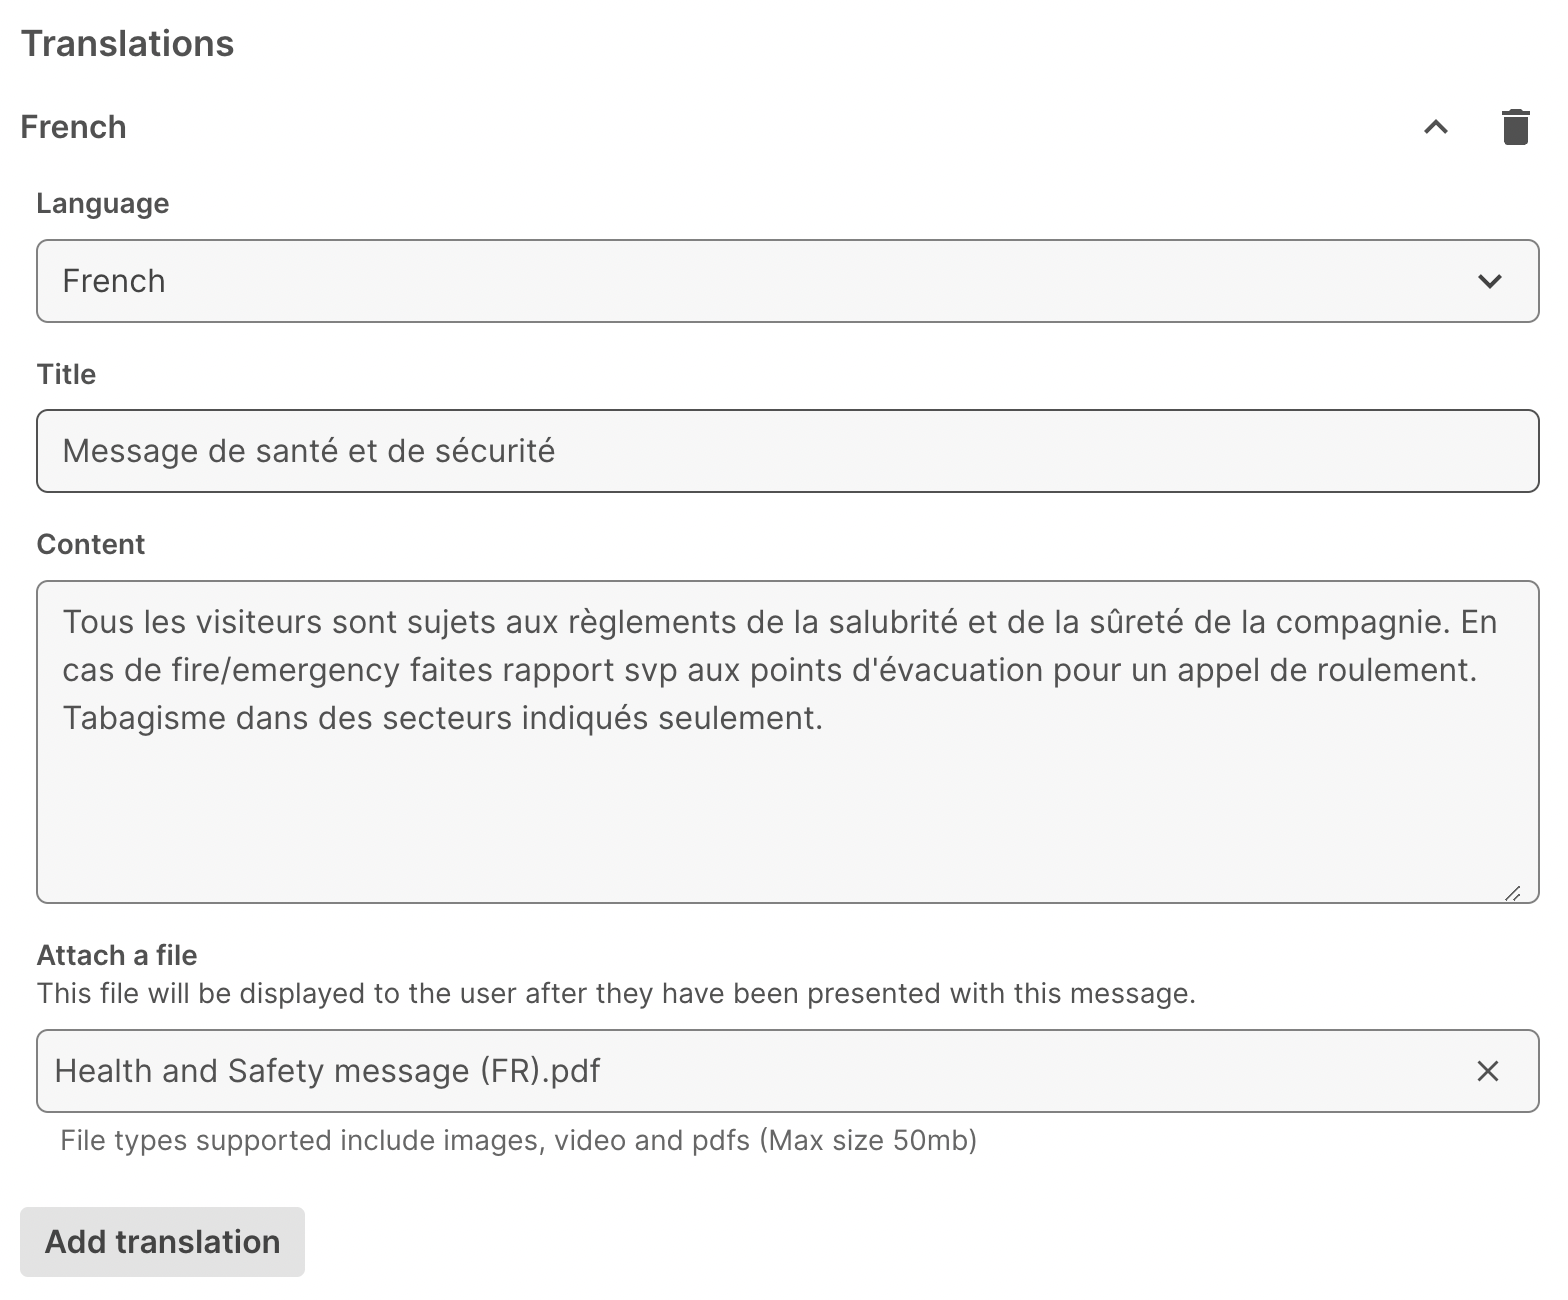
To add a translation for this message, click Add translation, select the language and then populate the Title and Content. If you do have a file attached to the message you can click Attach a file and provide the translated file.
Group names
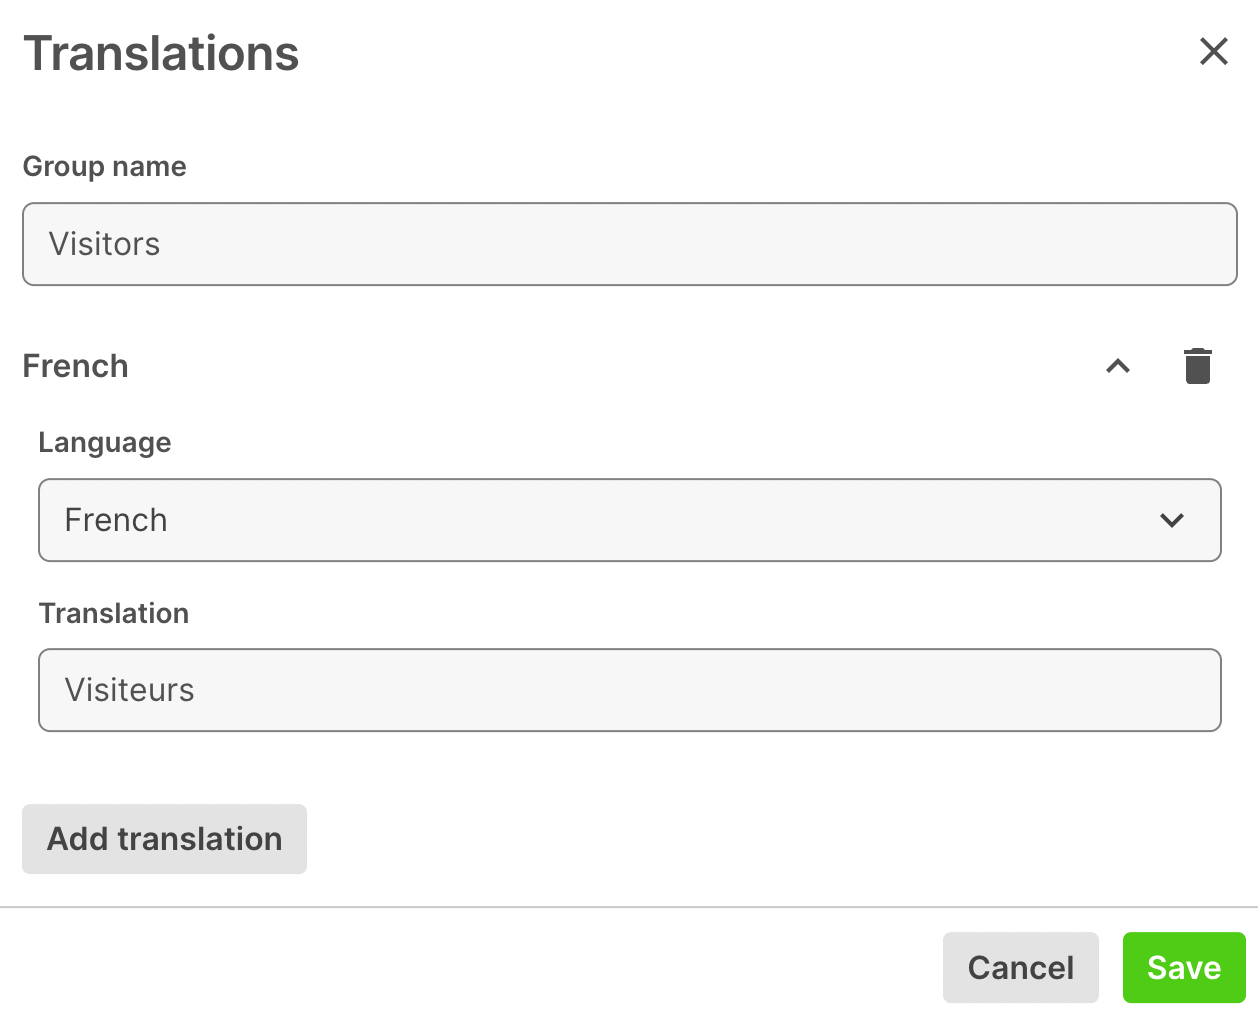
To add a translation for the name of the visitor group, head to Manage > Groups > Select group > Details and click the languages button.
Select the language from the dropdown and then provide the translation.
Pre-registrations
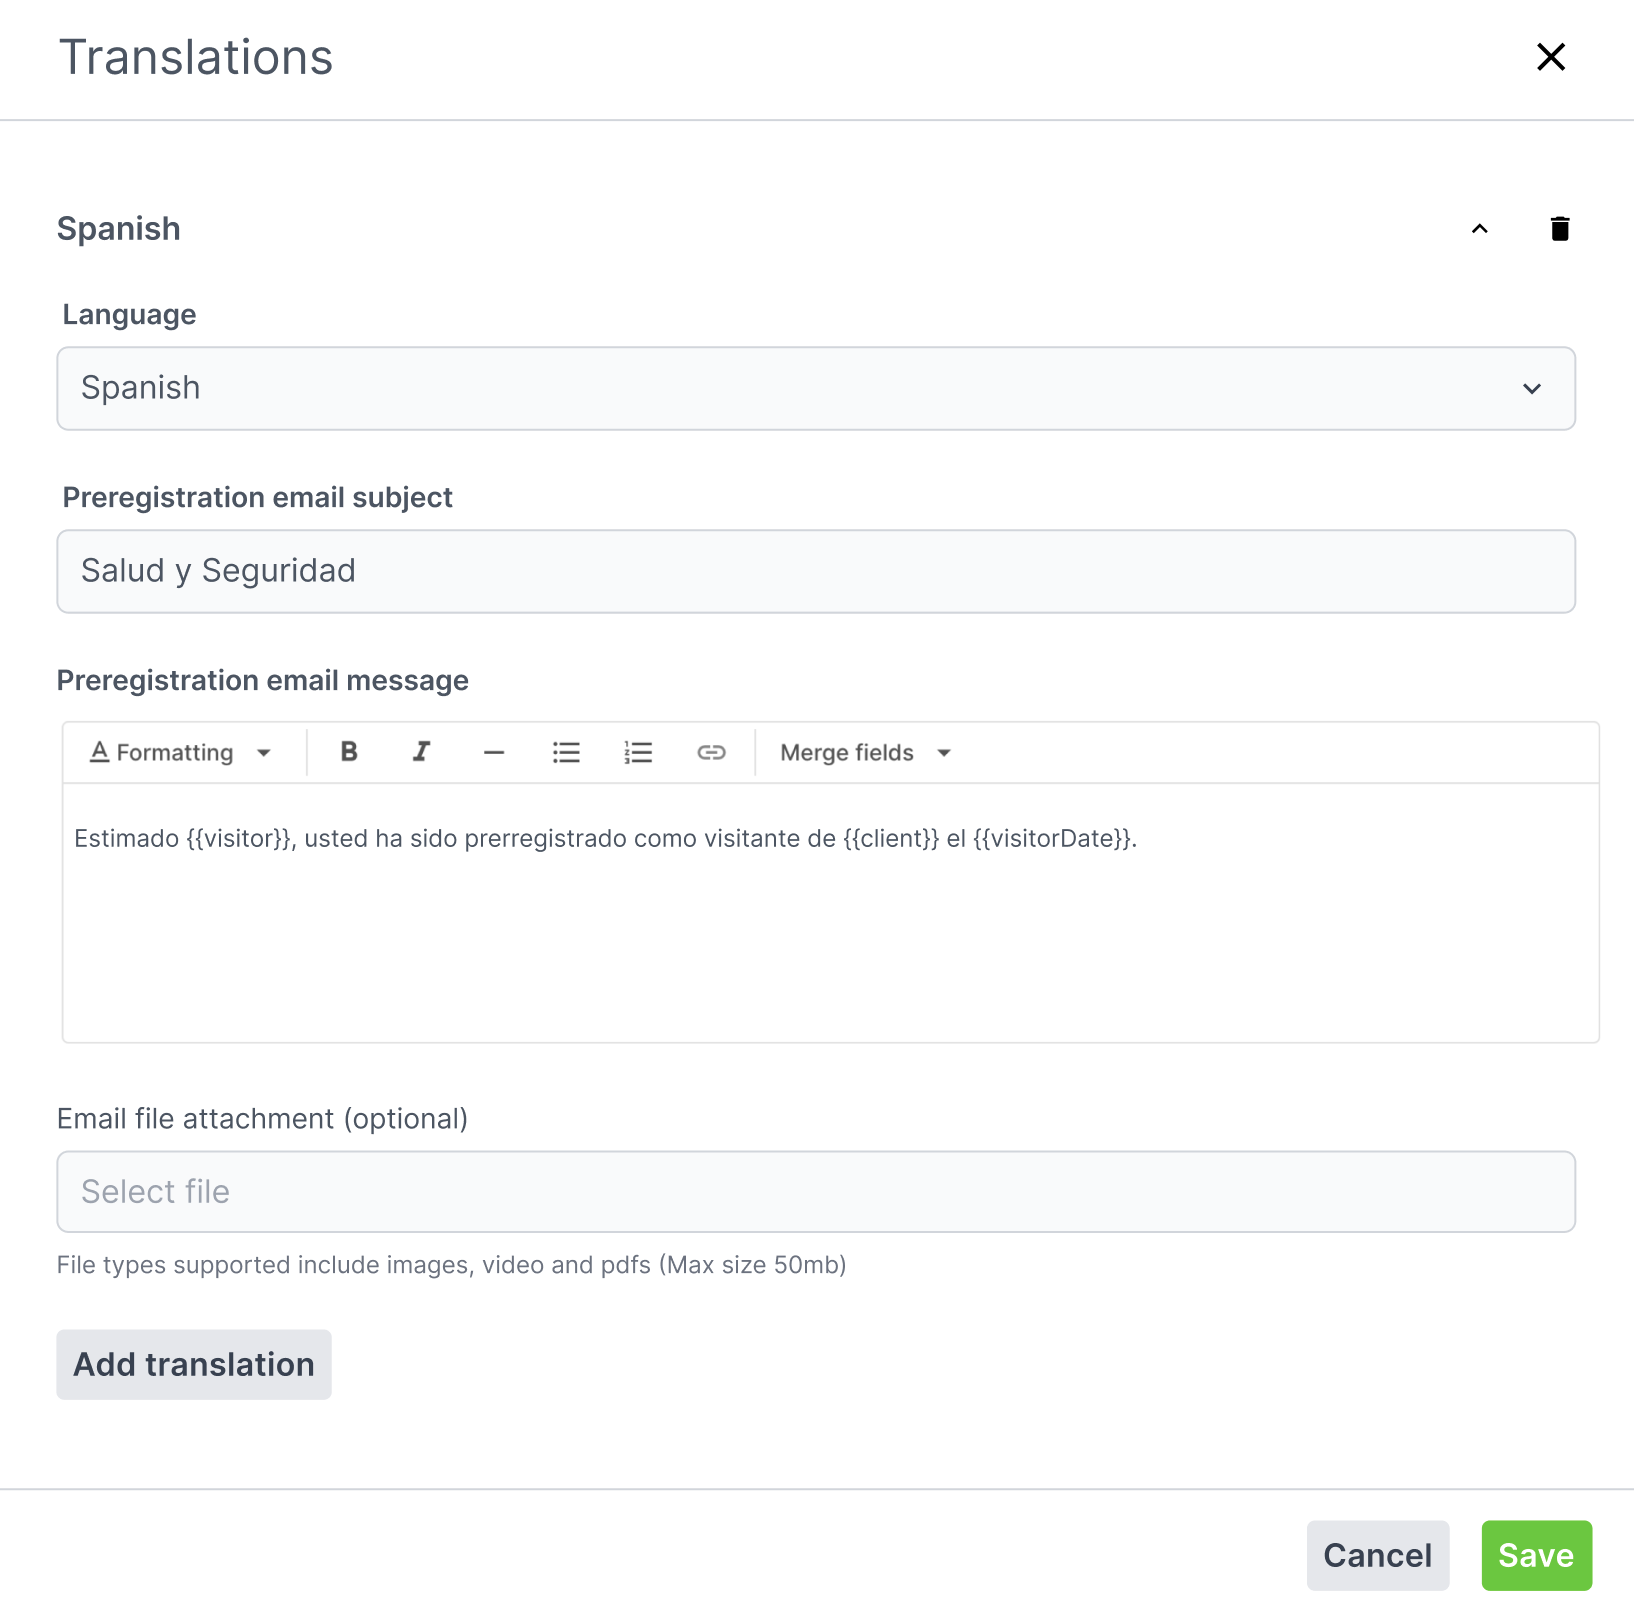
You can provide custom translations for pre-registration templates if you head to Manage > Groups > Select group > Pre-registrations and click the Language selector button and then Add translation. You can then select the language you'd like to translate and then provide translations for the pre-registration email subject and the email message. You can also attach a file that has been translated.
Welcome message
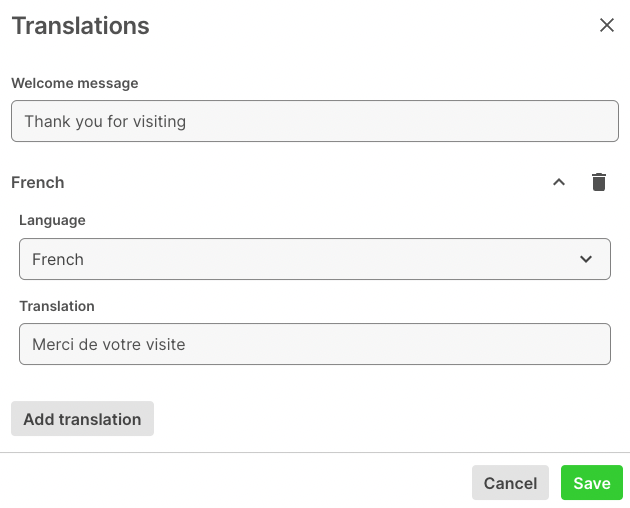
The welcome message allows you to provide a message that is displayed when a visitor has completed the sign in process. To set this up, go to Manage > Groups > Select group > Sign in options and under next to Welcome message click the translations button. From there, select the Language from the dropdown menu and then provide the translation.
Visitor sign in
Once you’ve got the translations set up in your Sign In App portal, your visitors, contractors, and employees can sign in and view the relevant translations.
iPad app
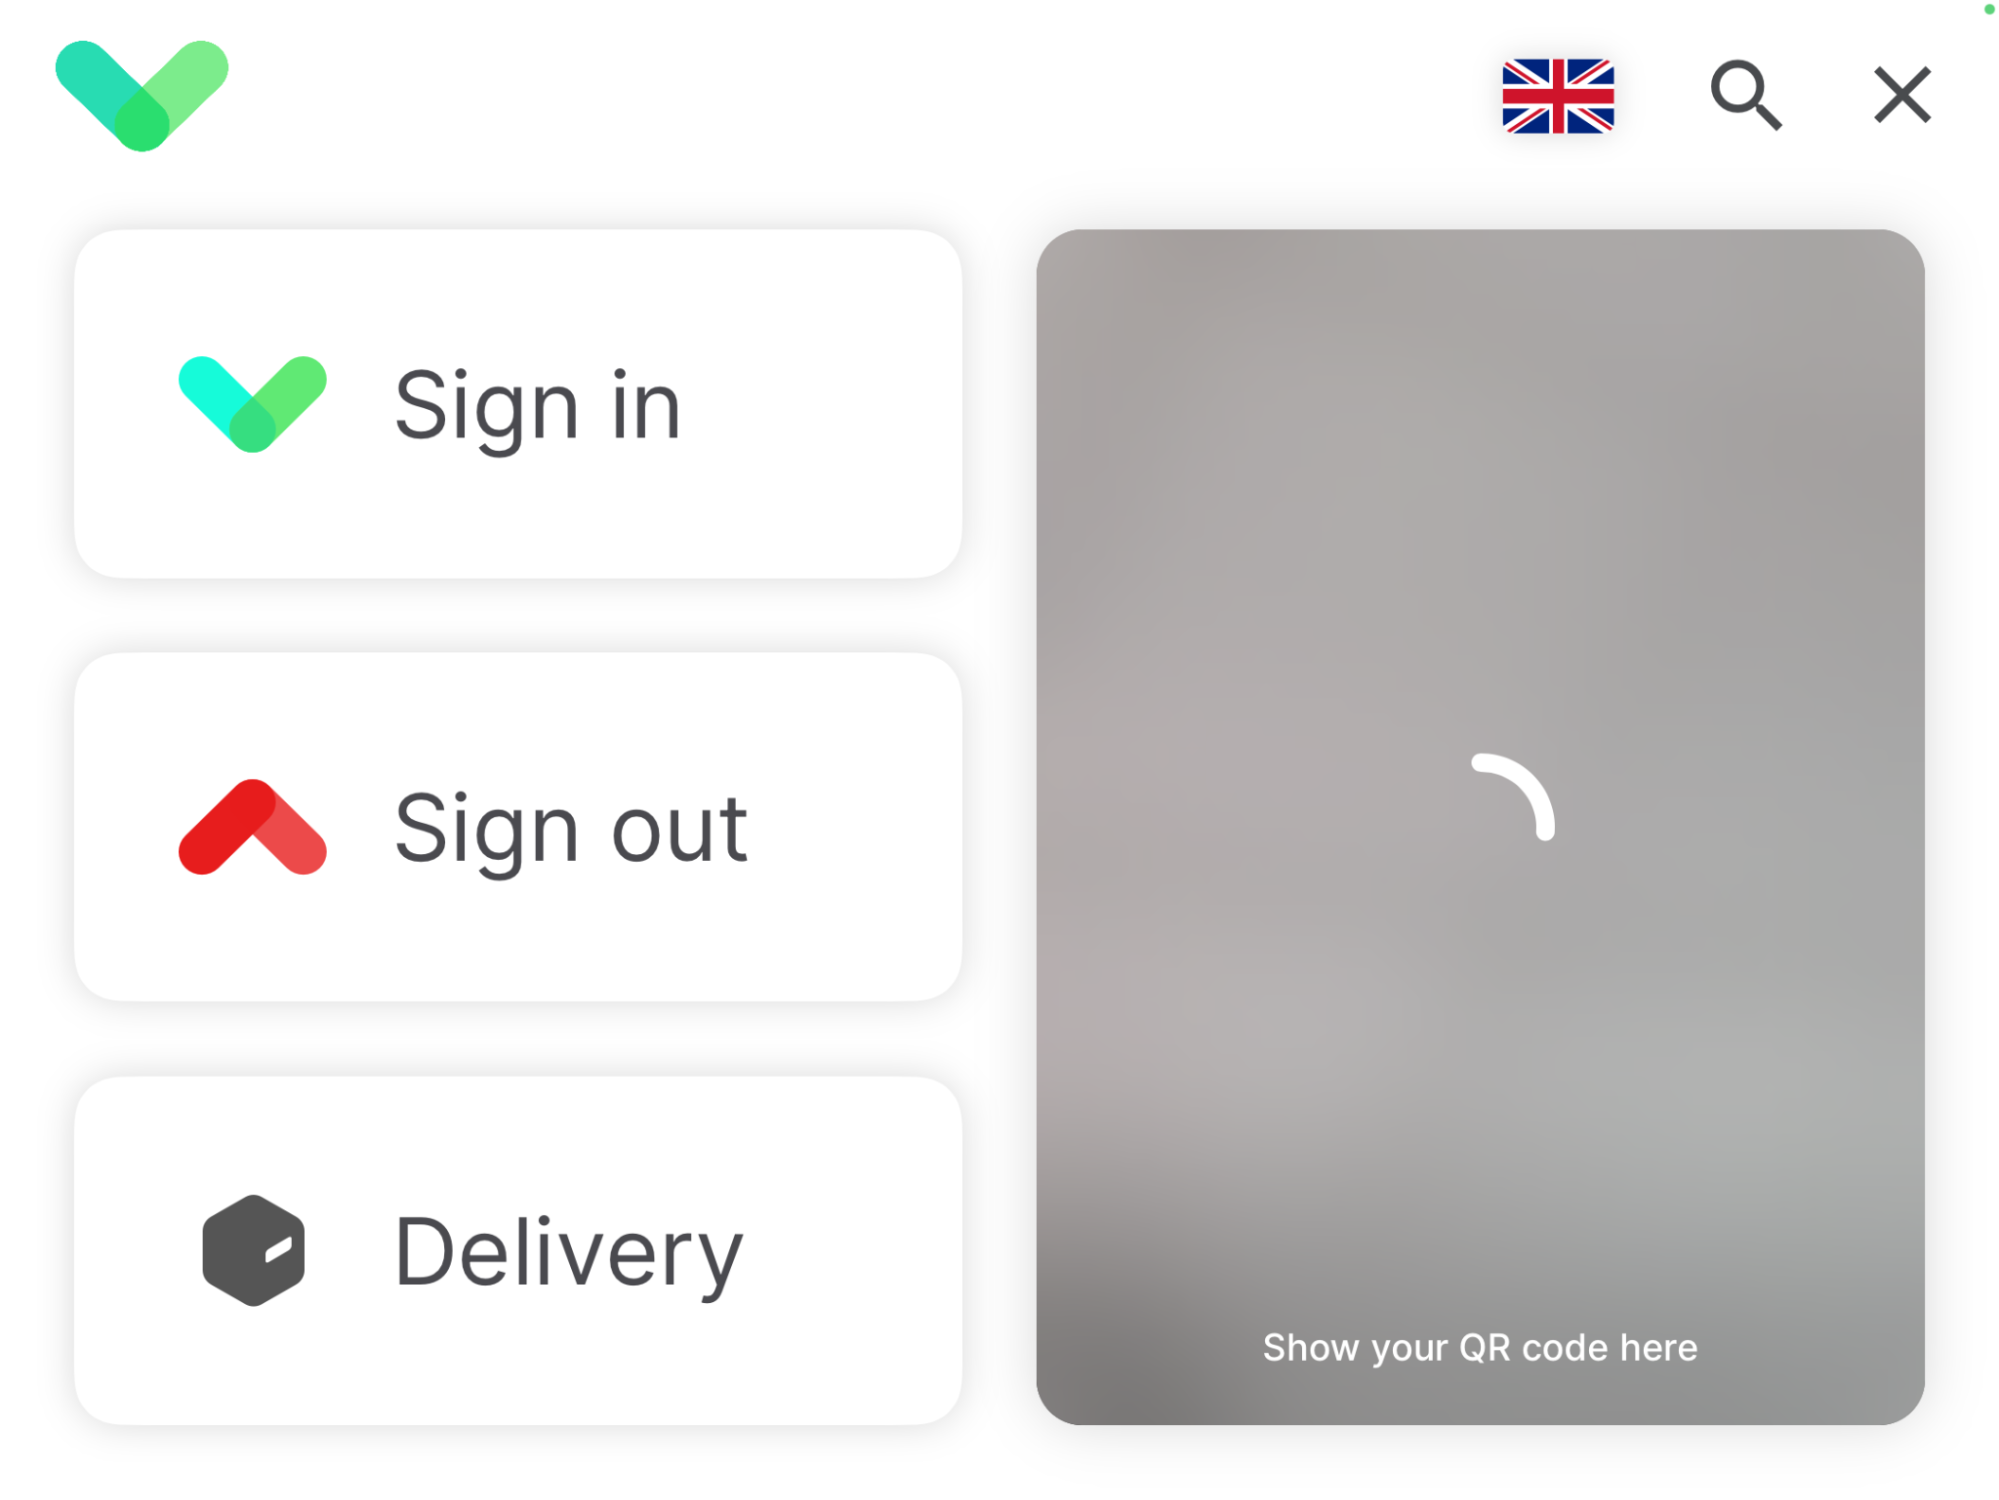
When signing in from Sign In App on the iPad there the visitor needs to tap the flag on the screen with the Sign in and Sign out buttons.
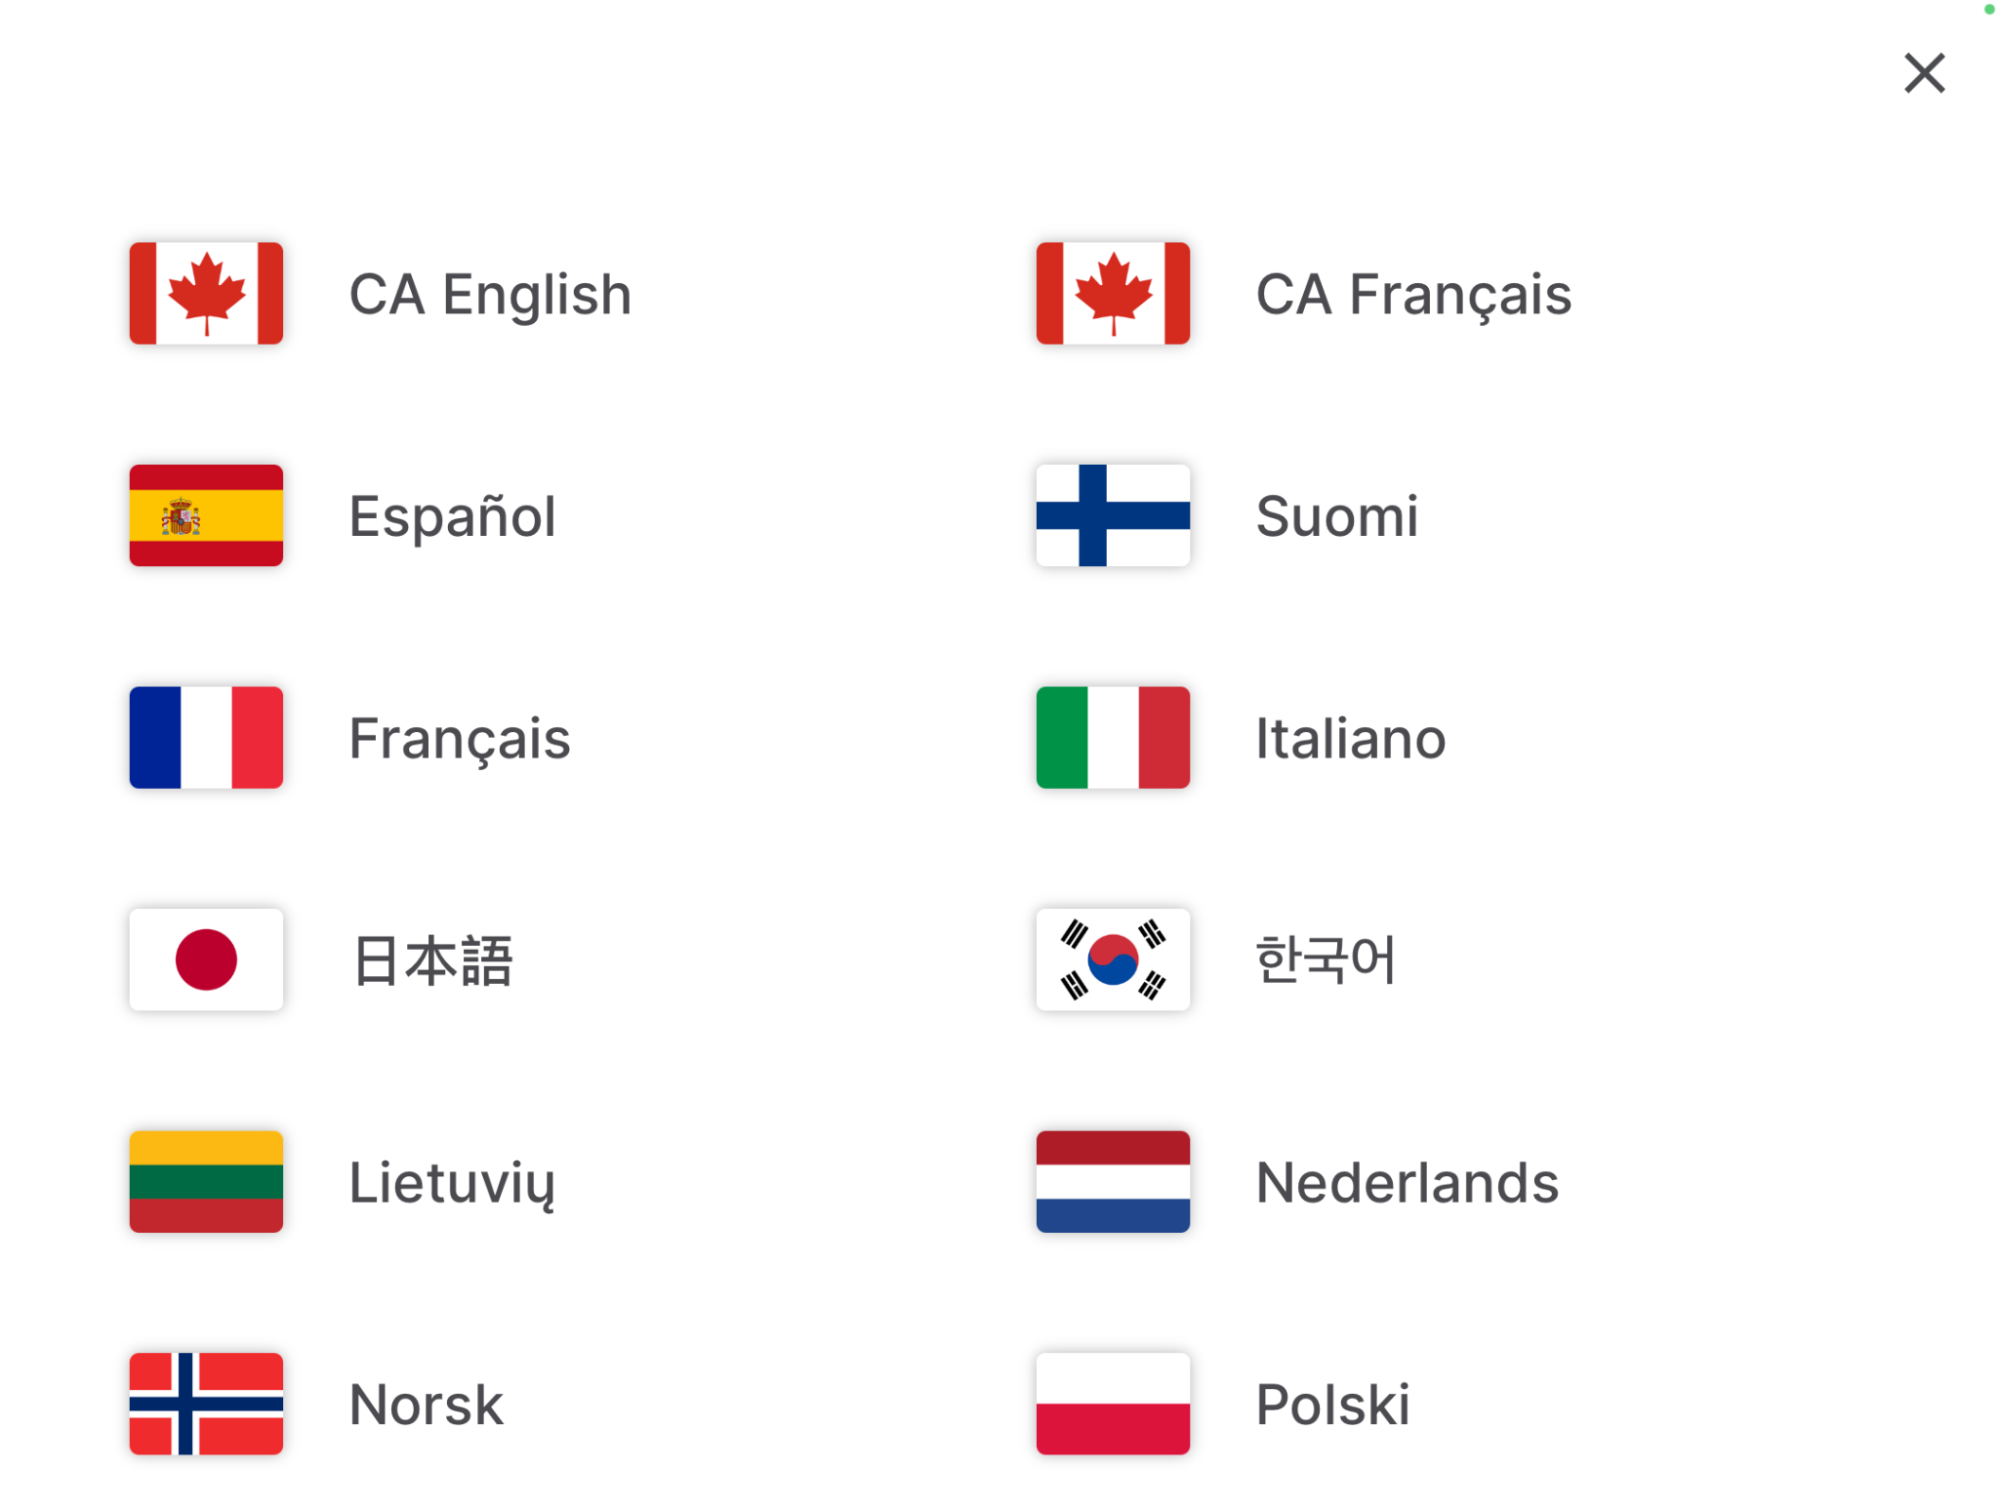
From here they can select the language they want to sign in using.
Then, when the visitor goes through the sign in process, in addition to the system fields, the custom translations you’ve added for the group names, custom fields, and messages will be displayed.

Contactless
When signing in using Contactless the browser will send to Sign In App the language the visitor is using, if this matches one of the translations you have provided it will automatically present the corresponding custom translations.
Companion app
Companion app will automatically display the correct translations based on the repeat visitor’s language settings. To set this up go to Manage > Groups > Select group > Details and use the Languagedropdown to select the group default. To do this for an individual member, go to Manage > Groups > Select group > Members, click Edit on the member and under Detailschange the Language.
Tip
In the Sign In App portal, from either the Today screen or Reports, the custom fields, messages, and group names for each sign in / out record are always displayed in the original language they were set up using.
We hope you've found this guide useful but if you have any questions around Custom translations or any Sign In App feature, please contact our support team at support@signinapp.com.

