Top tips: getting the most out of Spaces
We always want to ensure our community get the most out of their Sign In App subscription by utilising the flexibility of all of our features to suit the needs of their site. In each of our “top tips” blogs, we look deeper into specific features, sharing our tips for how to get the best use out of them. This week we’re focusing on Spaces - our desk and meeting room booking add-on.
So, let’s dive straight in. Here’s 6 tips to get the most out of Spaces…
1. Don’t just book desks
Spaces isn’t limited to just desk booking; it’s designed to be flexible, allowing you to make any space in your workplace bookable. As well as single desks, you might want to add in pods, meeting tables, breakout areas or even parking zones. Just simply name your spaces when adding them to your floor plan on the online editor.
2. Set up different zones
Do your departments sit in different areas of the office? Do you have more than one room with spaces that can be booked? In addition to setting up multiple types of spaces, you can also use the online portal to design your floor plan with different zones. For example, you may use zones to separate departments like finance/marketing/sales. Alternatively, you might set up zones to state different rooms, e.g. kitchen, meeting room, upstairs or downstairs.
3. Tag your Spaces
For smaller sites, naming your spaces and setting up zones might be enough to make it easy for employees to find what they want to book. But if you have a large site with lots of spaces and zones, you may want to make use of tags and descriptions to add more information. For example, does a desk have a monitor or phone? Is it by a window? Your employees will be able to filter by tags when searching for a space on Companion app.
4. Collaborate with colleagues
One of the positive things about getting back to the office is being able to collaborate with colleagues; working through projects or problems face-to-face often sees the best results. Spaces allows you to see who is in and where they are working (should your organisation allow for this visibility). This can save a huge amount of time when organising meetings.
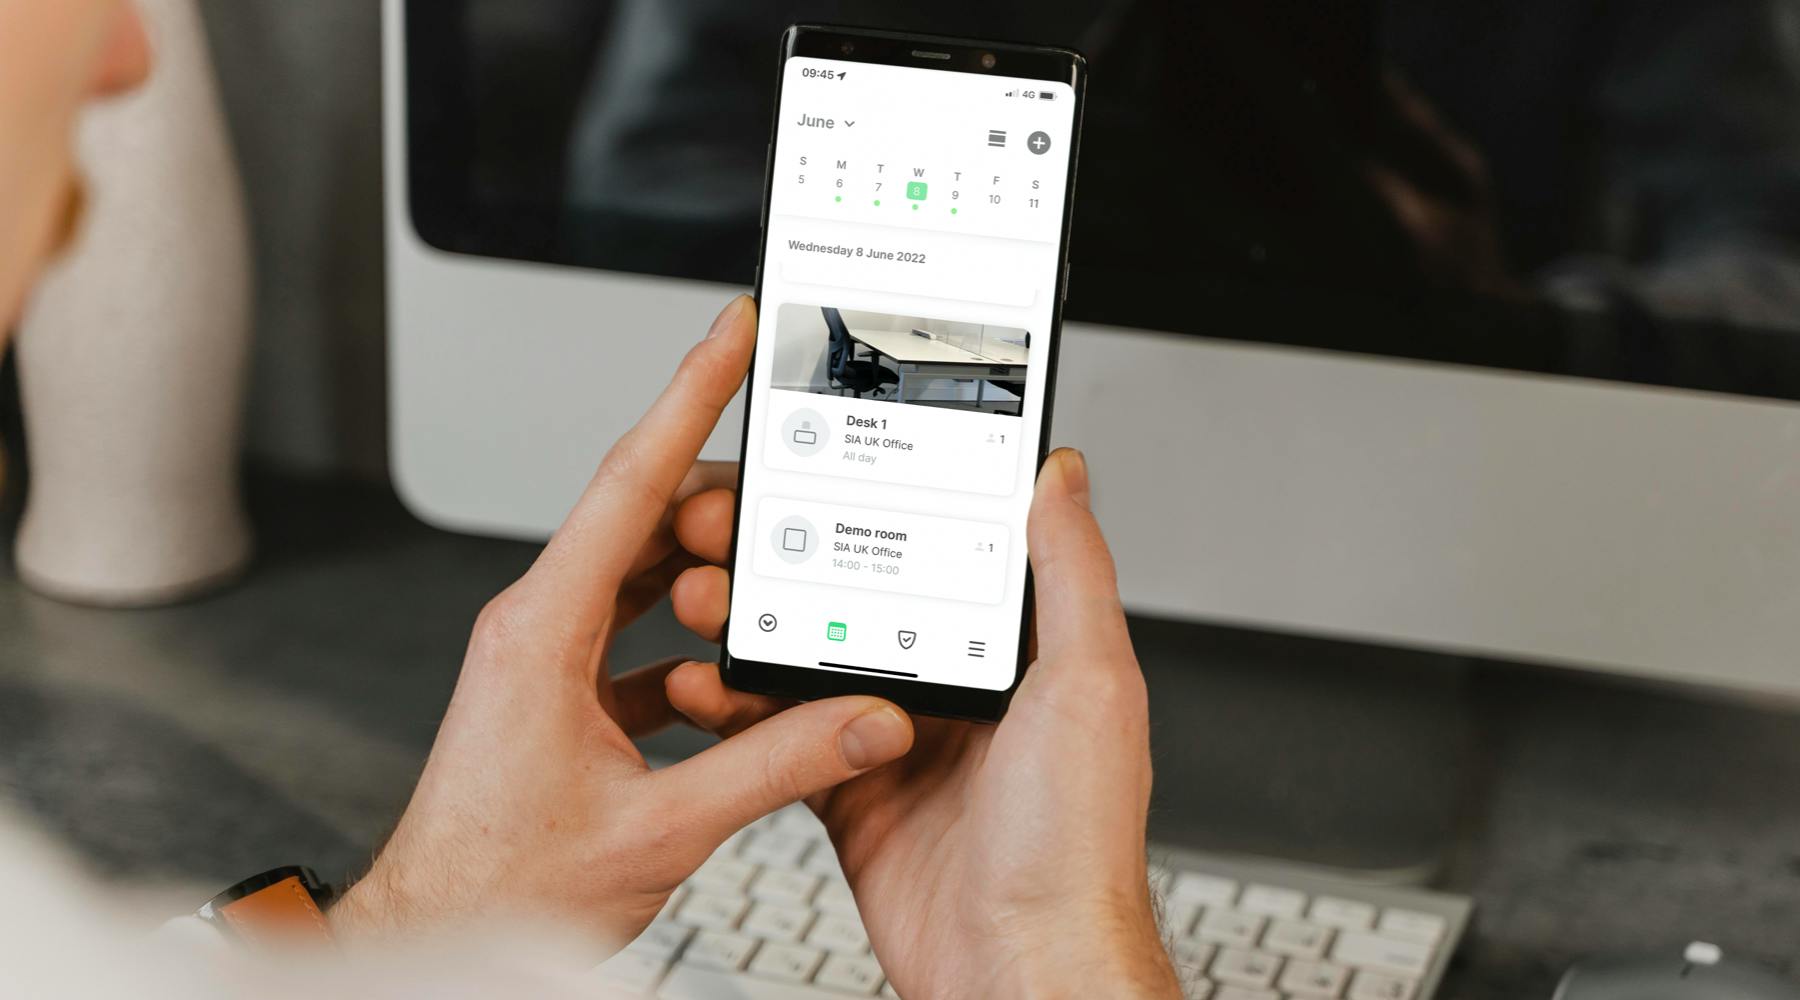
5. Add photos
The final way to make it super simple for your employees to find their perfect space is by adding photos. This could be particularly useful if the person booking isn’t familiar with your office (e.g. a new employee or if you have a co-working environment). Just don’t forget to keep photos updated if you ever move desks around.
6. Buffer time
Do you require desks to be cleaned down before being booked again or need to have refreshments restocked in meeting rooms? Add a buffer time when adding a space onto your floor plan to allow adequate time between bookings.
For more help getting set up with Spaces, check out our user guide for a walk-through video. Or if you’re looking to implement desk booking in your organisation and haven’t activated Spaces, you can try it free for 15 days with your Sign In App subscription, whether you’re a new or existing customer. Learn more here.